Design your proposals and agreements
Use the document studio to pick a design, fonts and colour, set the paper, the cover and the background of every page, a watermark, a header and footer, and save looks, one for each client if you like.
Every proposal and agreement takes on your brand for you. When you want more control, the document studio lets you set the design, fonts, colour, pages, header, footer and language for each document, and you see the result as you go.
Open the studio
Open a draft proposal or agreement. The panel on the left of the builder is the studio. It has five tabs:
| Tab | What’s there |
|---|---|
| Content | The sections or clauses you can add, and Save as template |
| Design | The design, section headings, fonts and colour |
| Pages | Paper size, then page by page: the first page (cover), the inside pages, any one page, and the last page (back cover). Also the safe margin and watermark |
| Header & footer | The running header and footer, and the logo on proposals |
| Details | The title, client, dates and reference, the language and numbers and, on proposals, the closing block |
On Content, the right side shows the sections you edit. Choose any of the other tabs and the right side shows the pages exactly as your client will see them. Every change you make in the panel shows on the pages straight away.
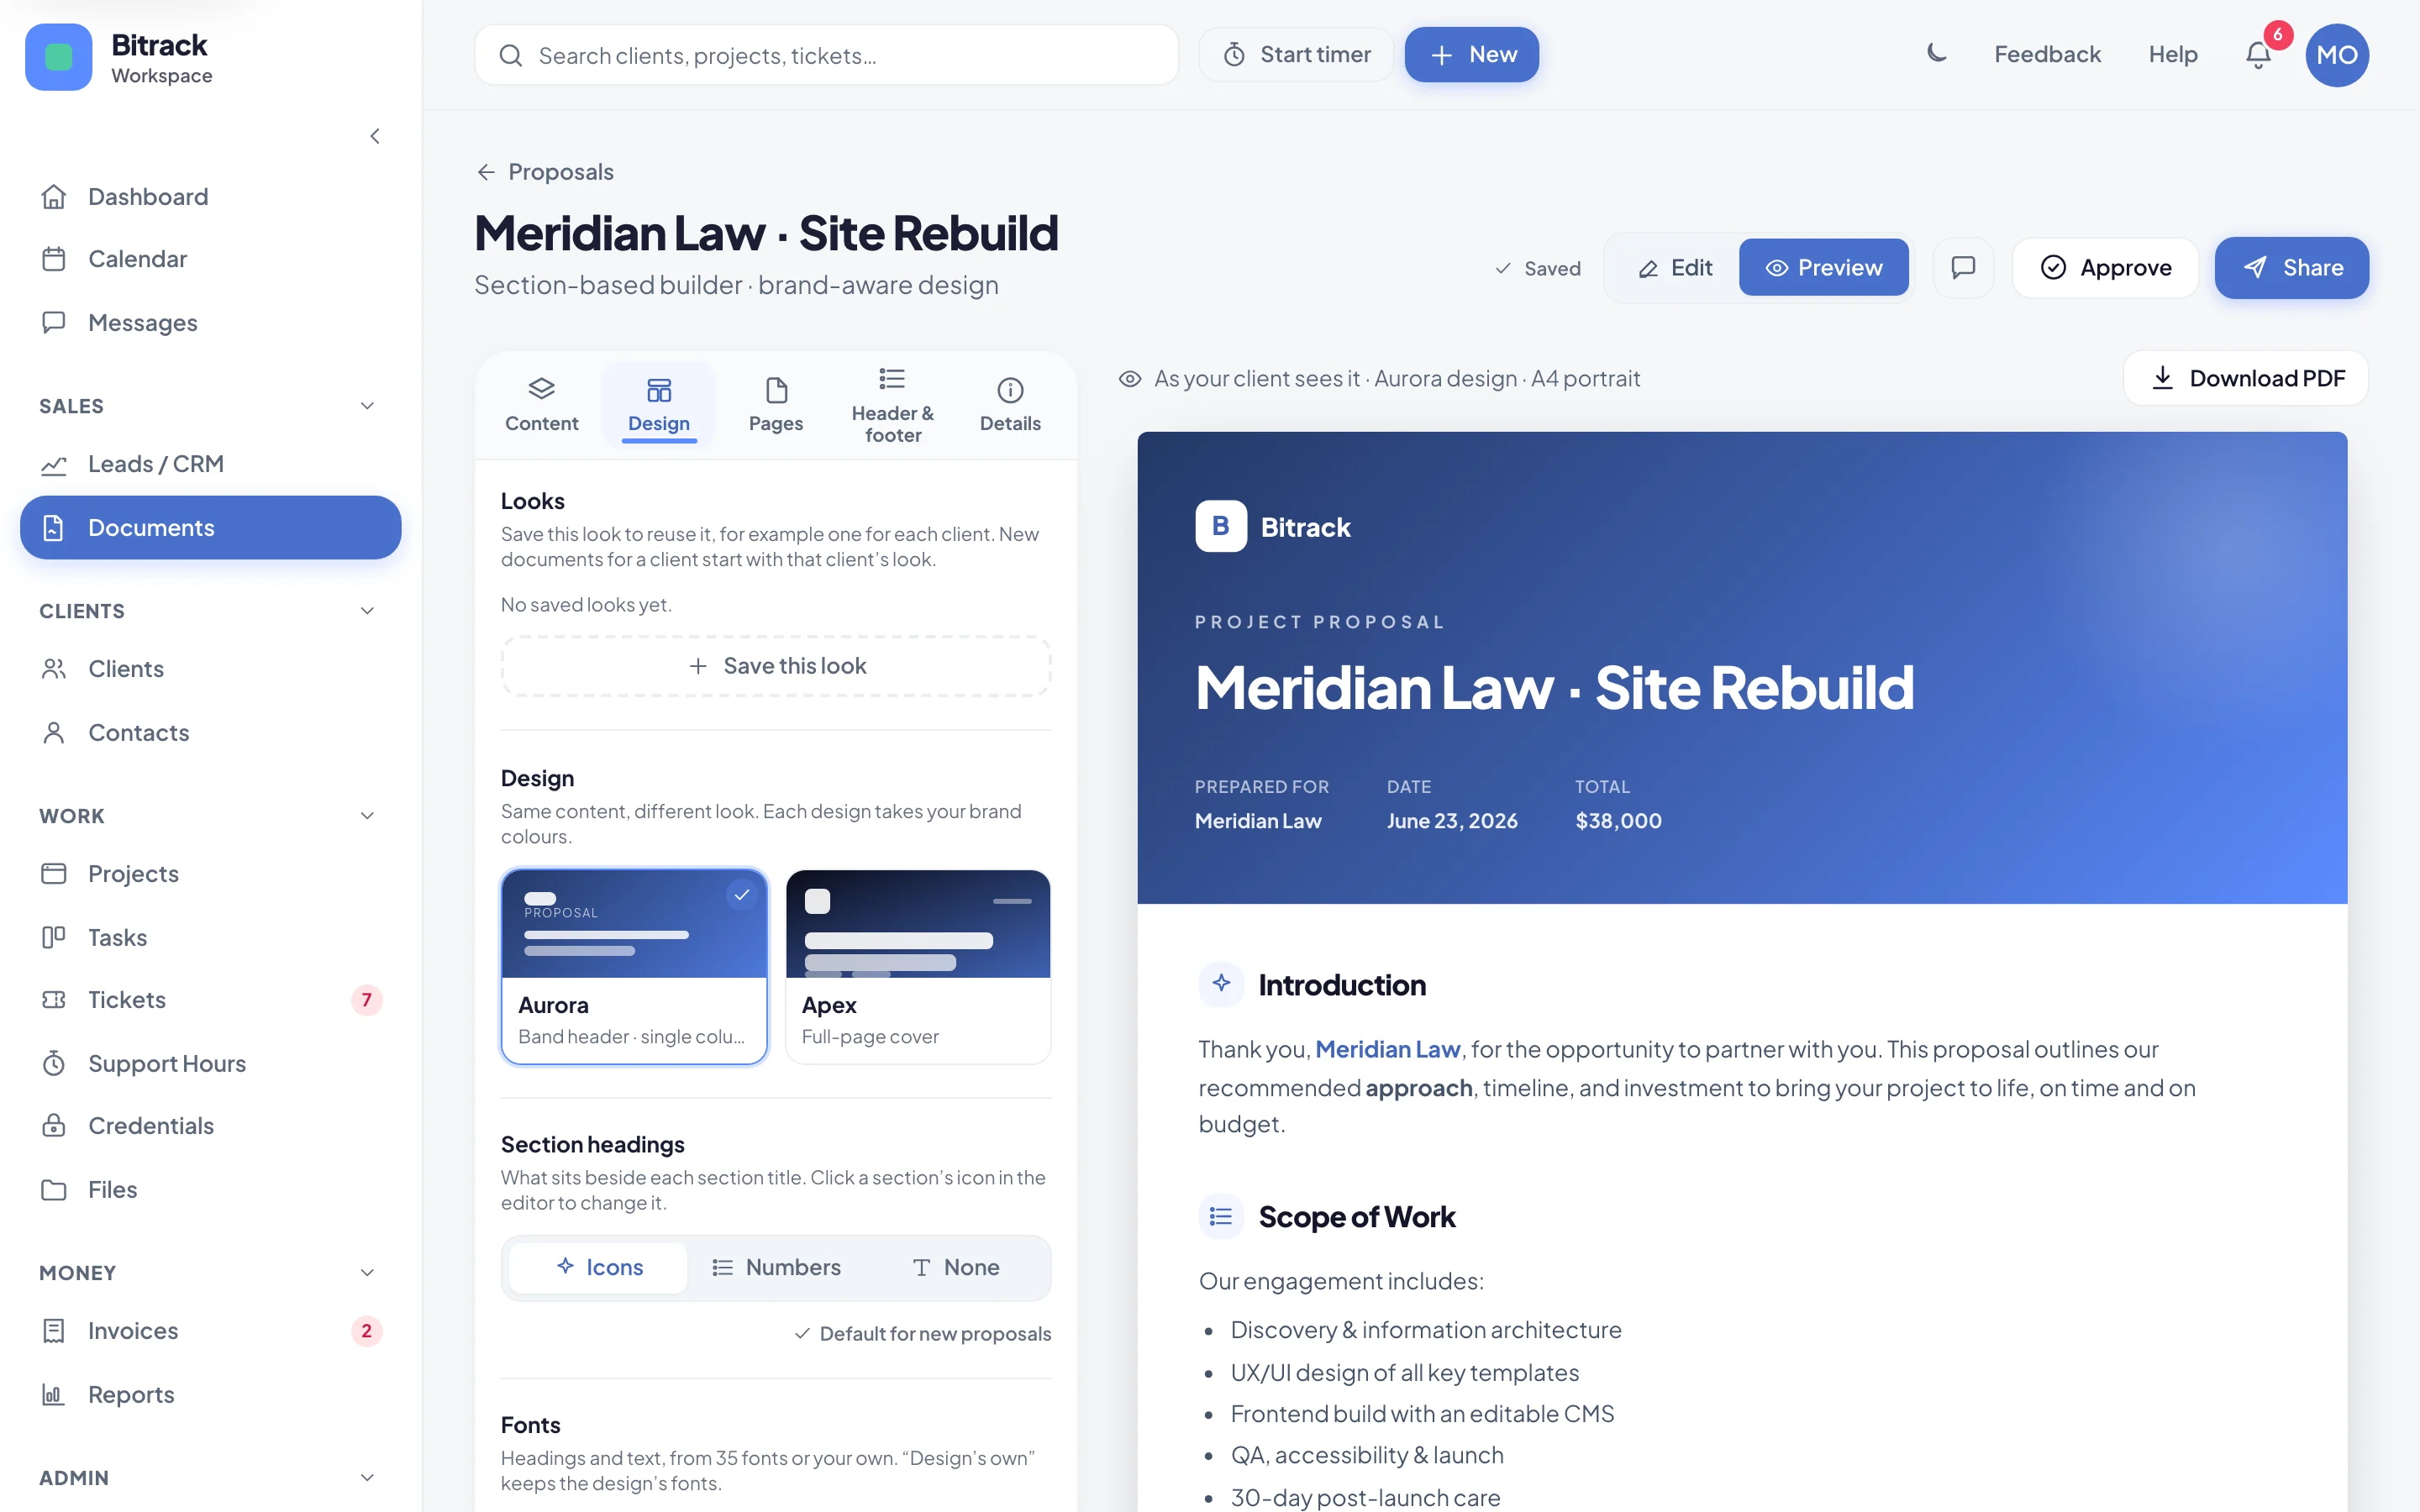
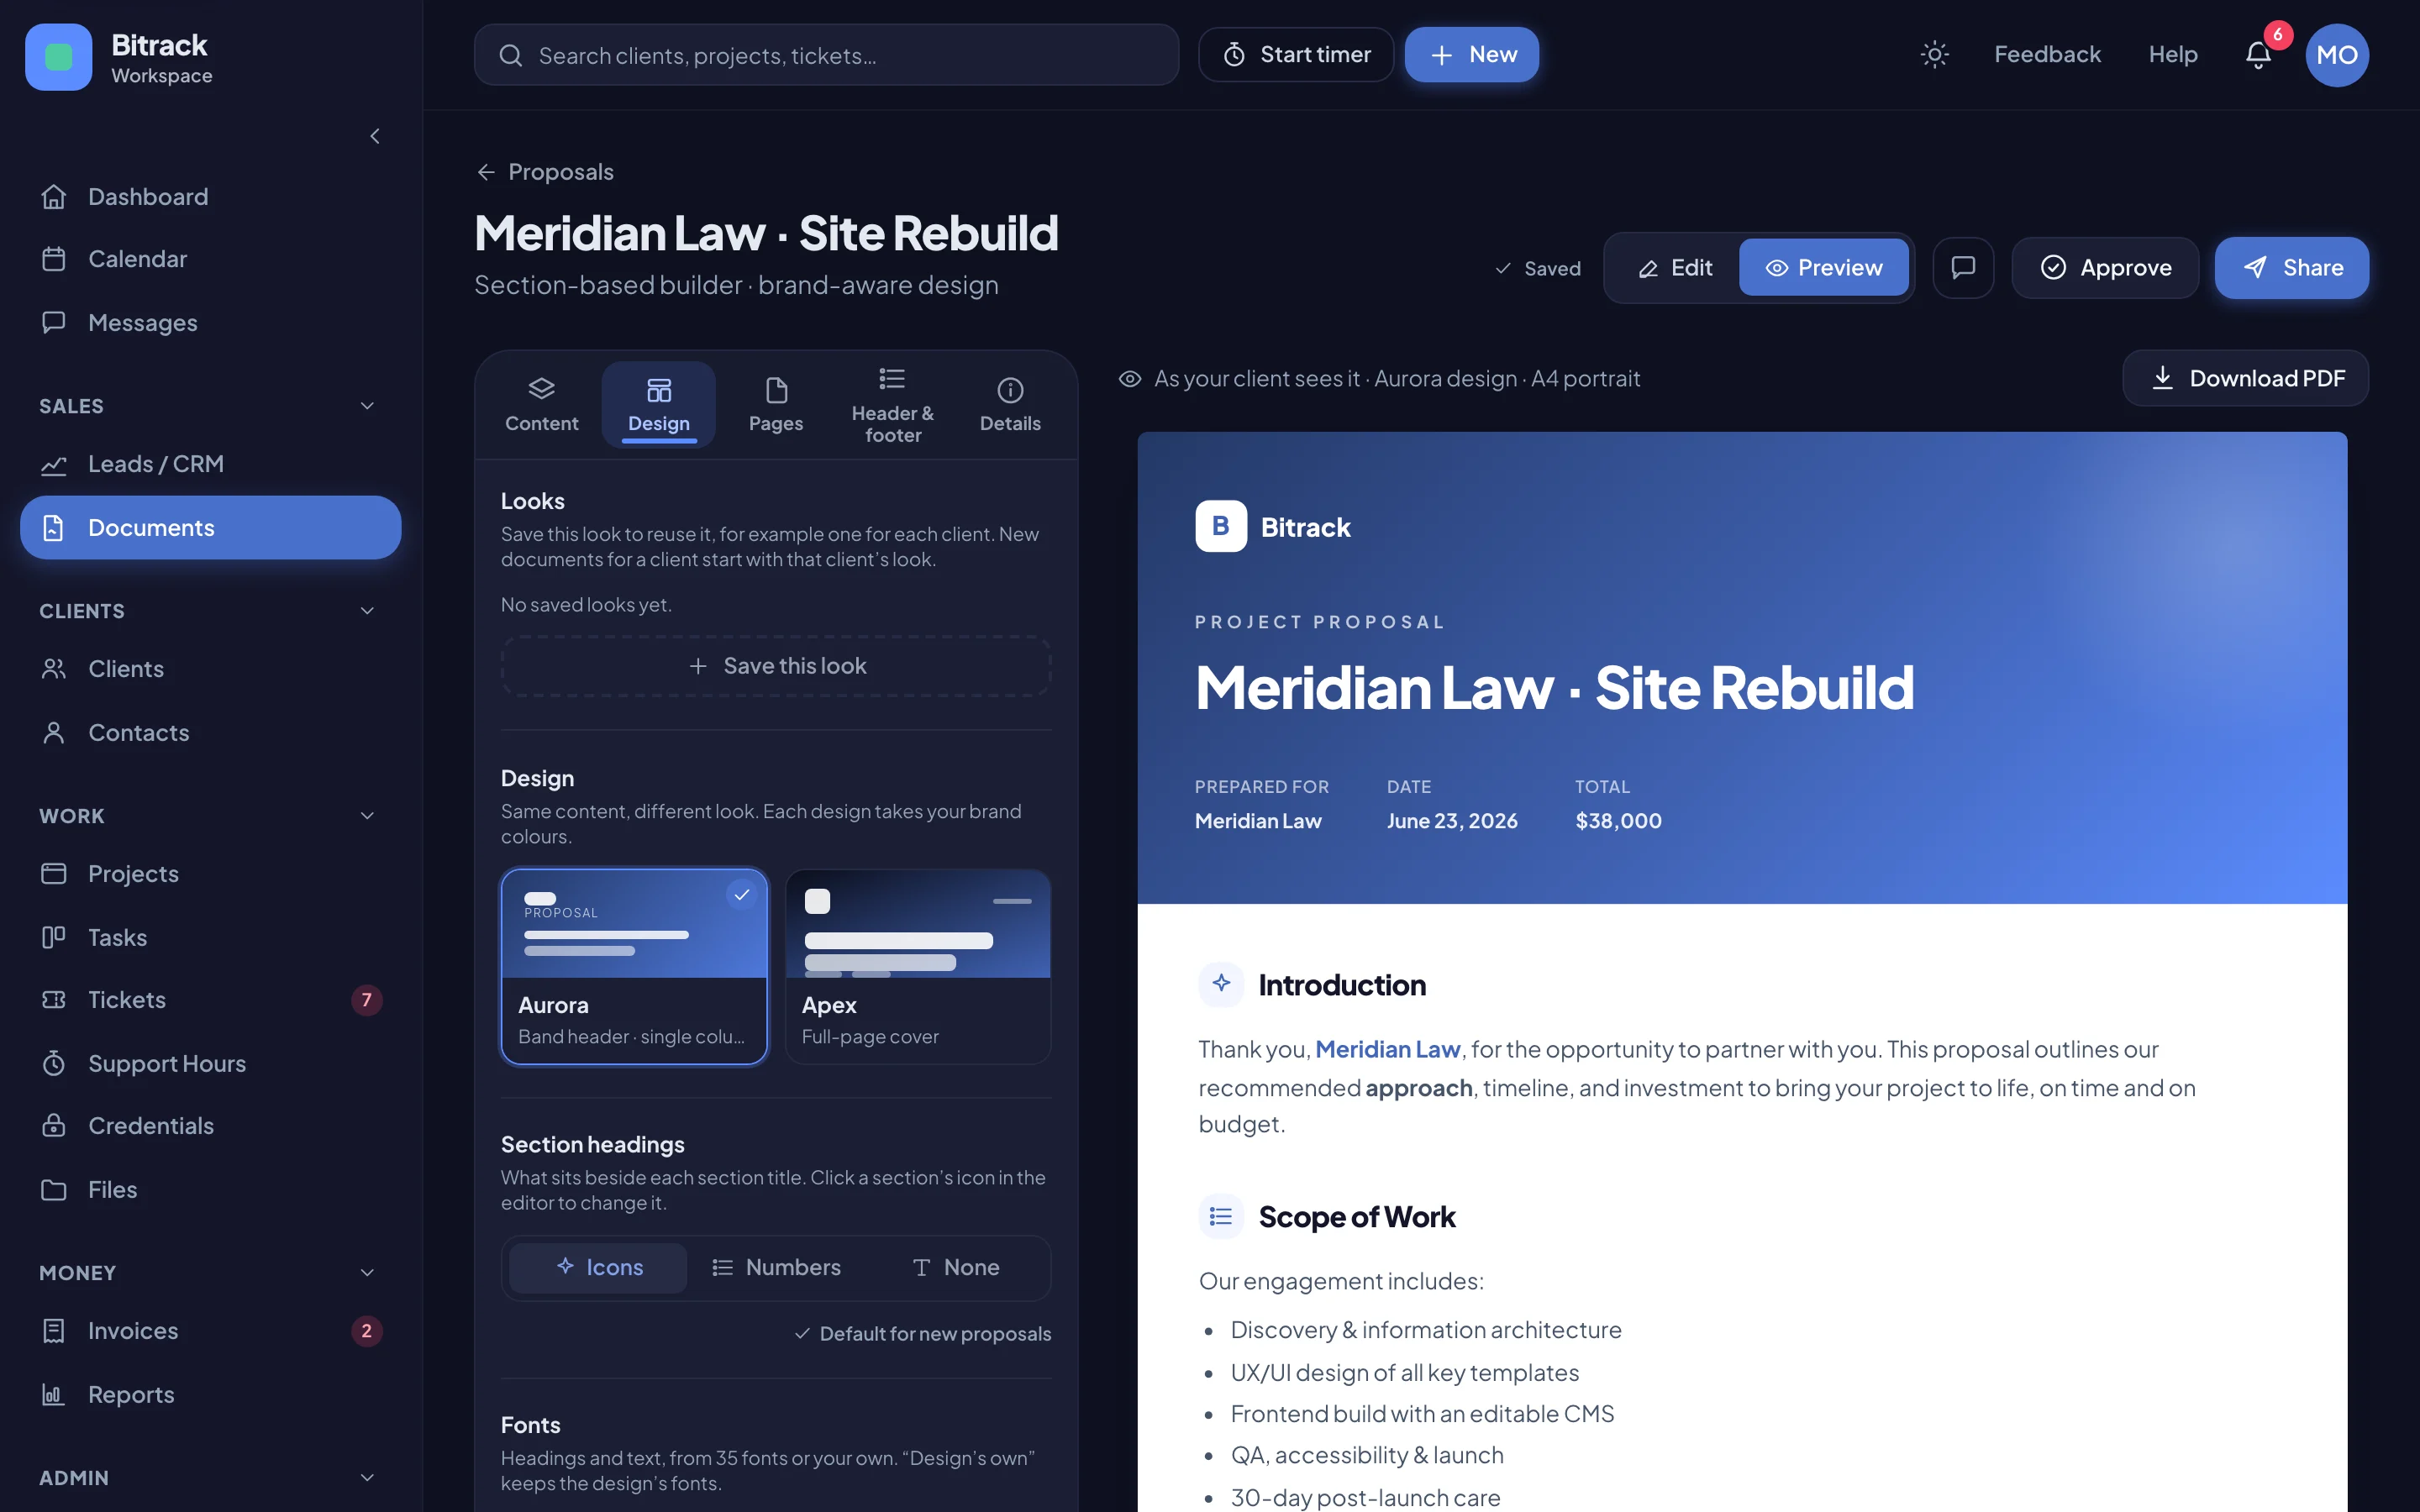
Changes save as you go. Edit and Preview are still in the header: Edit takes you back to the Content tab.
Pick a design
On the Design tab:
- Proposals: pick Aurora or Apex. Same content, different look.
- Agreements: pick Classic, Modern or Minimal. The design sets the cover and the clause headings.
Every design takes your brand colours.
On proposals, Section headings sets what sits beside each section title: Icons, Numbers or None. Choose Use for new proposals to make it the starting choice for your whole workspace.
Fonts
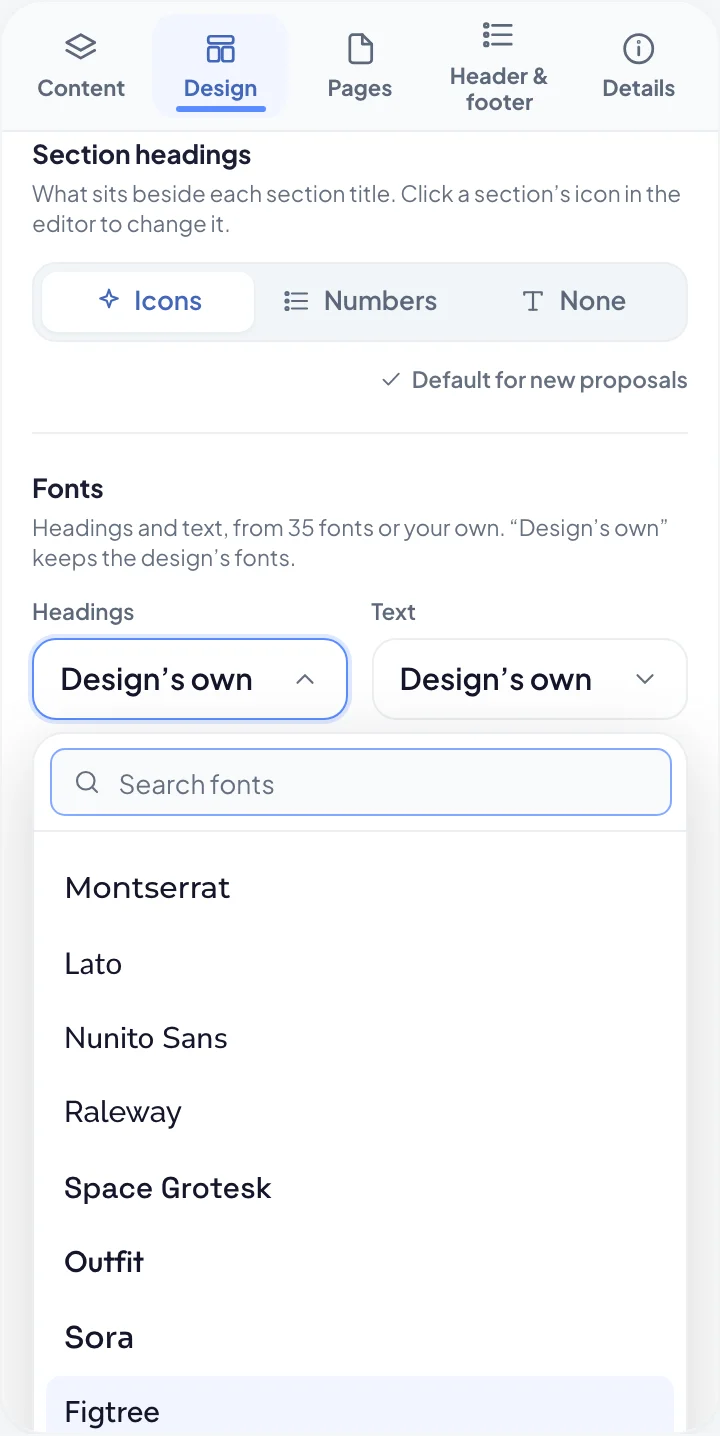
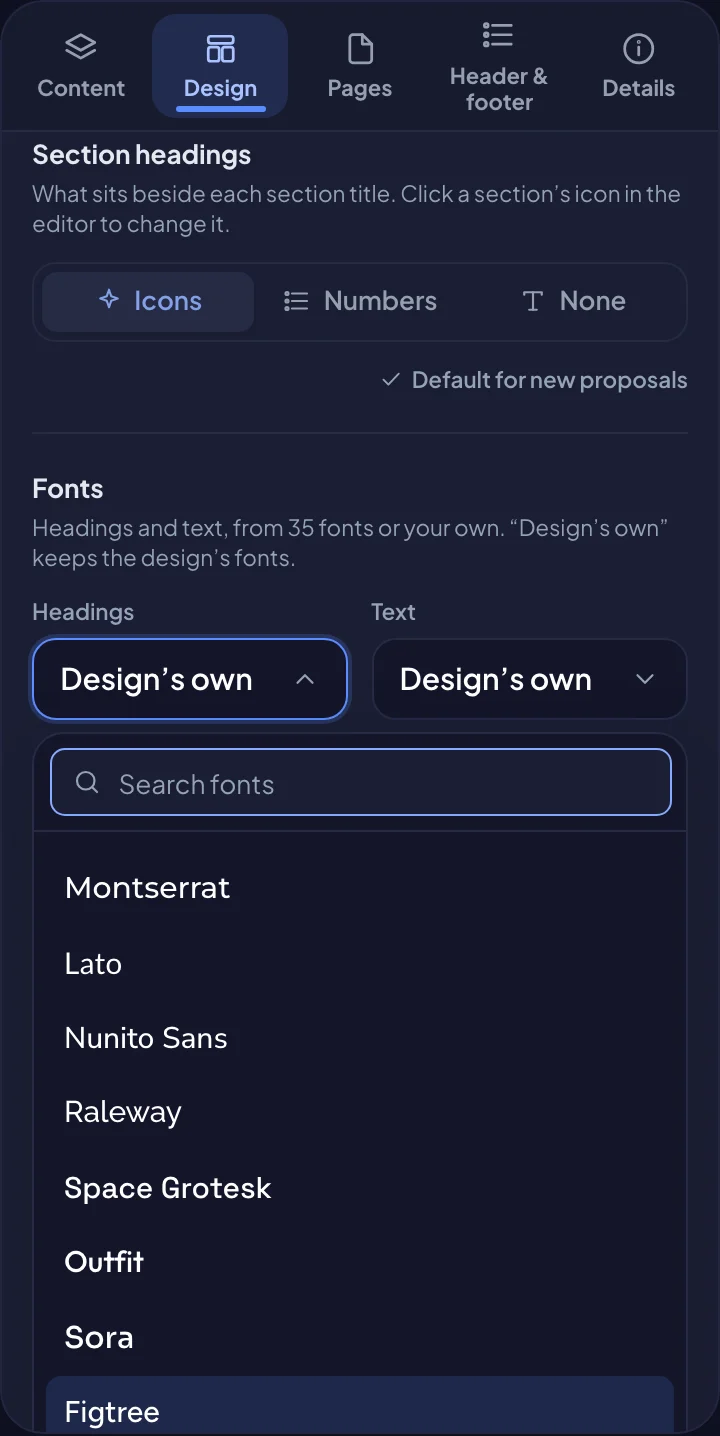
Under Fonts, there are two pickers: Headings and Text. Each one opens a list you can search, grouped by kind: Sans serif, Serif, Display, Monospace and Arabic. Every font is shown in itself, so you can see it before you pick it.
- Design’s own keeps the design’s fonts.
- There are 35 fonts to choose from, including eight Arabic ones such as Cairo, Tajawal, Almarai and Amiri.
- The sample under the pickers shows your headings and text together. Arabic and bilingual documents show an Arabic line too.
Upload your own font
- Open either picker and choose Upload a font next to Your fonts.
- Choose a WOFF2, WOFF, TTF or OTF file, up to 2 MB. One file is one style, so upload the regular weight first.
- Give it a Name.
- Tick This font has Arabic letters if it does.
- Tick I have the right to use this font in documents I send to clients, then choose Upload font.
The font is added to your workspace’s fonts, so your team can pick it in any proposal or agreement.
To remove a font, choose the bin icon next to it in the list. Documents that already use it keep it.
Colour
Under Colour, leave Brand to use your brand colour, pick one of the preset colours, or choose the + circle to pick any colour.
A colour you pick here applies to this document only. Your brand colour in Settings → Company & brand stays the same.
Paper
On the Pages tab, under Paper, choose A4 or US Letter, and Portrait or Landscape. A4 is used almost everywhere; US Letter in the US and Canada. The pages and the PDF both follow your choice.
The first page (cover)
The first page is always the cover. On the Pages tab, under First page (cover), choose:
- Design’s: the cover that comes with the design.
- Image: your own full-page design (see below).
- Colour: a plain colour, with the title, client and date on it. Pick White text or Dark text to suit the colour.
Upload your own cover
Design a cover in any tool you like, export it as an image, and use it instead of the design’s cover.
- On the Pages tab, under First page (cover), choose Image.
- In the Upload a cover window, drop your image in or click to upload, or pick one you uploaded before under Your full-page images.
- Turn on Title, client and date on top if you want Bitrack to print them over your image, and pick White text or Dark text.
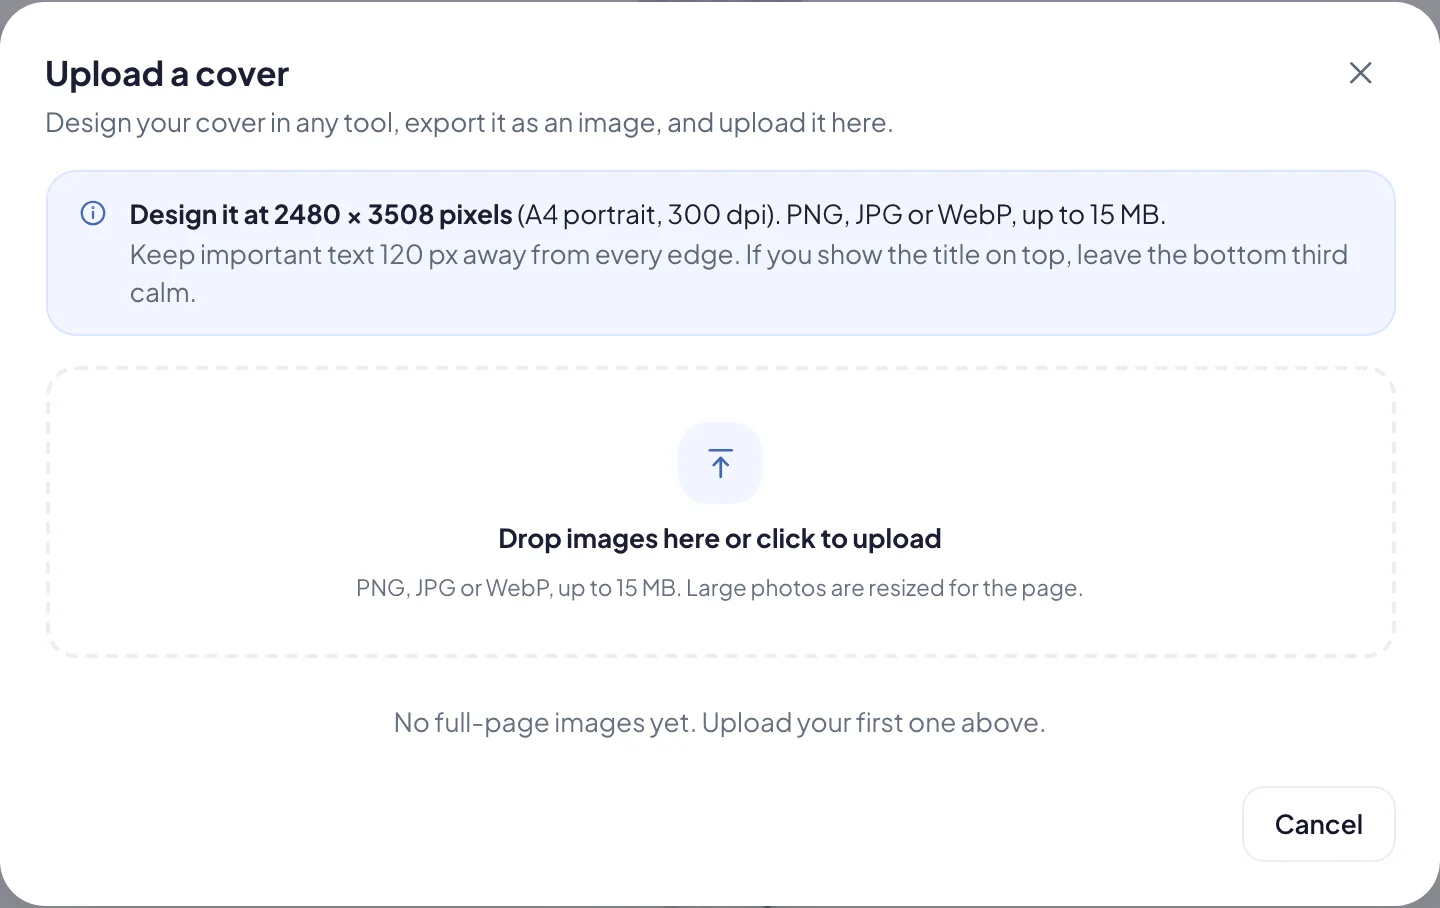
Design your cover at the size for your page, at 300 dpi:
| Page | Portrait | Landscape |
|---|---|---|
| A4 | 2480 × 3508 px | 3508 × 2480 px |
| US Letter | 2550 × 3300 px | 3300 × 2550 px |
Under Paper, the tab shows the right size for the paper you chose. Images up to 15 MB are accepted.
A cover that isn’t the same shape as the page is cropped to fill it, and is marked Will be cropped in the library. To change it later, choose Replace image. To go back, choose Design’s.
Inside pages and one page on its own
Under Inside pages, choose what goes behind every page between the cover and the end:
- Plain: white pages.
- Image: a full-page picture, such as a subtle pattern or your letterhead artwork. Design it at the same size as a cover.
- Colour: a soft colour behind every page.
To give one page its own look, open it in the list under One page on its own. Each page shows what it has now. Choose Same to follow the inside pages, Plain for a white page, or an Image or Colour just for that page.
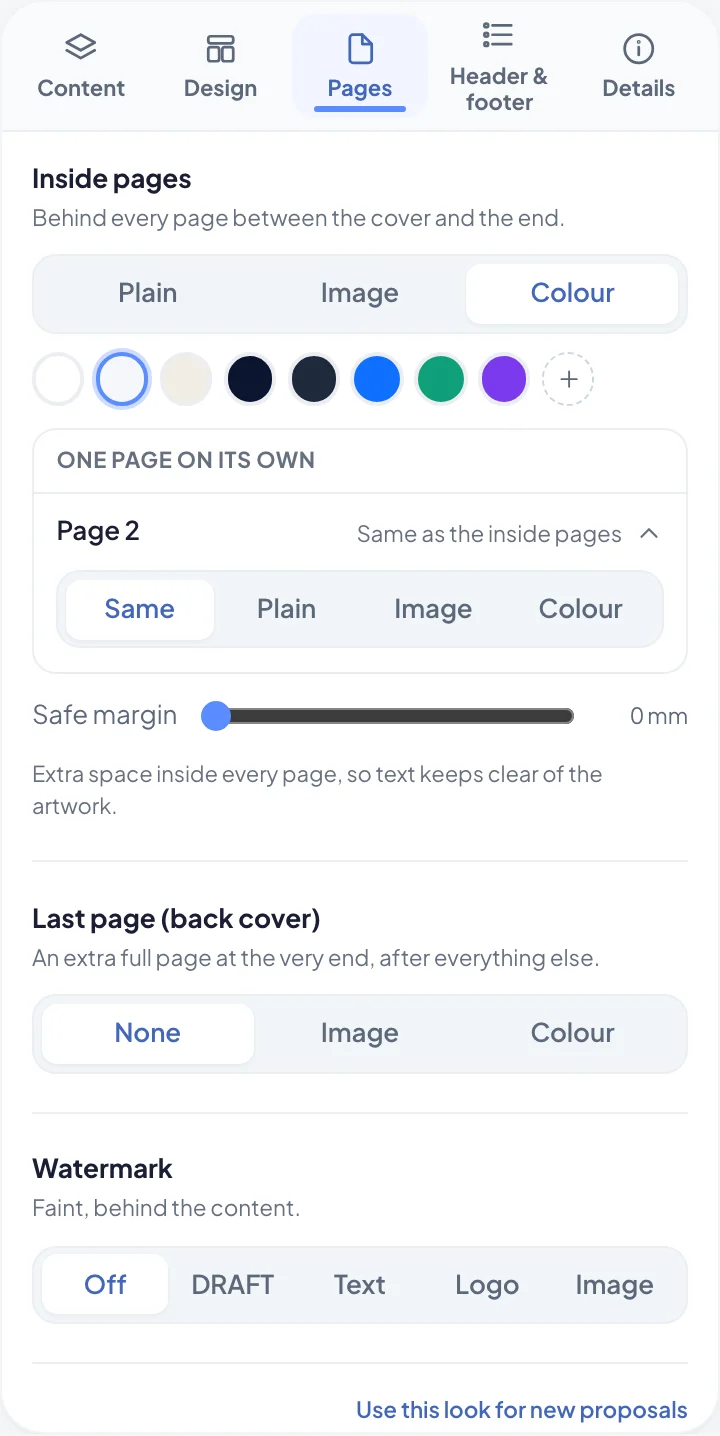
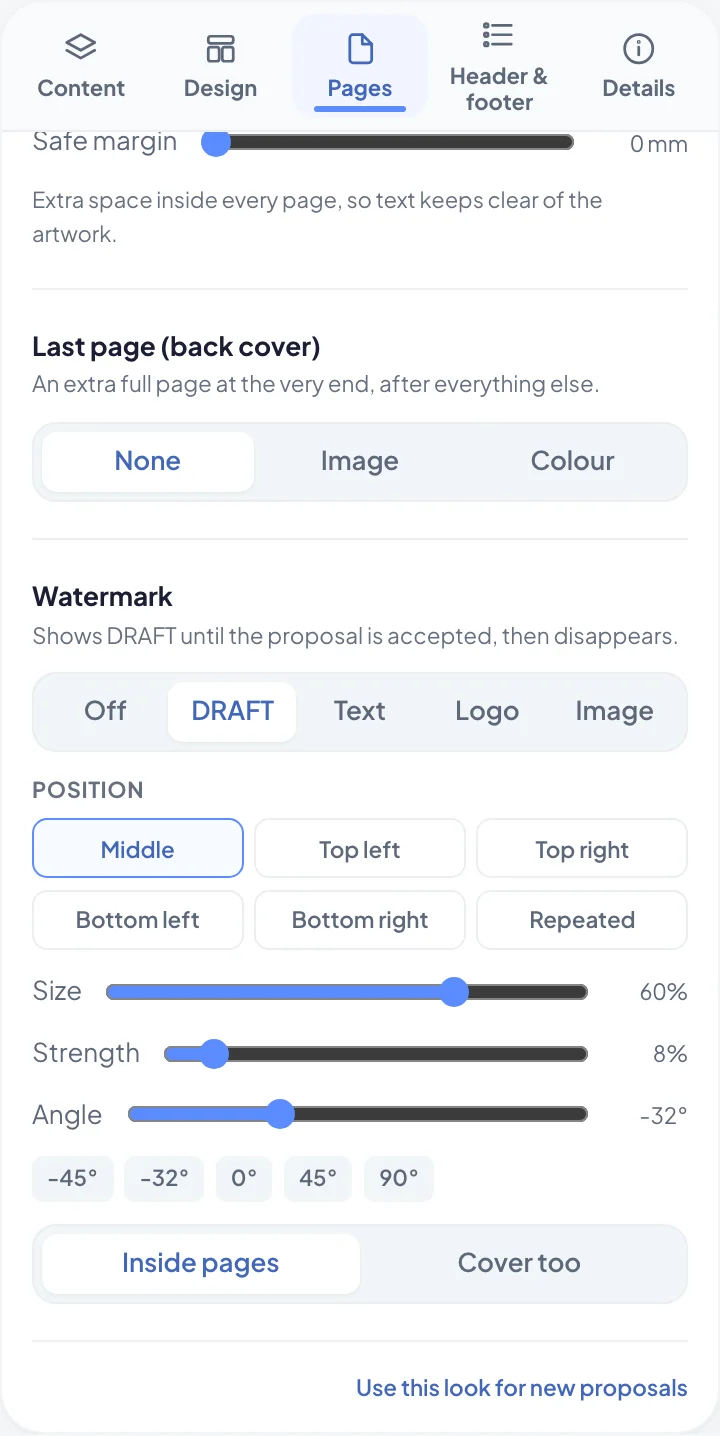
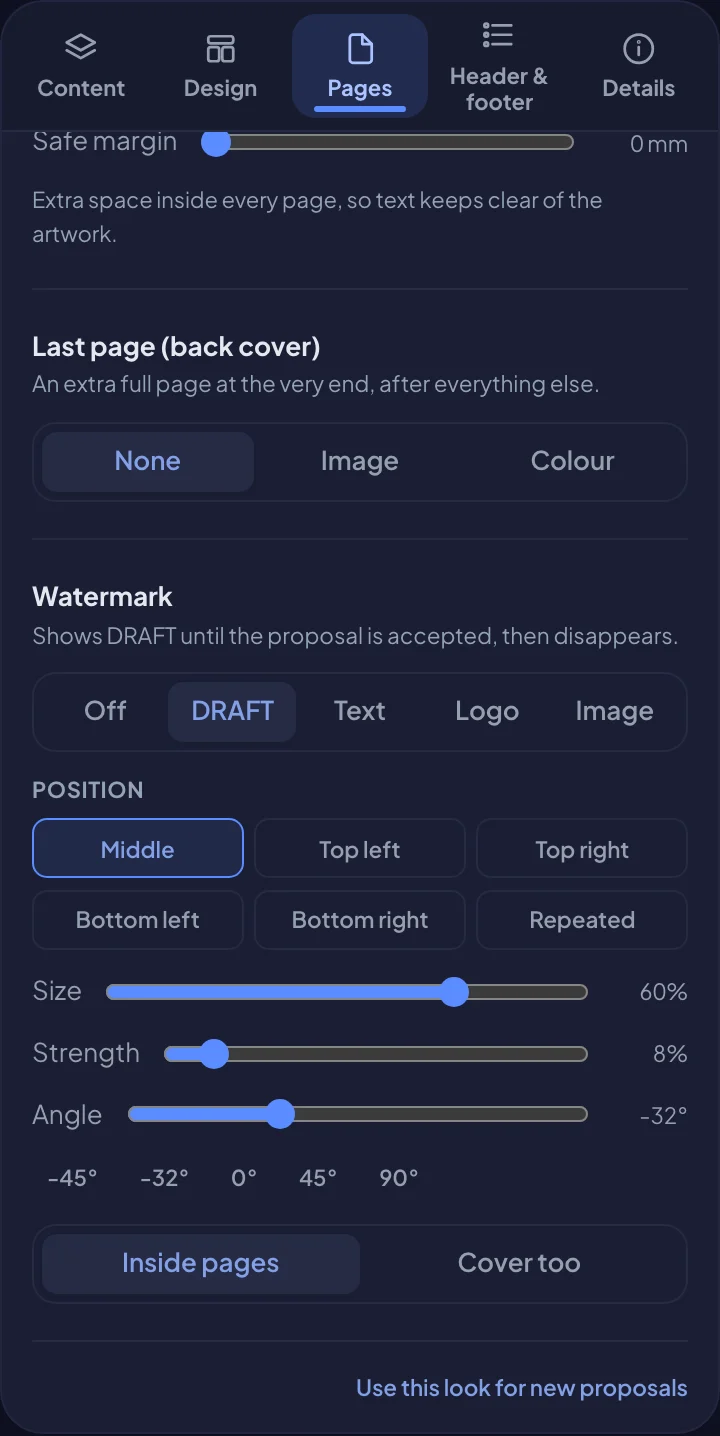
Then set the Safe margin, from 0 to 30 mm. It adds extra space inside every page, so your text keeps clear of the artwork at the edges.
The last page (back cover)
A back cover is an optional extra page at the very end of the document, for example your contact details or a closing photo. Under Last page (back cover), choose Image or Colour, or None to leave it off.
Add a watermark
On the Pages tab, under Watermark, choose:
- Off: no watermark.
- DRAFT: shows DRAFT until the proposal is accepted or the agreement is signed, then disappears.
- Text: type your own word, such as CONFIDENTIAL.
- Logo: your logo.
- Image: your own picture, such as an icon or a seal. A transparent PNG works best.
Then fine-tune it:
- Position: Middle, Top left, Top right, Bottom left, Bottom right, or Repeated across the page.
- Size, Strength and Angle, with the sliders. Under Angle, the quick buttons set -45°, -32°, 0°, 45° or 90°.
- Inside pages or Cover too, to choose whether the cover shows it.
Header and footer
On the Header & footer tab, turn on a Header or Footer that repeats on every page after the cover.
- Pick a Preset…: Minimal, Branded or Detailed. Or type your own words in the Left, Center and Right boxes.
- To add a value that fills in for you, such as the client’s name or the page number, click a box first, then choose the value from the chips above.
- Turn on Line for a thin divider between the header or footer and the page.
The small preview shows how it looks. Agreements have the same header and footer as proposals.
On proposals, Logo on proposals sets which logo your proposals show: Auto, Dark logo, Light logo or Name only. It applies to all your proposals. Your logo files come from Settings → Company & brand.
For Arabic and bilingual documents, see Arabic and bilingual documents.
The closing block
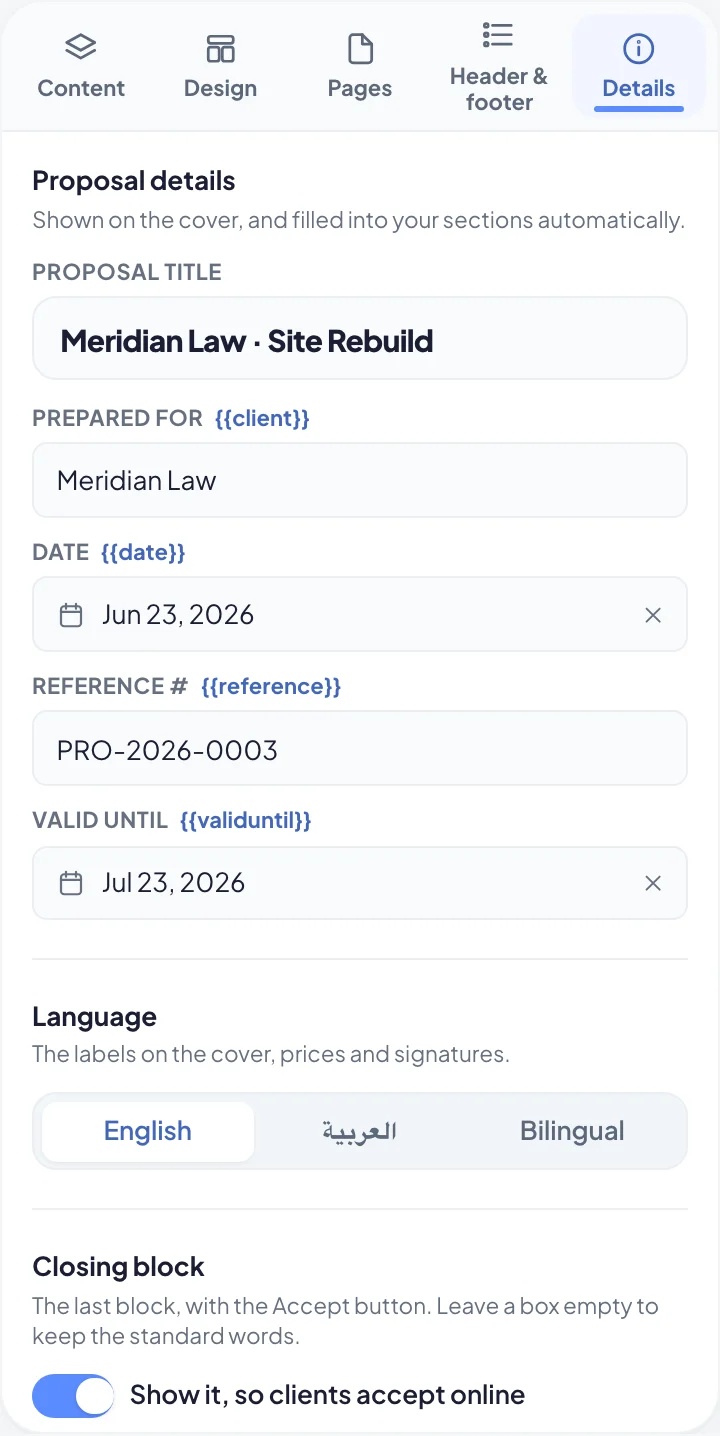
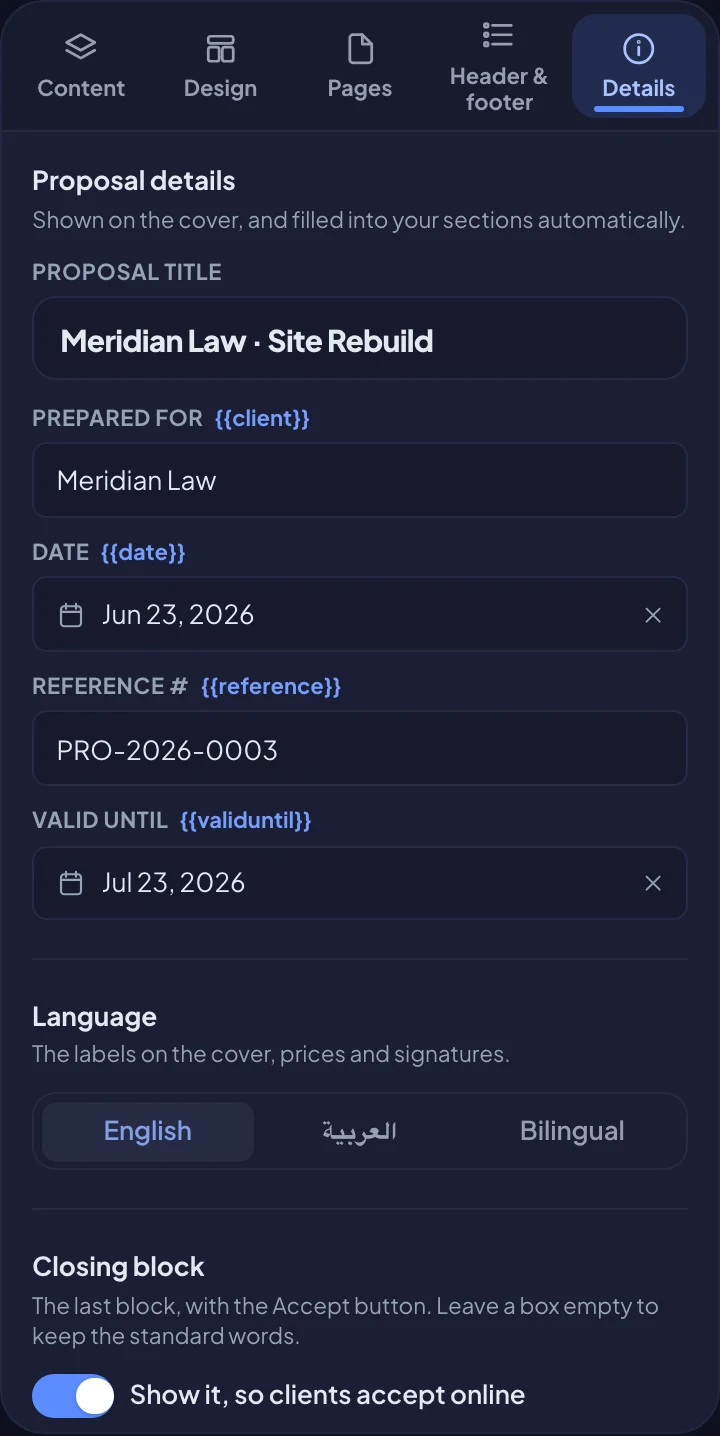
At the end of every proposal is a closing block with the Accept & sign button. On the Details tab, under Closing block:
- Change the Small line, Headline and Button words. Leave a box empty to keep the standard words. Arabic and bilingual proposals have Arabic boxes too.
- Turn off Show it, so clients accept online to hide the block. Your client then can’t accept online, but you can still record their acceptance yourself.
Saved looks, and a look for each client
A look is everything about how a document looks: the paper, the cover, the backgrounds, the fonts, the colour, the watermark and the design. Your words, the header and footer, and one page’s own background stay with each document.
To save one, open the Design tab and choose Save this look under Looks. Give it a name, and under For a client pick the client it belongs to, or leave Any client.
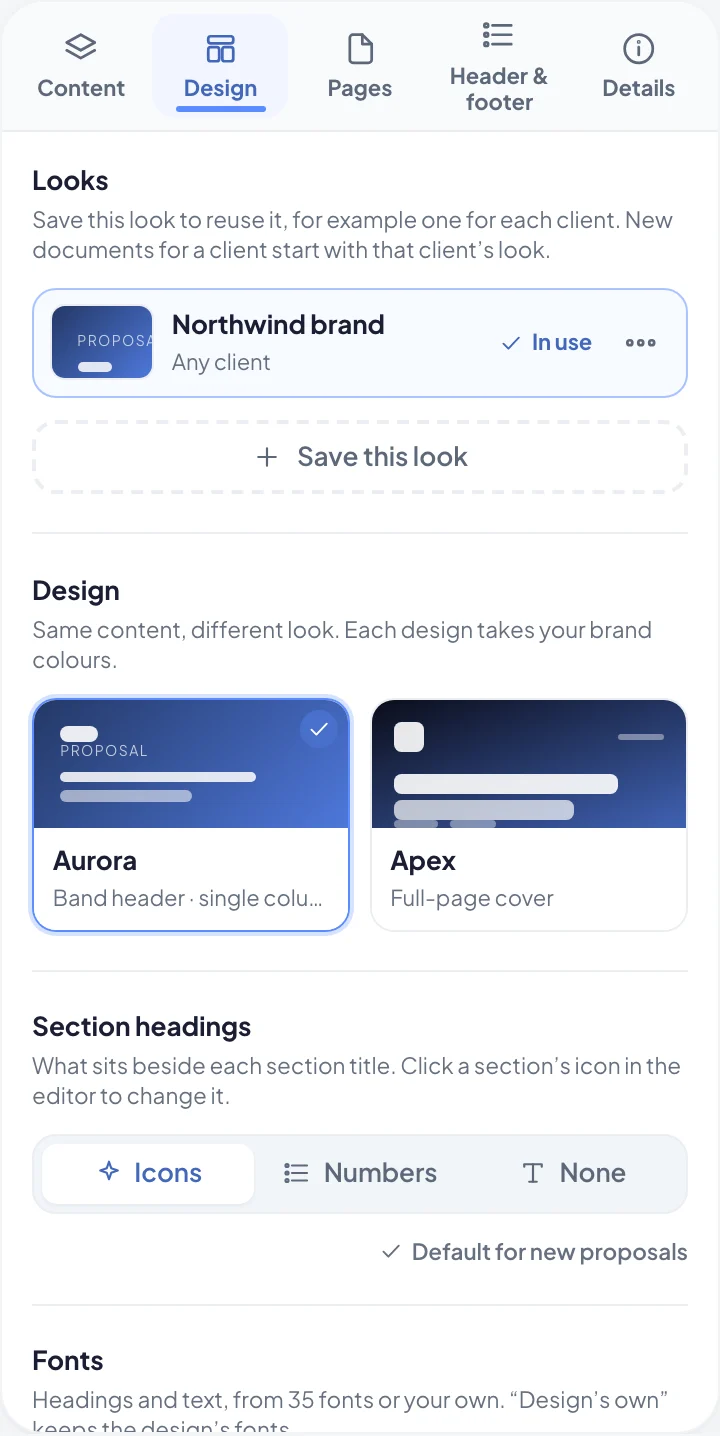
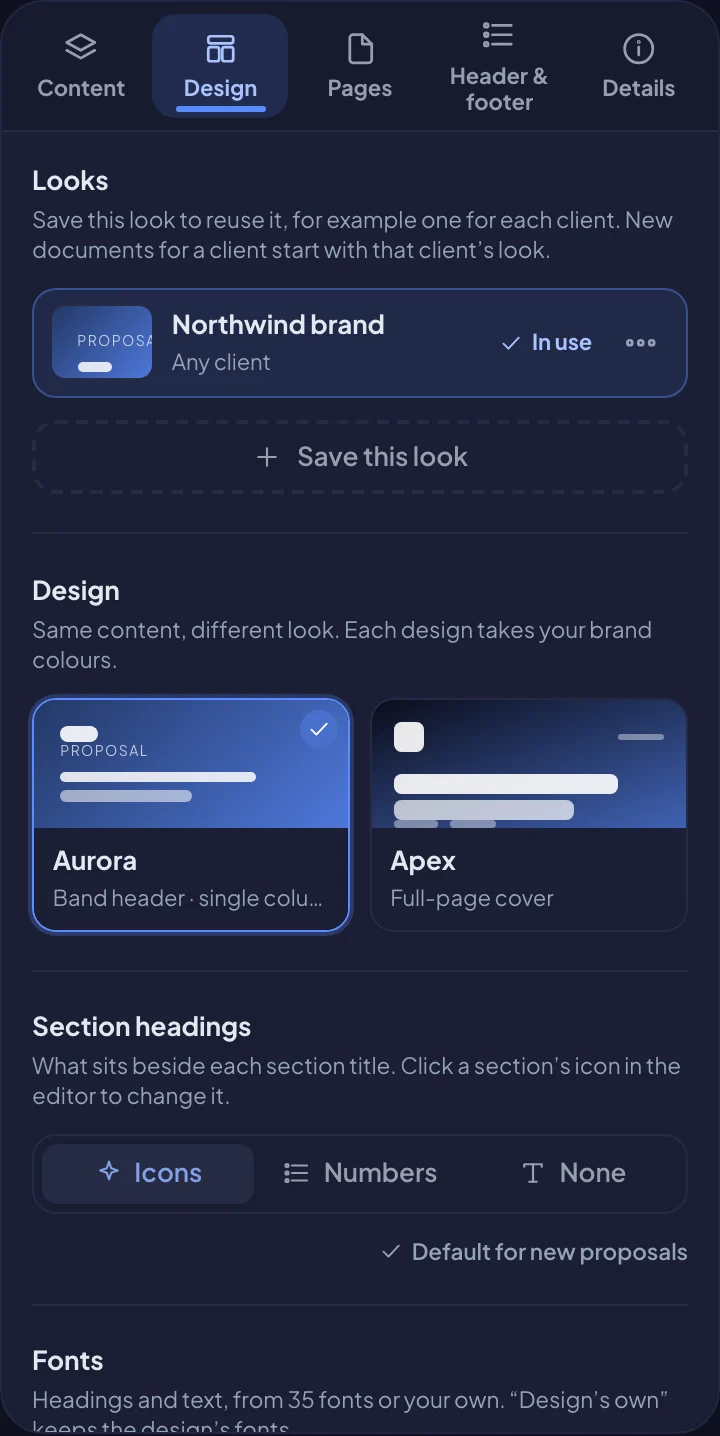
- Apply a look: choose Apply next to it. The look in use shows In use.
- A client’s look: new proposals, agreements and documents for that client start with it, so each client’s documents look the way you designed them. A client has one look; giving the client to another look moves it there.
- Change a look: open its … menu and choose Update from this proposal (or agreement, or document), Rename or change client, or Delete look. Documents that already use a look keep their look when you change or delete it.
Use this look for new documents
Happy with the look? At the bottom of the Design or Pages tab, choose Use this look for new proposals (or Use this look for new agreements). New documents then start with the same design, fonts, colour, paper, cover, background and watermark. You’ll see New proposals start with this look once it’s set.
To add pictures, see Pictures and visual blocks. To write in Arabic, see Arabic and bilingual documents.