Estimate cost and margin
Work out what a proposal will cost you to deliver, ask your team for their hours, and set a price with a healthy margin.
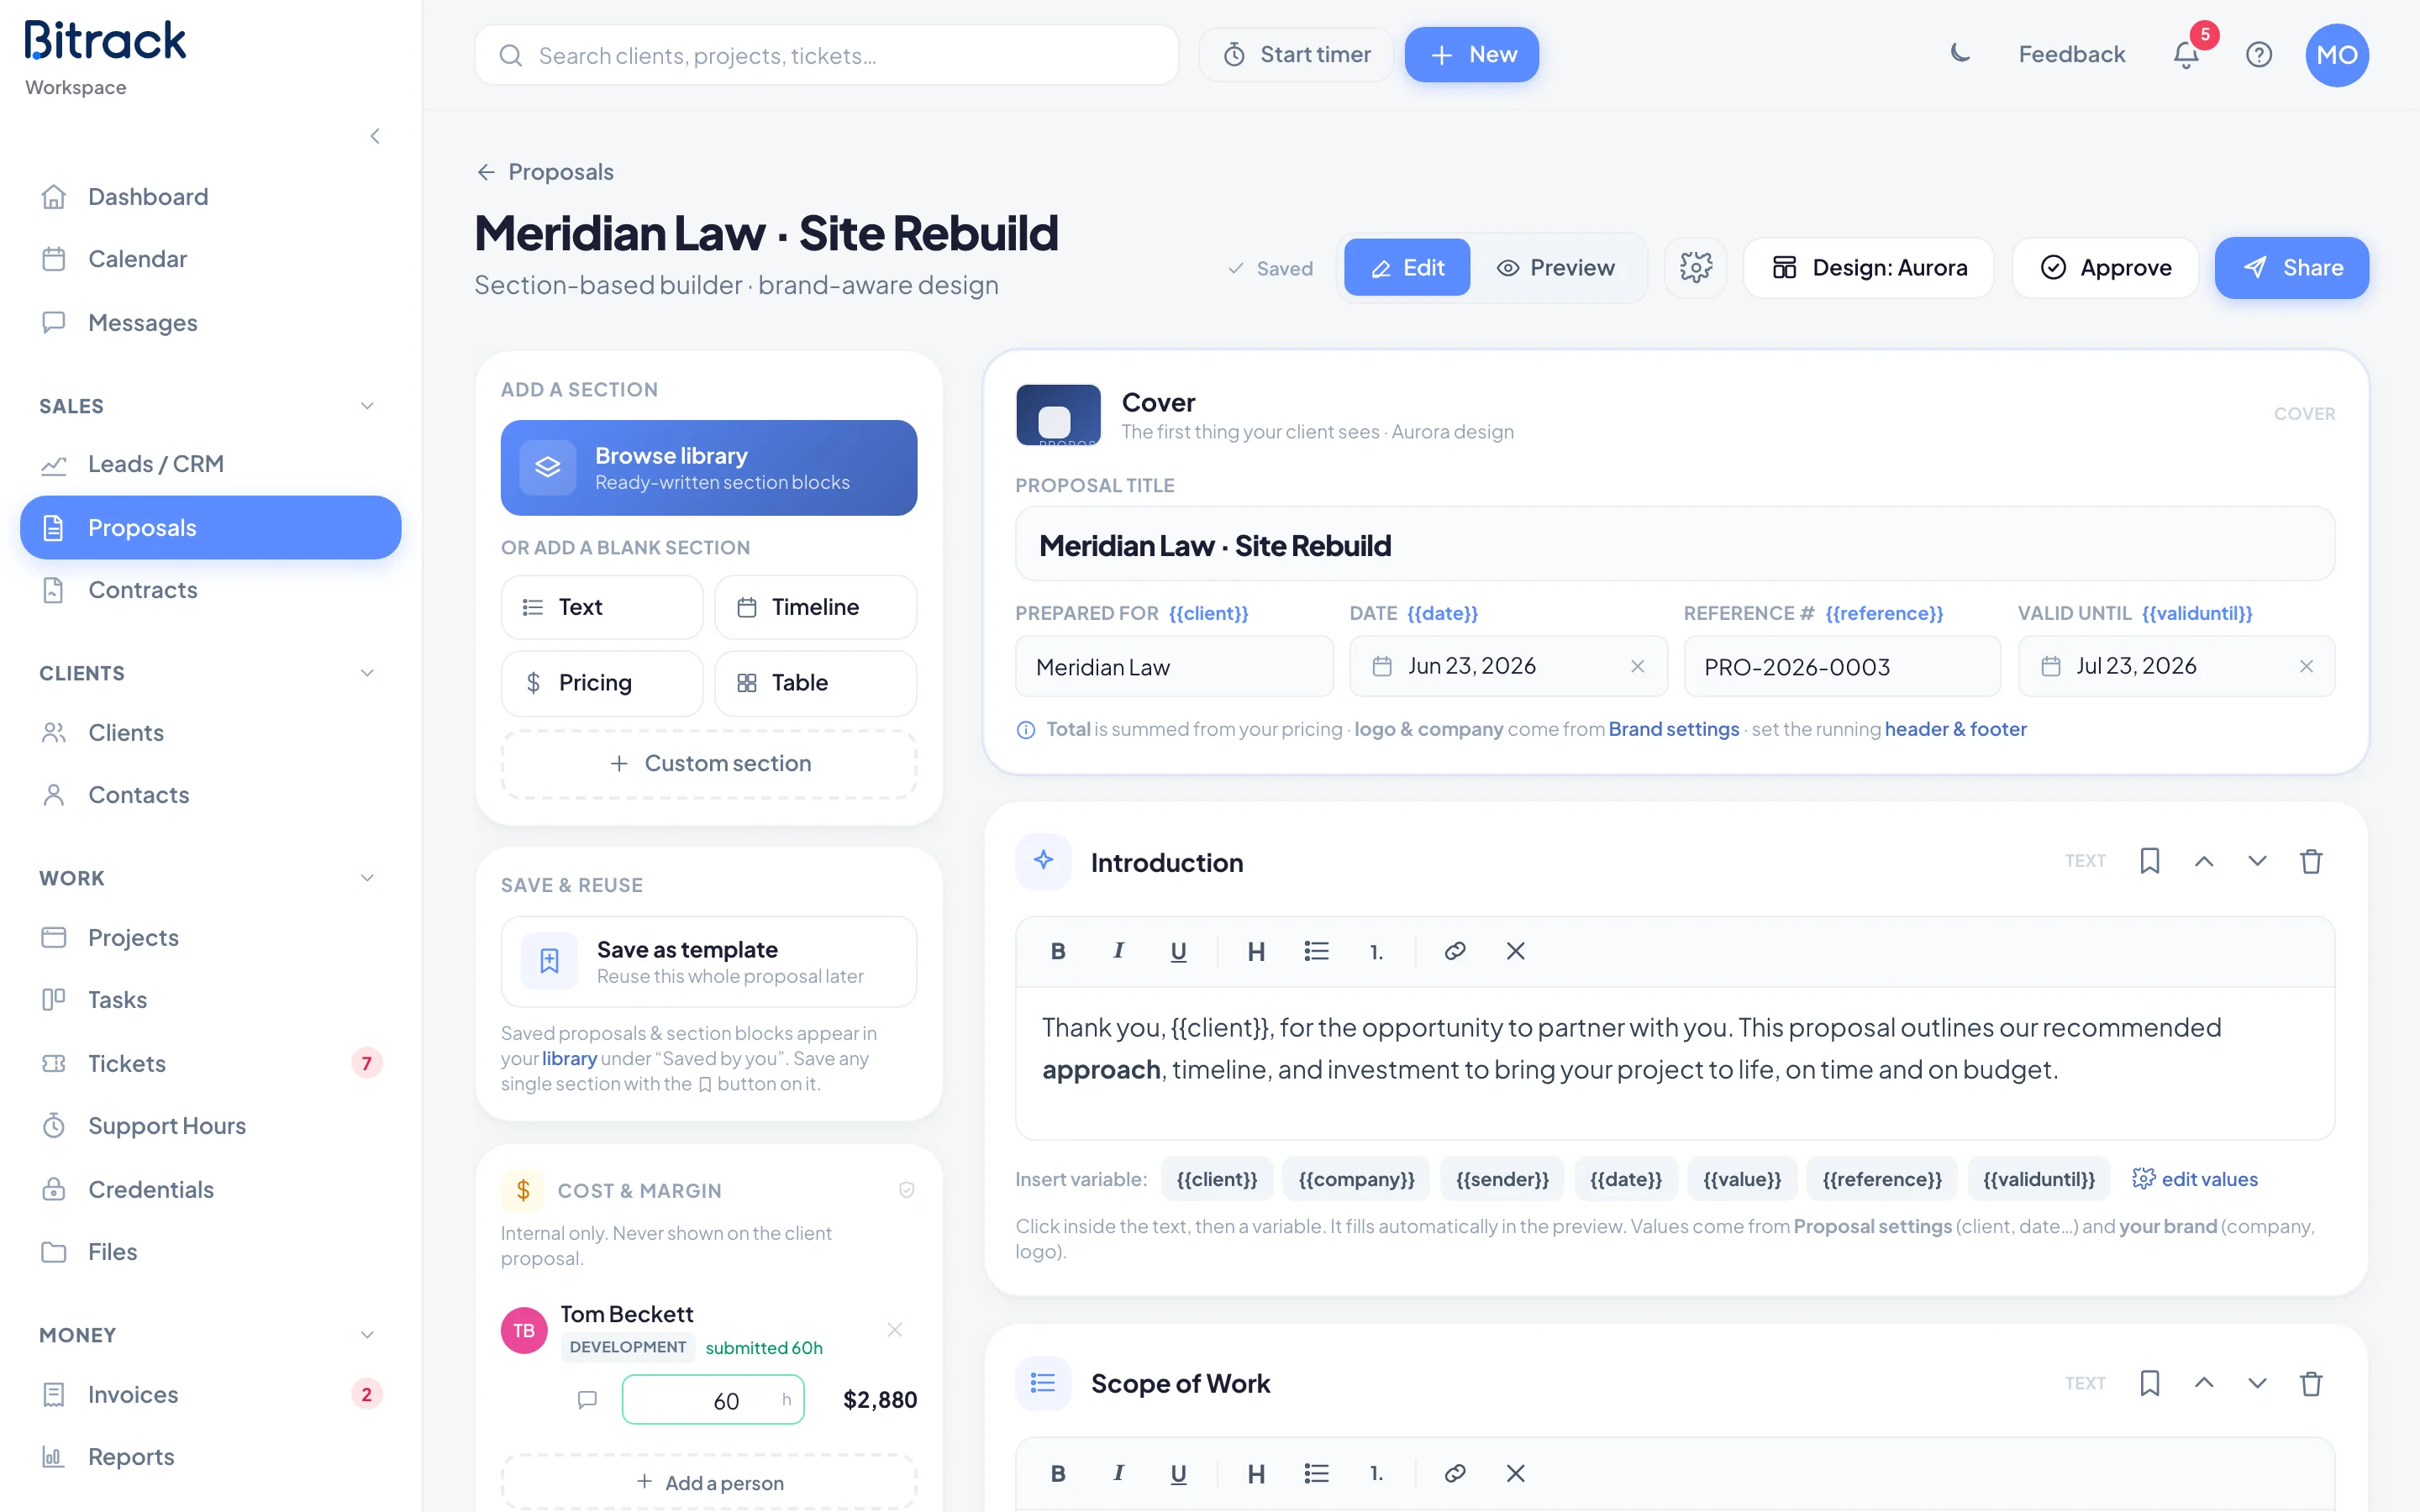
Before you put a price in a proposal, you can check what the work will cost you. The Cost & margin card in the proposal builder adds up your team’s hours and rates, and shows your margin on the price you choose.
Who can see it
Cost and margin figures are sensitive, so they’re kept private:
- The Cost & margin card only appears for roles with the See cost & margin permission.
- It is internal only. Nothing on the card is ever shown on the client’s proposal or PDF.
- Teammates you ask for hours never see rates, prices or margins.
Set up rates first
The estimate uses each person’s hourly rates. Set them in Team & Access → Rates:
- Cost is what an hour of their time costs you, such as wages or salary.
- Bill is what you charge clients for an hour of their time.
- Disciplines are the workstreams people work in, such as Design or Development. A person can have several. Their primary discipline, marked with a star, prices their hours in proposals.
Only roles with the See team rates permission can open this tab. Changing rates needs Edit team rates.
Build the estimate
- Open a draft proposal and find the Cost & margin card on the left.
- Choose Add a person.
- For each person, choose the discipline you’re estimating, such as + Design. Add the same person under more than one discipline to split their hours.
- Choose Done.
- Enter the hours for each row.
The card adds it up as you type:
| Line | What it means |
|---|---|
| Total hours | All the hours on the estimate |
| Internal cost | Hours × each person’s cost rate: what it costs you to deliver |
| Suggested price | Hours × each person’s bill rate |
| Client price | The price you’ll charge. Leave it blank to use the suggested price |
| Margin | Client price minus internal cost, as an amount and a percentage |
Ask the team for hours
The people doing the work often know best how long it takes.
- Add the people to the estimate first.
- Choose Ask the team for hours.
- Write a scope or brief so they can estimate accurately. If your proposal has a scope section, it’s filled in for you.
- Choose Send requests.
Each person gets a notification and opens the request in one click from My Account → Hour requests. They see only the scope, never the proposal itself or any rates. They enter their hours and an optional note, then choose Submit hours.
Their hours fill in on your estimate automatically. Rows show awaiting reply until they answer.
To talk it through, choose the message button on their row. You can both write in the conversation. If you type different hours on the card, your number is used instead of theirs.
Put the price in the proposal
When you’re happy with the numbers:
- Choose Use price.
- Pick how to show it:
- Single fixed price: one line with the client price.
- Breakdown by workstream: a line per discipline (Design, Engineering and so on), with no names or rates shown.
The price is written into the proposal’s first pricing section, or a new pricing section is added if there isn’t one.
Choose Build timeline to draft the phases from the estimate. It fills the first timeline section, or adds one. You can edit both sections like any other.
Read more in Create a proposal.