Capture leads from your website
Put a lead form on your website, or connect tools like Zapier, so every enquiry lands in your pipeline automatically.
Every enquiry from your website can become a lead in Leads / CRM without anyone retyping it. You set this up in Integrations → Website leads.
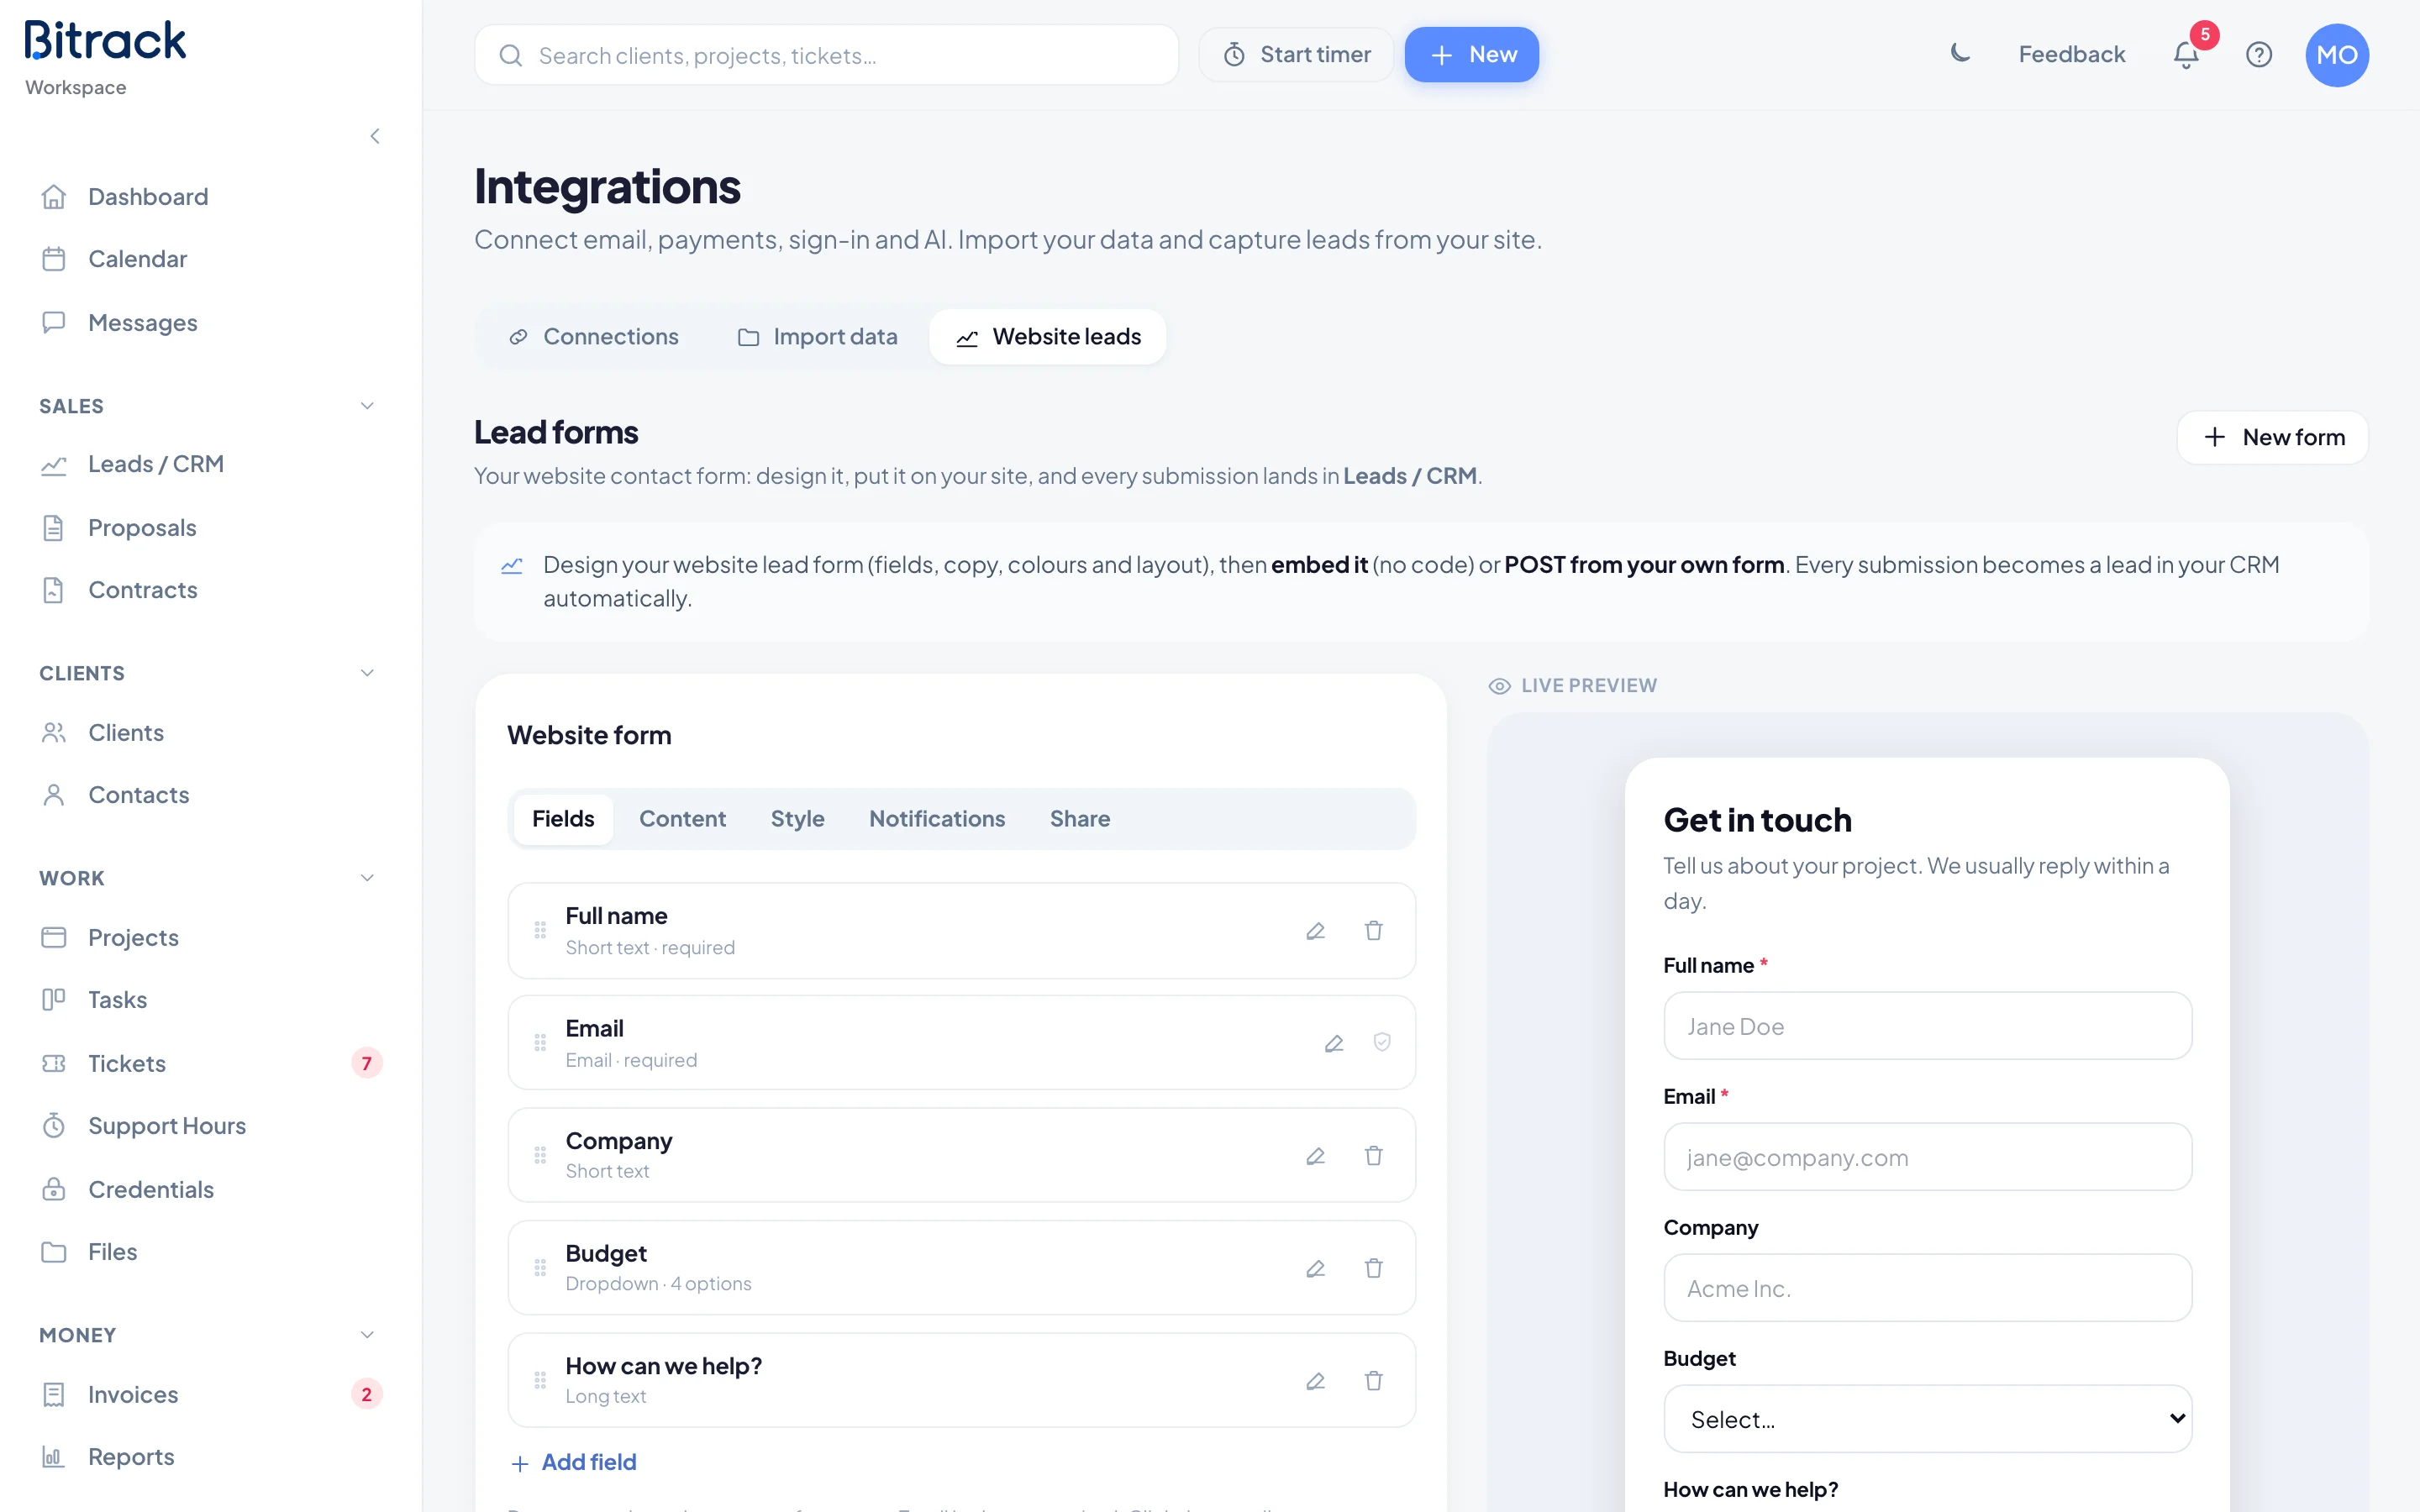
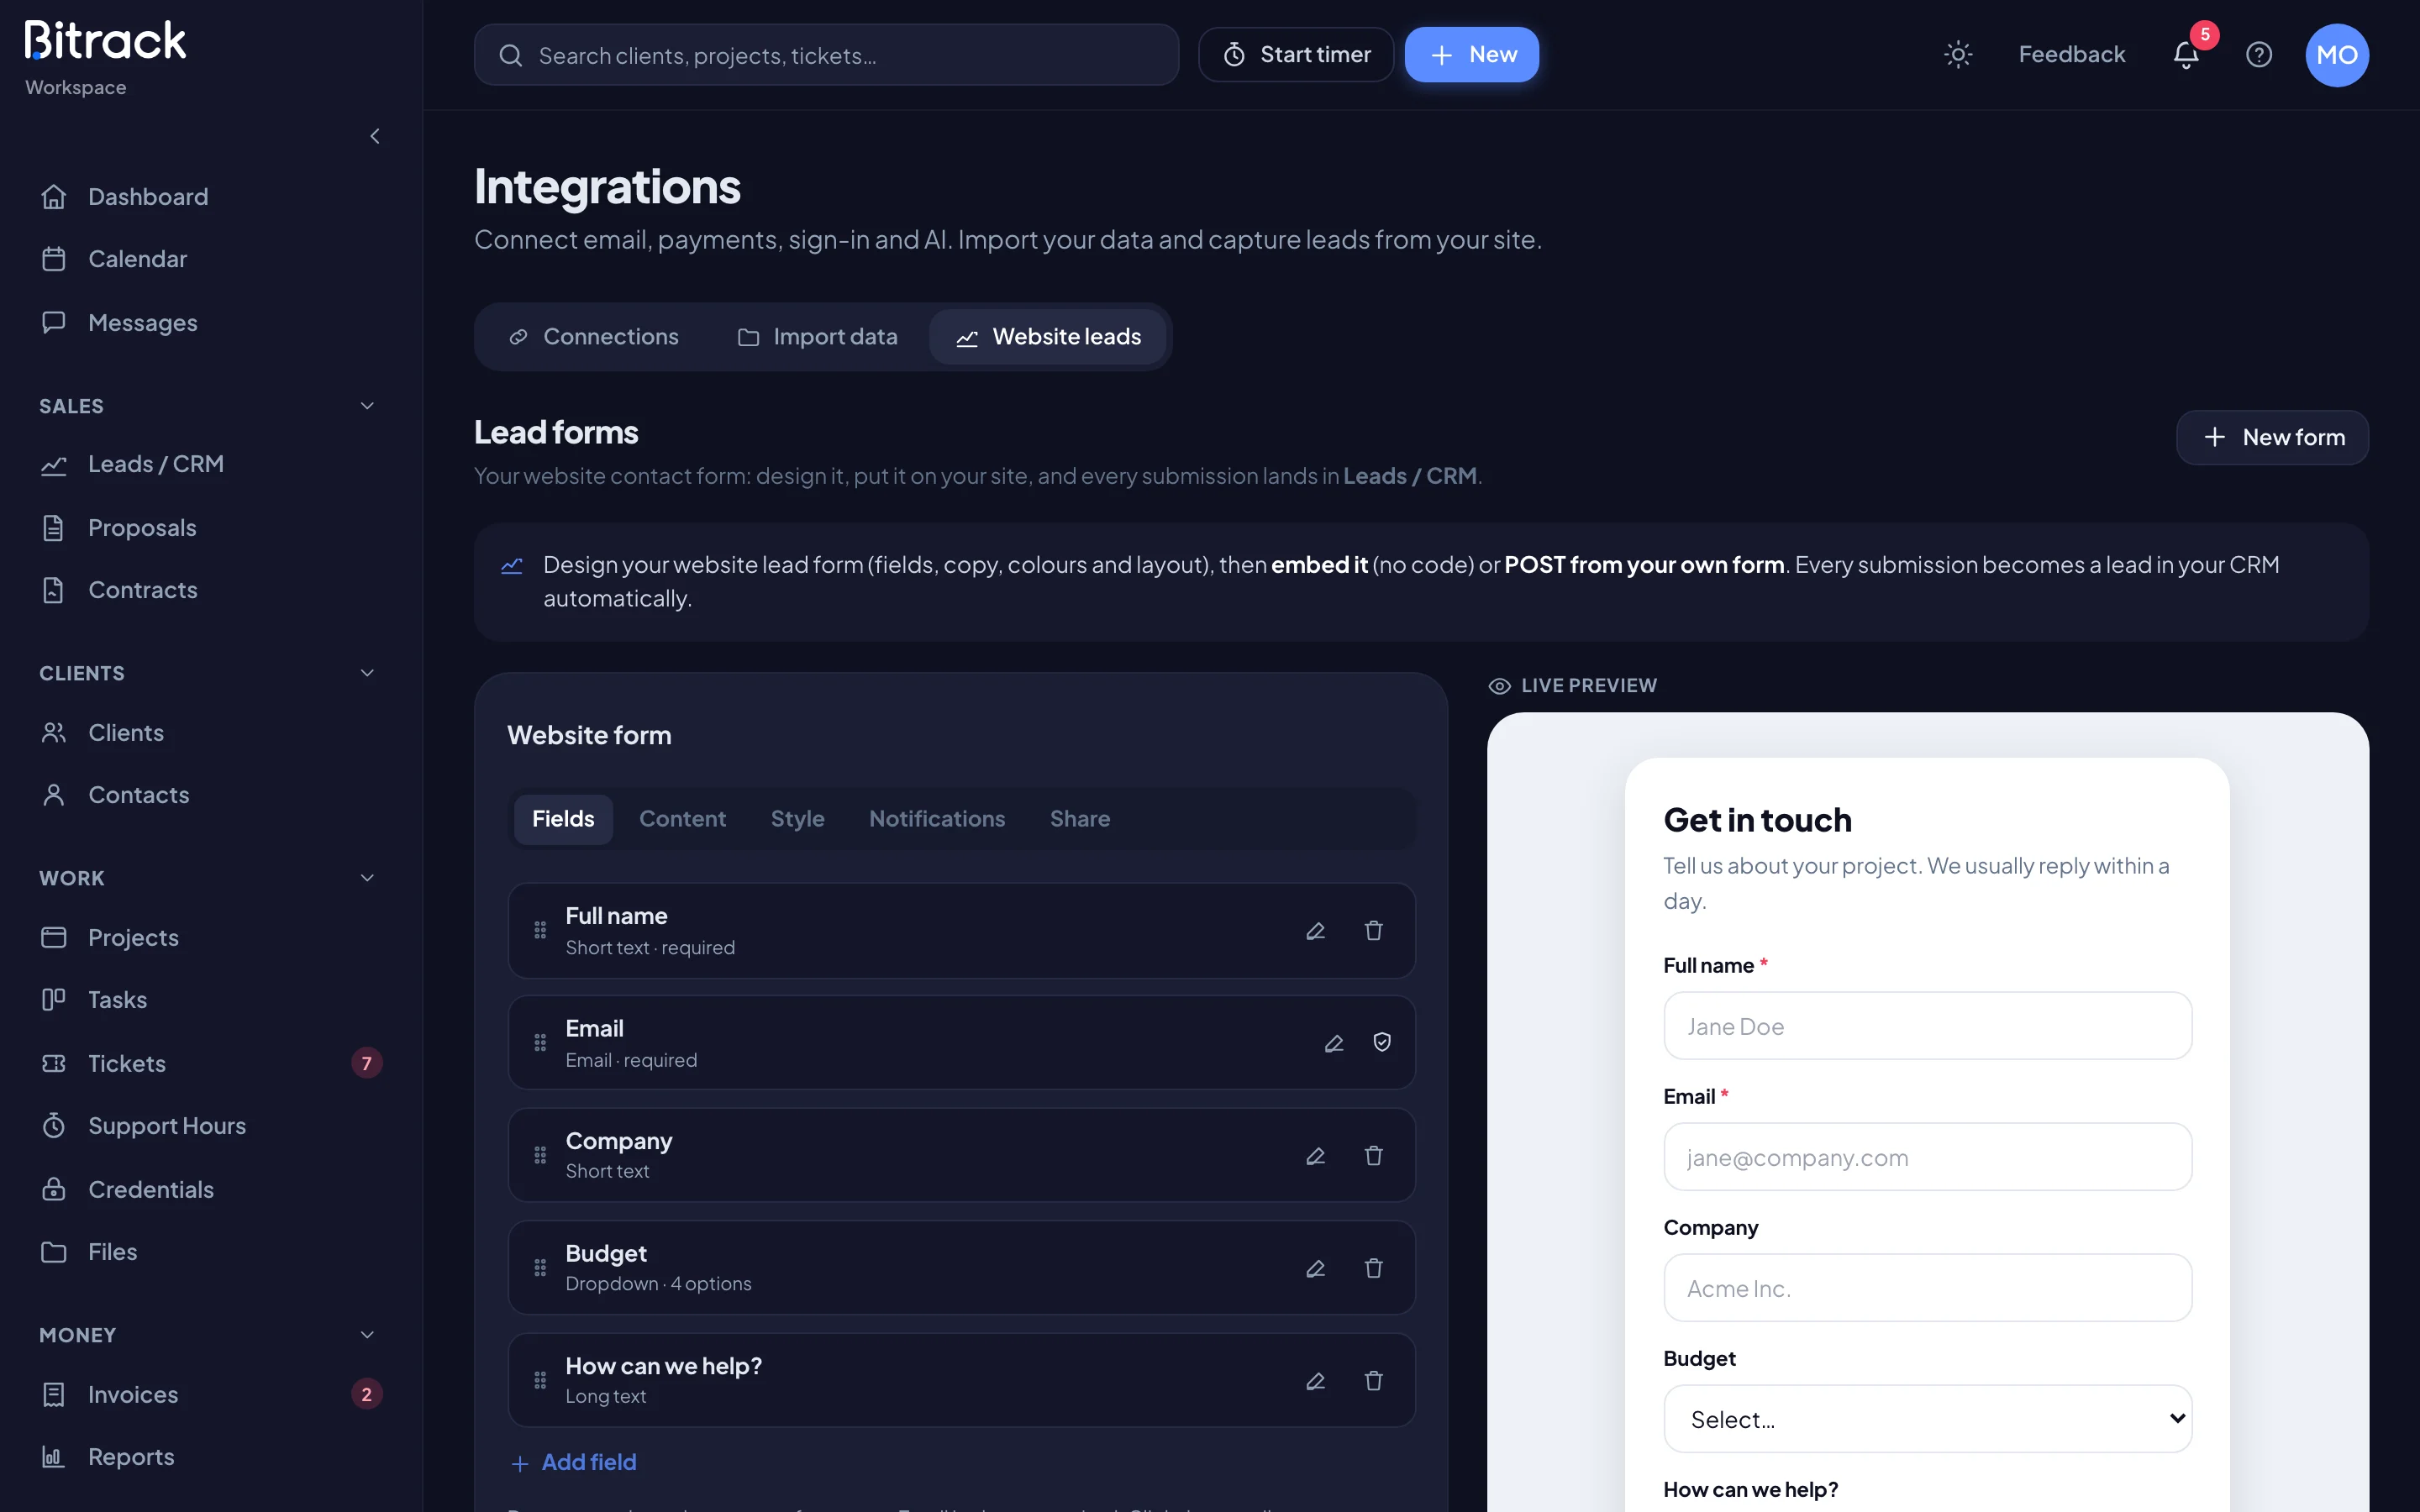
Design your form
The form editor has five tabs, with a Live preview beside them. Changes save as you go.
| Tab | What you set |
|---|---|
| Fields | The questions. Choose Add field, drag to reorder, or use the pencil to rename a field, add a placeholder or edit dropdown choices. Email is always required. |
| Content | The Heading, Sub-text and Submit button label, and what happens After submit: Show a message or Redirect to URL. |
| Style | Accent colour, Corner radius, Layout (1 or 2 columns) and Theme (light or dark). |
| Notifications | Where new leads go, who owns them and who hears about them. |
| Share | Your websites and the code to put the form on them. |
Choose New form to make more than one, for example one per service.
Route new leads
On the Notifications tab:
- Choose the stage in New leads land in.
- Under Assign new leads to, pick The workspace owner, A specific person, or Take turns (round-robin) between the people you select.
- Turn on Email me on new submissions and choose who gets the email: the lead owner, the whole sales team, or a specific address.
- Turn on Auto-reply to the submitter to send an instant confirmation.
- Keep Spam protection on. It adds an invisible check and a hidden trap field to the hosted form.
Put the form on your site
- Open the Share tab.
- Under Your websites, enter your domain, one per line. Subdomains are included. Only these sites can embed the form or post to it from a browser.
- Copy the code under Embed the hosted form and paste it where you want the form. This is the easiest option and needs no other code.
- Or copy the code under Or drop it in an iframe.
- Choose Send a test submission to check it. A test lead appears in your pipeline.
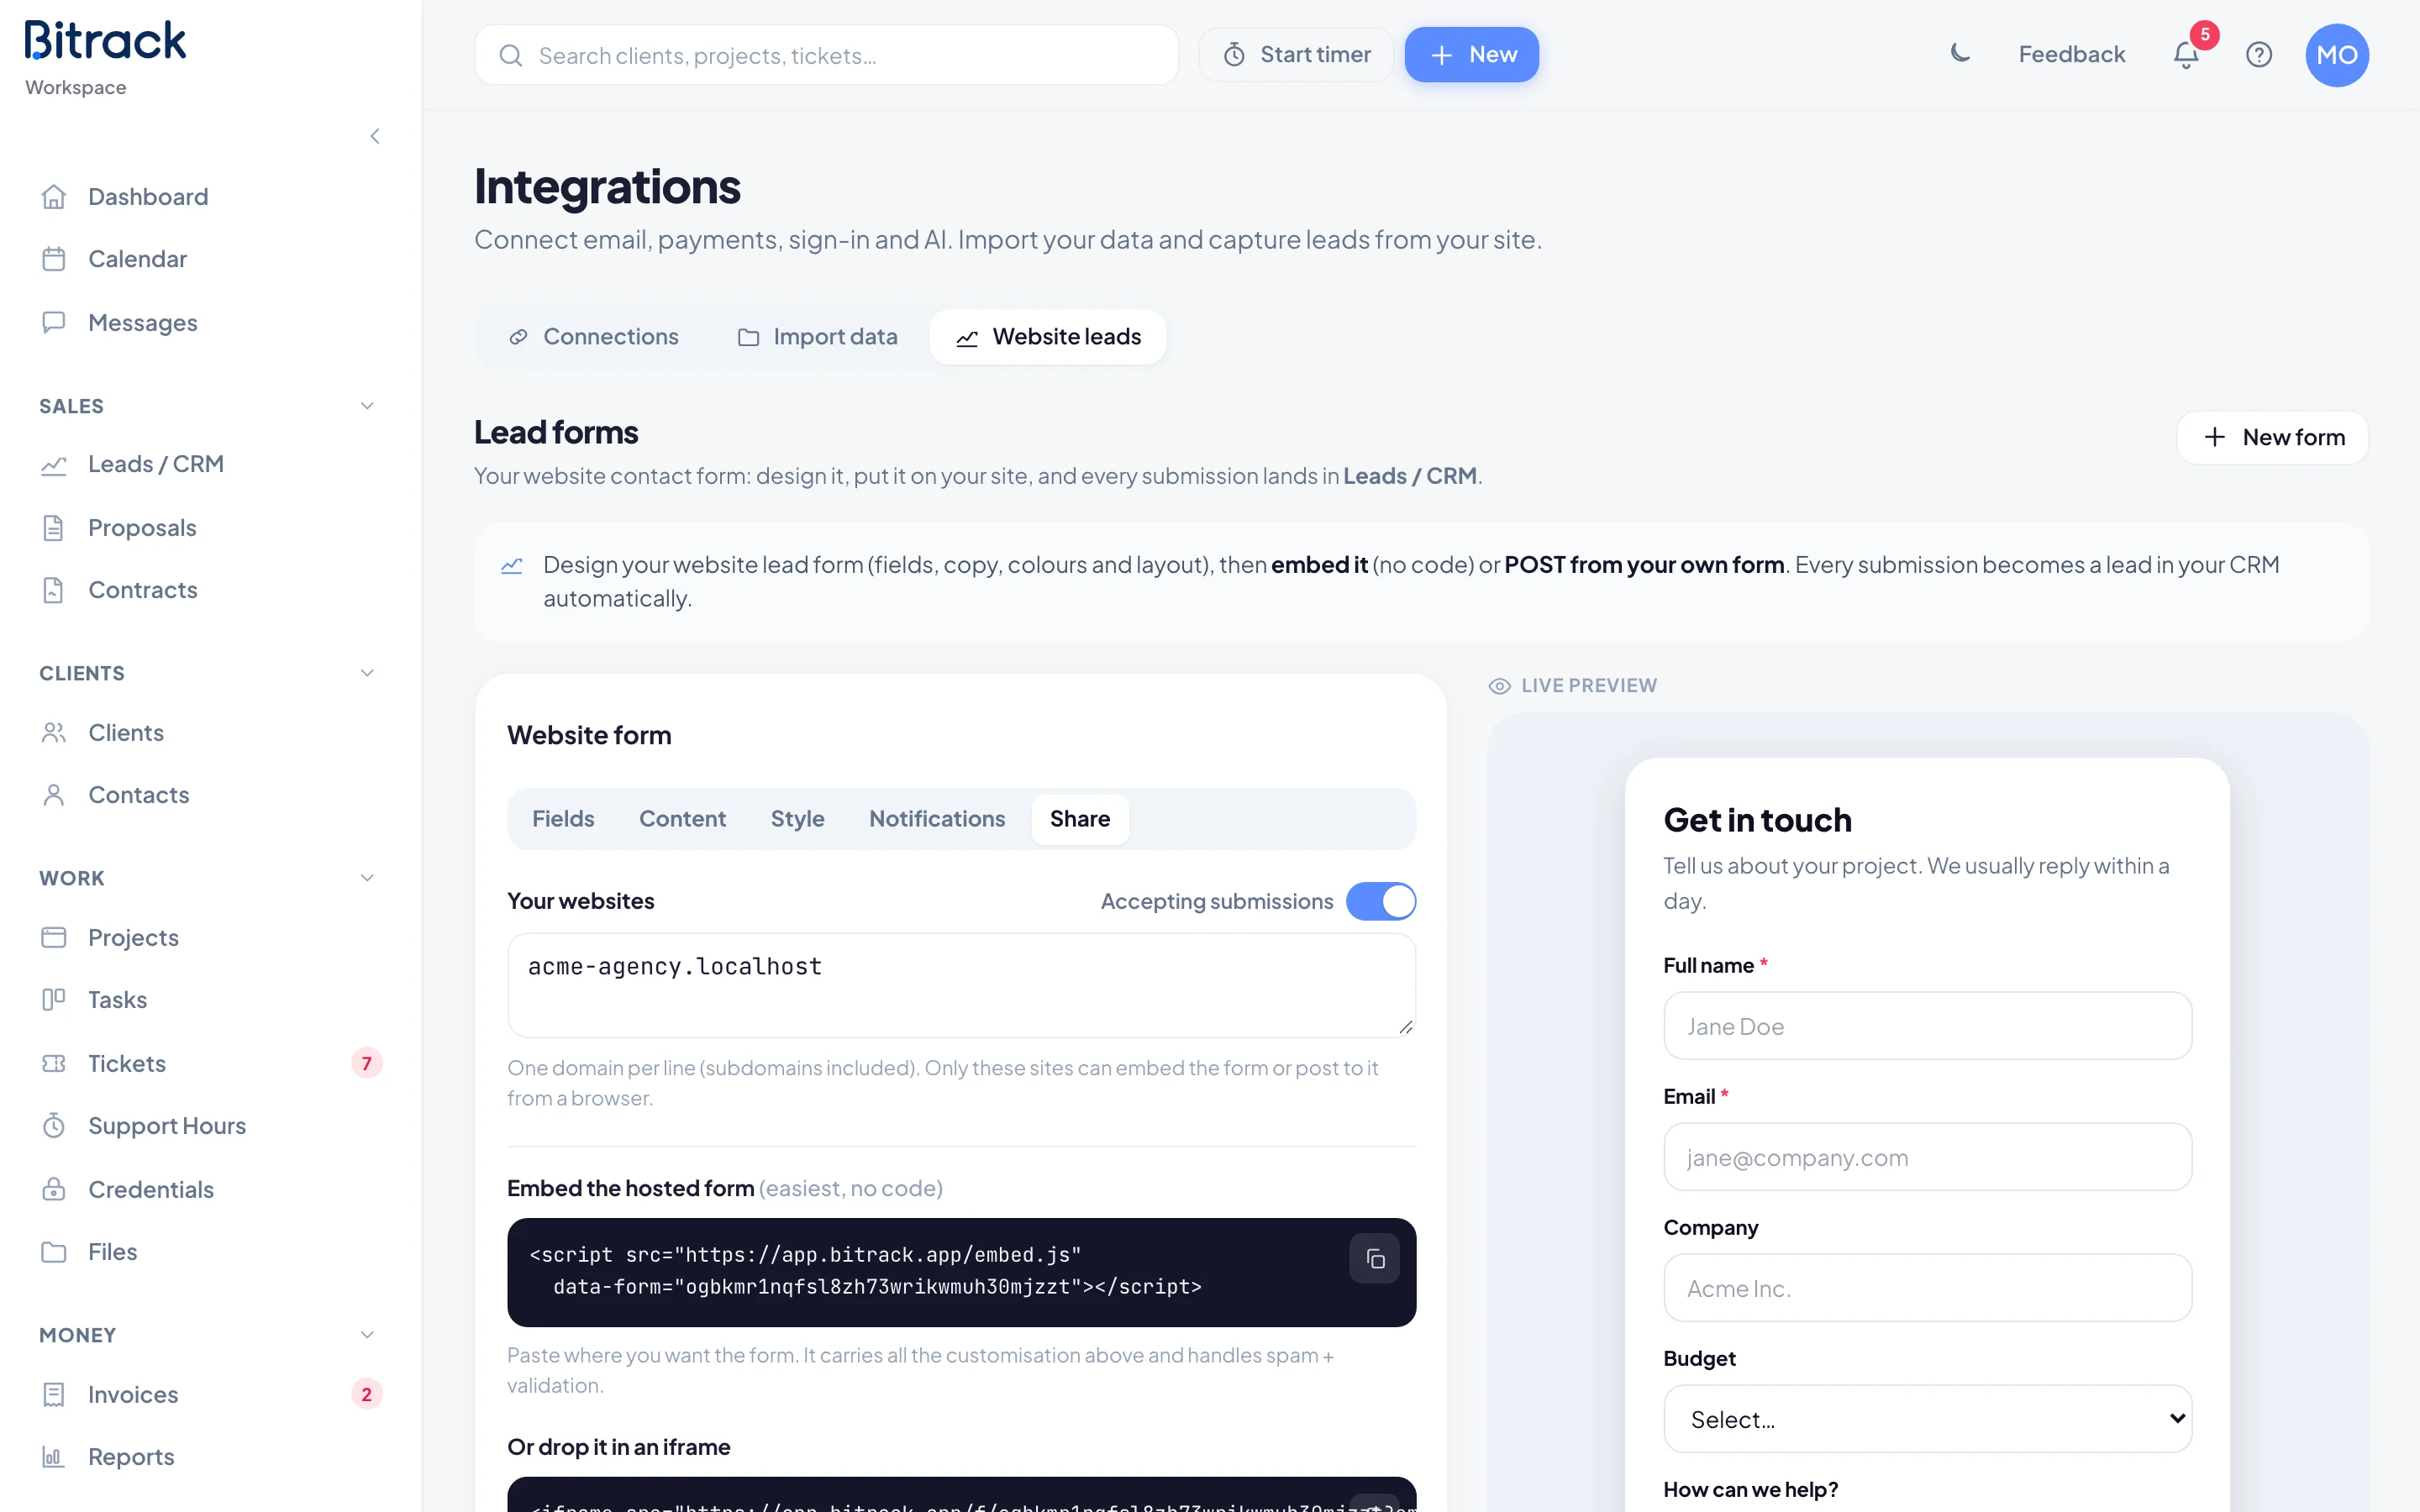
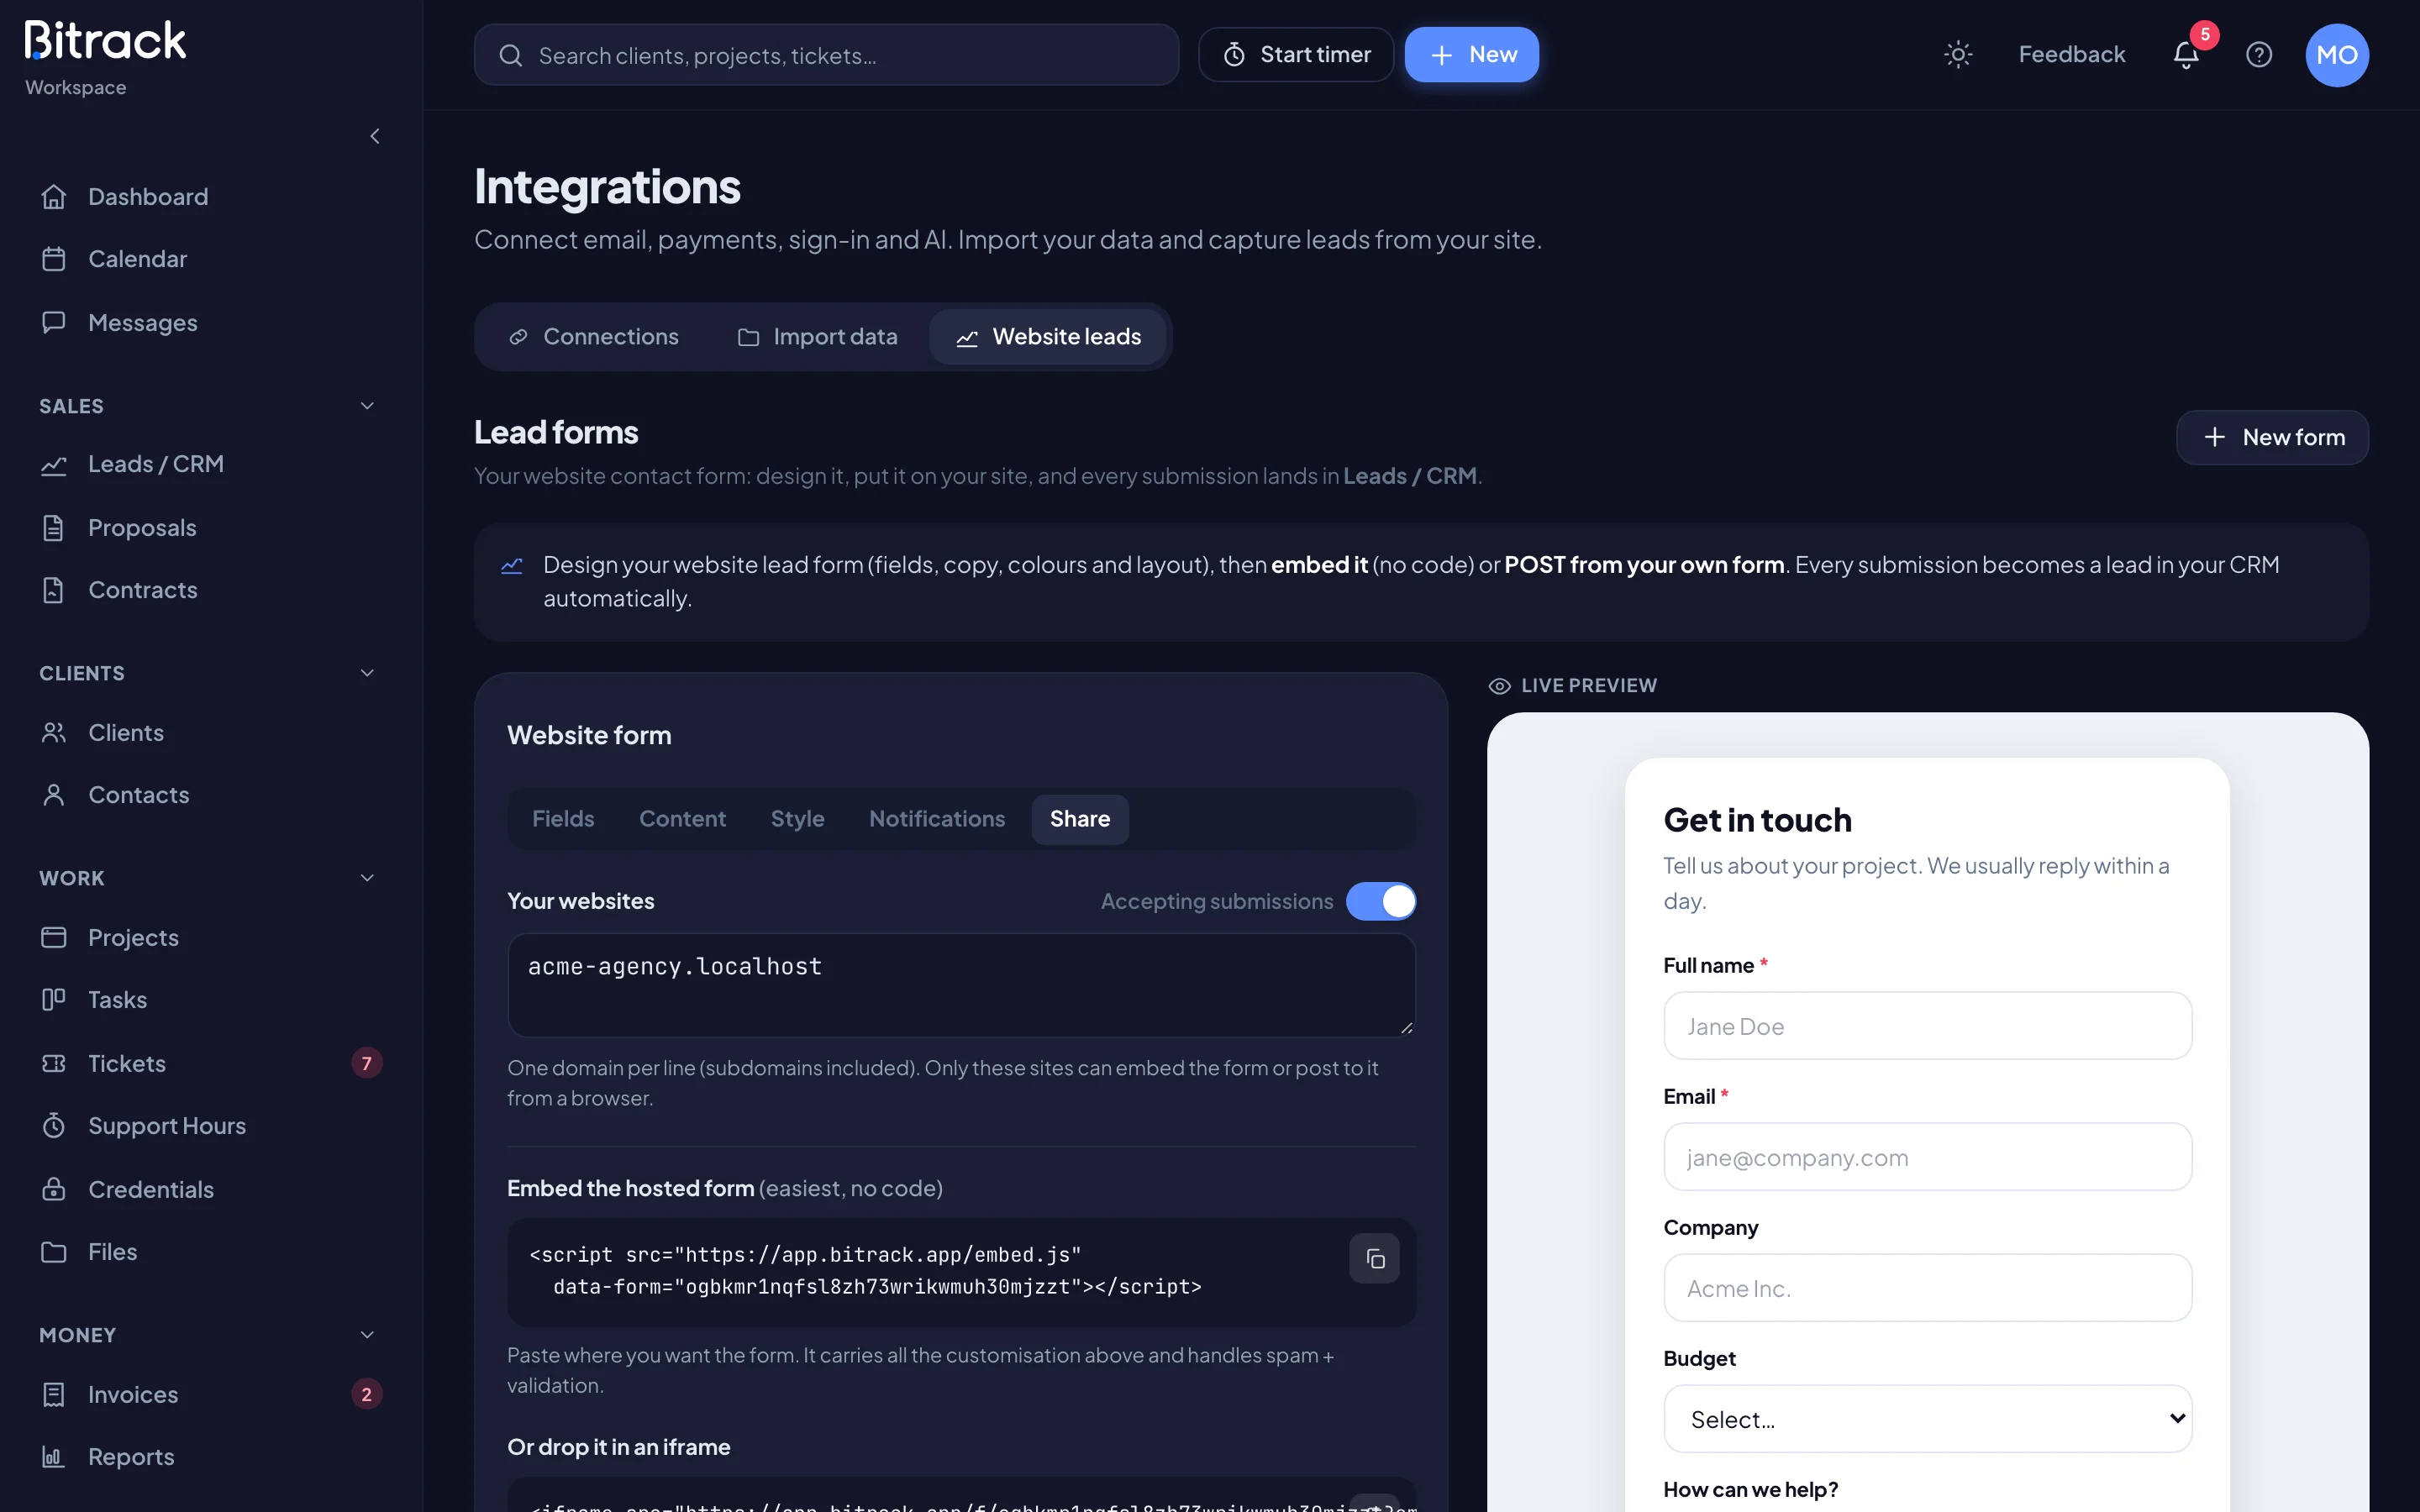
Use Accepting submissions to pause a form. Regenerate link creates new code; the old embed code and endpoint stop working straight away, so update your website after.
Use your own form
If you already have a form, turn on Accept posts from your own form code. Then set your form to POST to the address shown, or post JSON from your backend. Field names match the fields on the Fields tab.
See what came in
Recent submissions lists every form entry, including the ones filtered as spam. Choose Open lead to jump to the lead.
If someone who already has an open lead writes again with the same email, Bitrack adds the enquiry to that lead’s timeline instead of creating a second lead. The owner is told they got in touch again.
Connect other tools with lead sources
Use Lead sources for Zapier, Make, ad platform lead forms, chat widgets or your own scripts. Each source gets its own address and key.
- Choose New source.
- Give it a Name, and optionally a Source label on the lead, such as Facebook Ads.
- Choose who to Assign new leads to.
- Choose Create source.
- Copy the API key straight away. For your security, it won’t be shown again.
Send the same fields as the website form, plus an external_id, so a retry never creates a second lead.
Each source has these controls:
- Require signed requests: adds a signing secret, so only requests signed with it are accepted.
- Rotate key: replaces the key. The old key stops working immediately.
- Revoke: refuses requests from this source until you rotate the key.
- Delete: removes the source. Leads it already created stay in your pipeline.
Read more in Leads and the pipeline.