Create a proposal
Build a branded proposal from sections, price it, choose a design and preview exactly what your client will see.
Proposals in Bitrack are built from sections: text, timelines, pricing and tables. Your logo, colours and company name are applied for you.
Start a proposal
- Go to Proposals and choose New proposal.
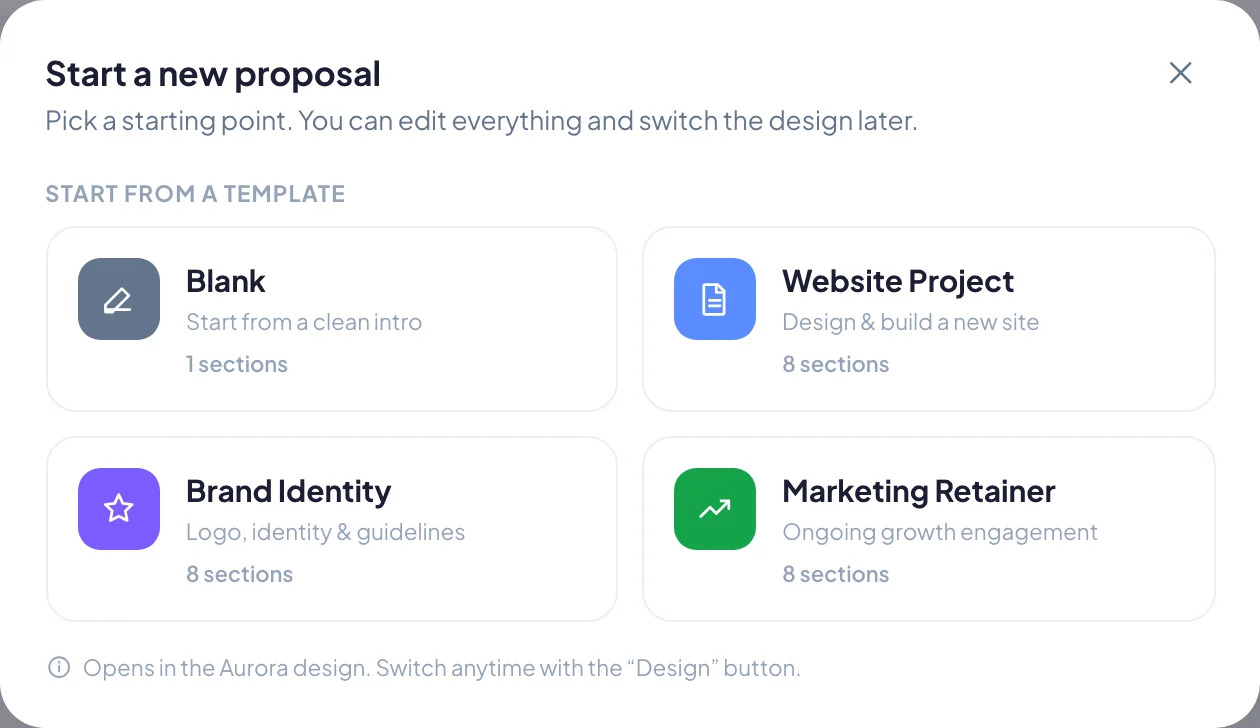
- Pick a starting point: Blank, Website Project, Brand Identity, Marketing Retainer, or a template your team saved.
- The proposal opens in the builder, in the Aurora design.
You can also start from a deal. Open a lead in Leads / CRM and choose Create proposal. The proposal is linked to that lead.
The builder
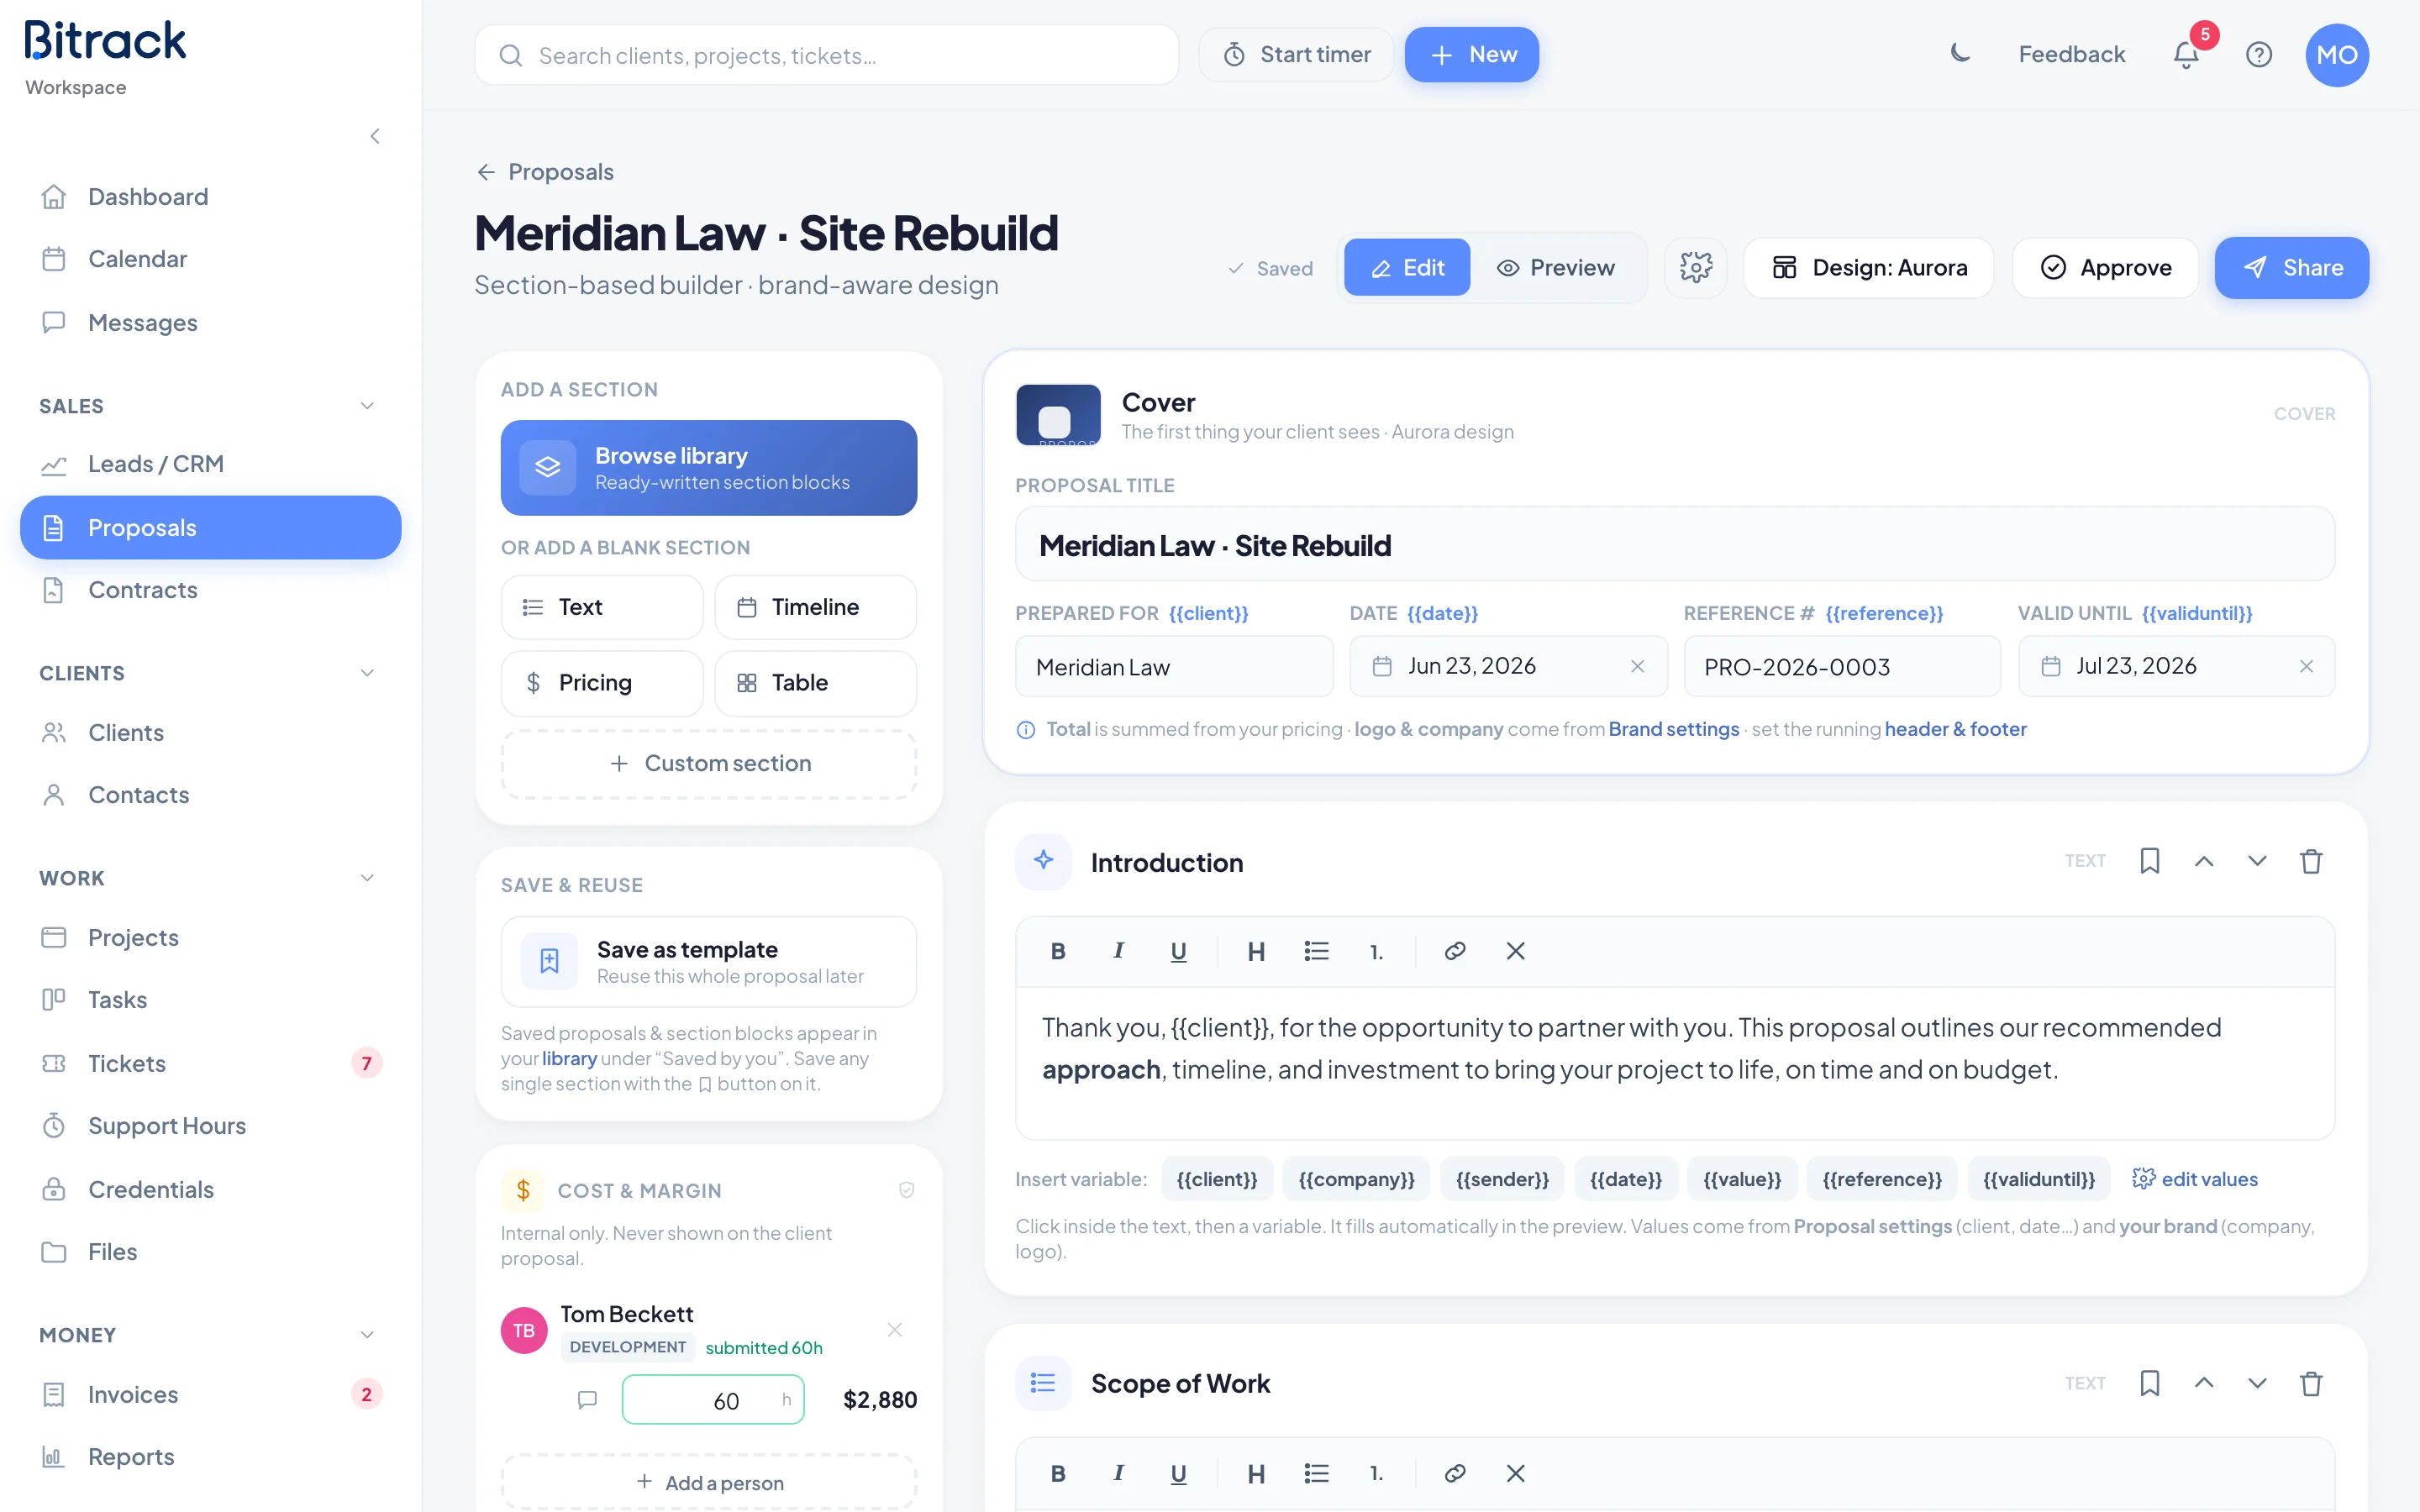
The builder has two modes: Edit and Preview. Everything saves as you work; the header shows Saving… and then Saved.
The cover
The cover is the first thing your client sees. Fill in:
- Proposal title
- Prepared for, the client’s name
- Date and Valid until
- Reference #
The total is added up from your pricing sections.
Add sections
Use the Add a section panel on the left:
- Browse library adds ready-written section blocks.
- Text, Timeline, Pricing and Table add a blank section of that type.
- Custom section lets you name a section and pick its type.
On each section you can rename it, choose its icon, move it up or down, or remove it. You can also drag a section by its icon to reorder it.
Price the work
A Pricing section has two modes:
- Breakdown: a line per item. Choose Add line item to add more. Use the link button to merge an item with the row above so they share one price.
- Single price: one fixed price for the whole project.
Choose Add discount to take off a percentage or a fixed amount. The Total investment updates as you type.
Tables and timelines
A Timeline lists phases, a description and how long each takes. A Table can have any rows and columns; choose Add row or Add column, and turn the Header row on or off.
Choose a design
Choose the design button in the header, such as Design: Aurora, to switch the look. Aurora has a band header and a single column. Apex has a full-page cover. Both take on your brand colours automatically, and your content stays the same.
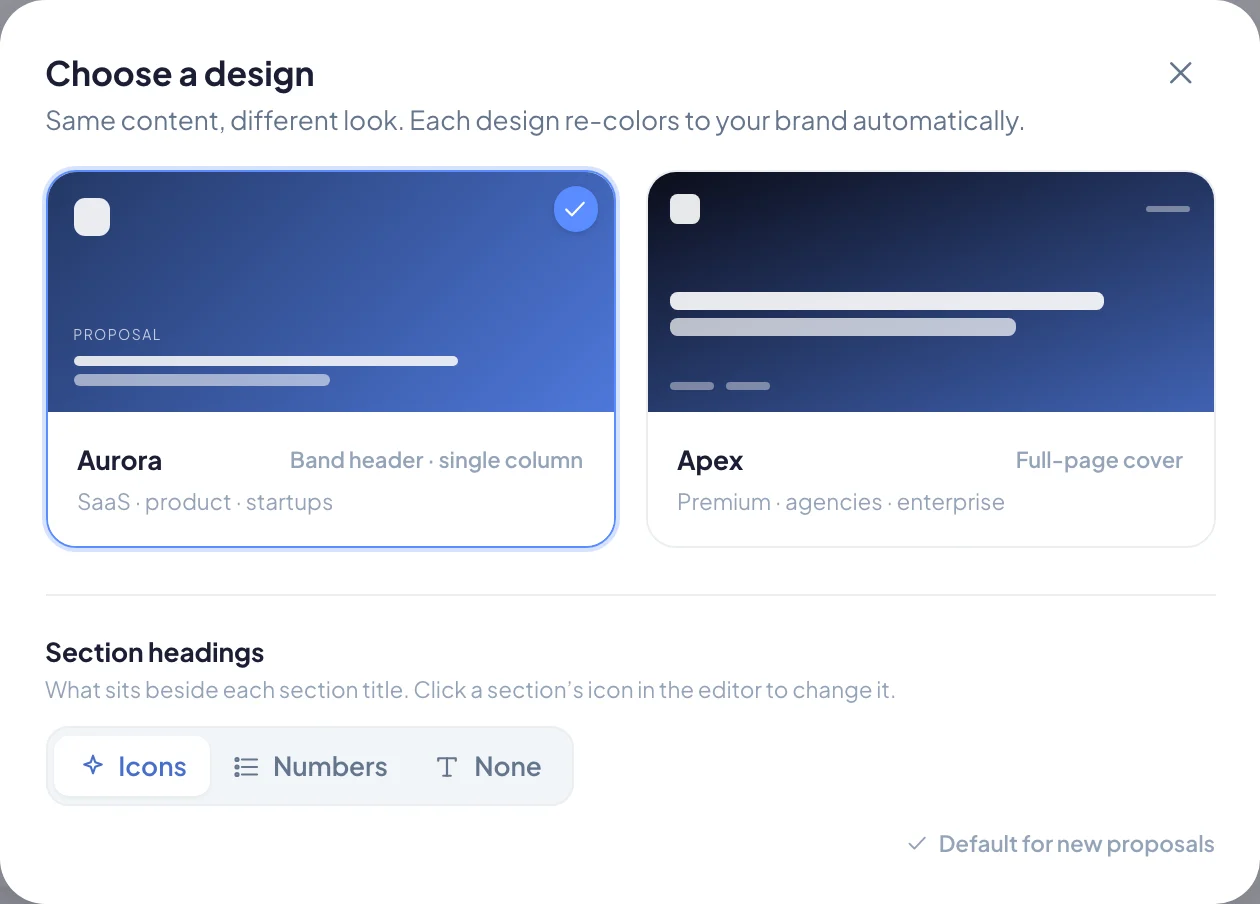
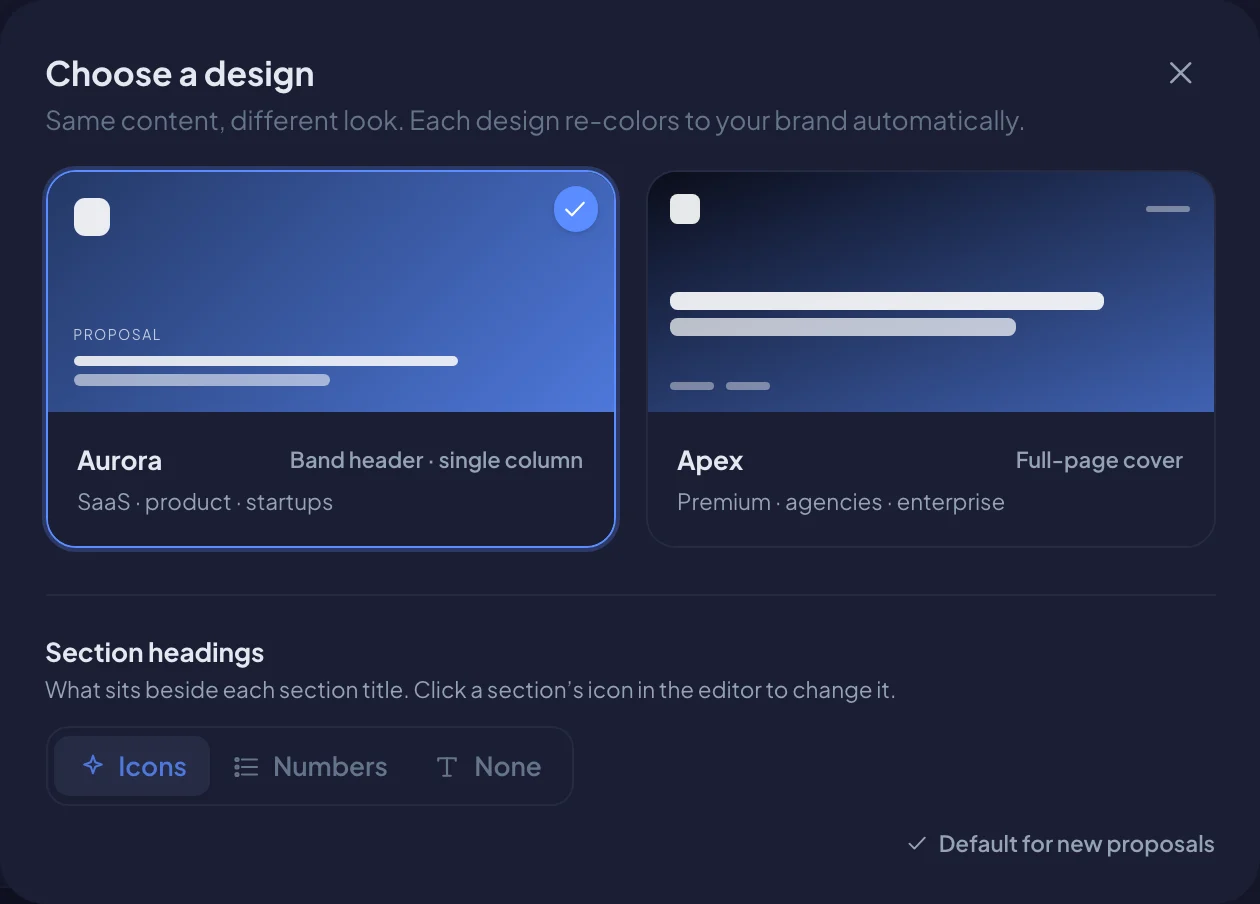
In the same window, choose what sits beside each section title under Section headings: Icons, Numbers or None.
Proposal settings
Choose the settings icon in the header to open Proposal settings.
- Details: the title, client, dates and reference, plus which logo to use on proposals.
- Header & footer: turn on a running header or footer for every page. Start from a preset, or build your own with tokens such as the client name and date.
Your logo and company name come from Settings → Company & brand.
Preview and download
Switch to Preview to see the Client-facing preview: A4 pages, exactly as your client will see them. Tables never split across a page.
Choose Download PDF for a copy to attach or print.
Save your work for next time
- Save as template saves the whole proposal to reuse later.
- The bookmark button on a section saves just that section as a block.
Both show up in your library under Saved by you. See The proposal and contract library.
When you’re ready, see Send and track a proposal.