Create an agreement
Turn an accepted proposal or a template into an agreement, set its fees, payment schedule and renewal date, and get it ready to sign.
Agreements (contracts) in Bitrack are made of numbered clauses, with the parties, fees and dates filled in for you. Every agreement belongs to a client.
From an accepted proposal
When your client accepts a proposal that belongs to a client, Bitrack starts a draft agreement from it for you. You’ll find it in Documents → Agreements.
You can also start one yourself:
- Go to Documents → Agreements and choose New agreement.
- Under From an approved proposal, pick the proposal. Proposals for the client you choose are marked Suggested. One that already has a draft shows Draft ready · open.
- Choose what comes across from the proposal:
- Accepted proposal clause, naming the proposal, who accepted it and when
- Scope of work
- Timeline
- Fees & price lines, so the total matches what was accepted, including the add-ons or package your client chose
- any other sections, each as its own clause
- Choose Start agreement.
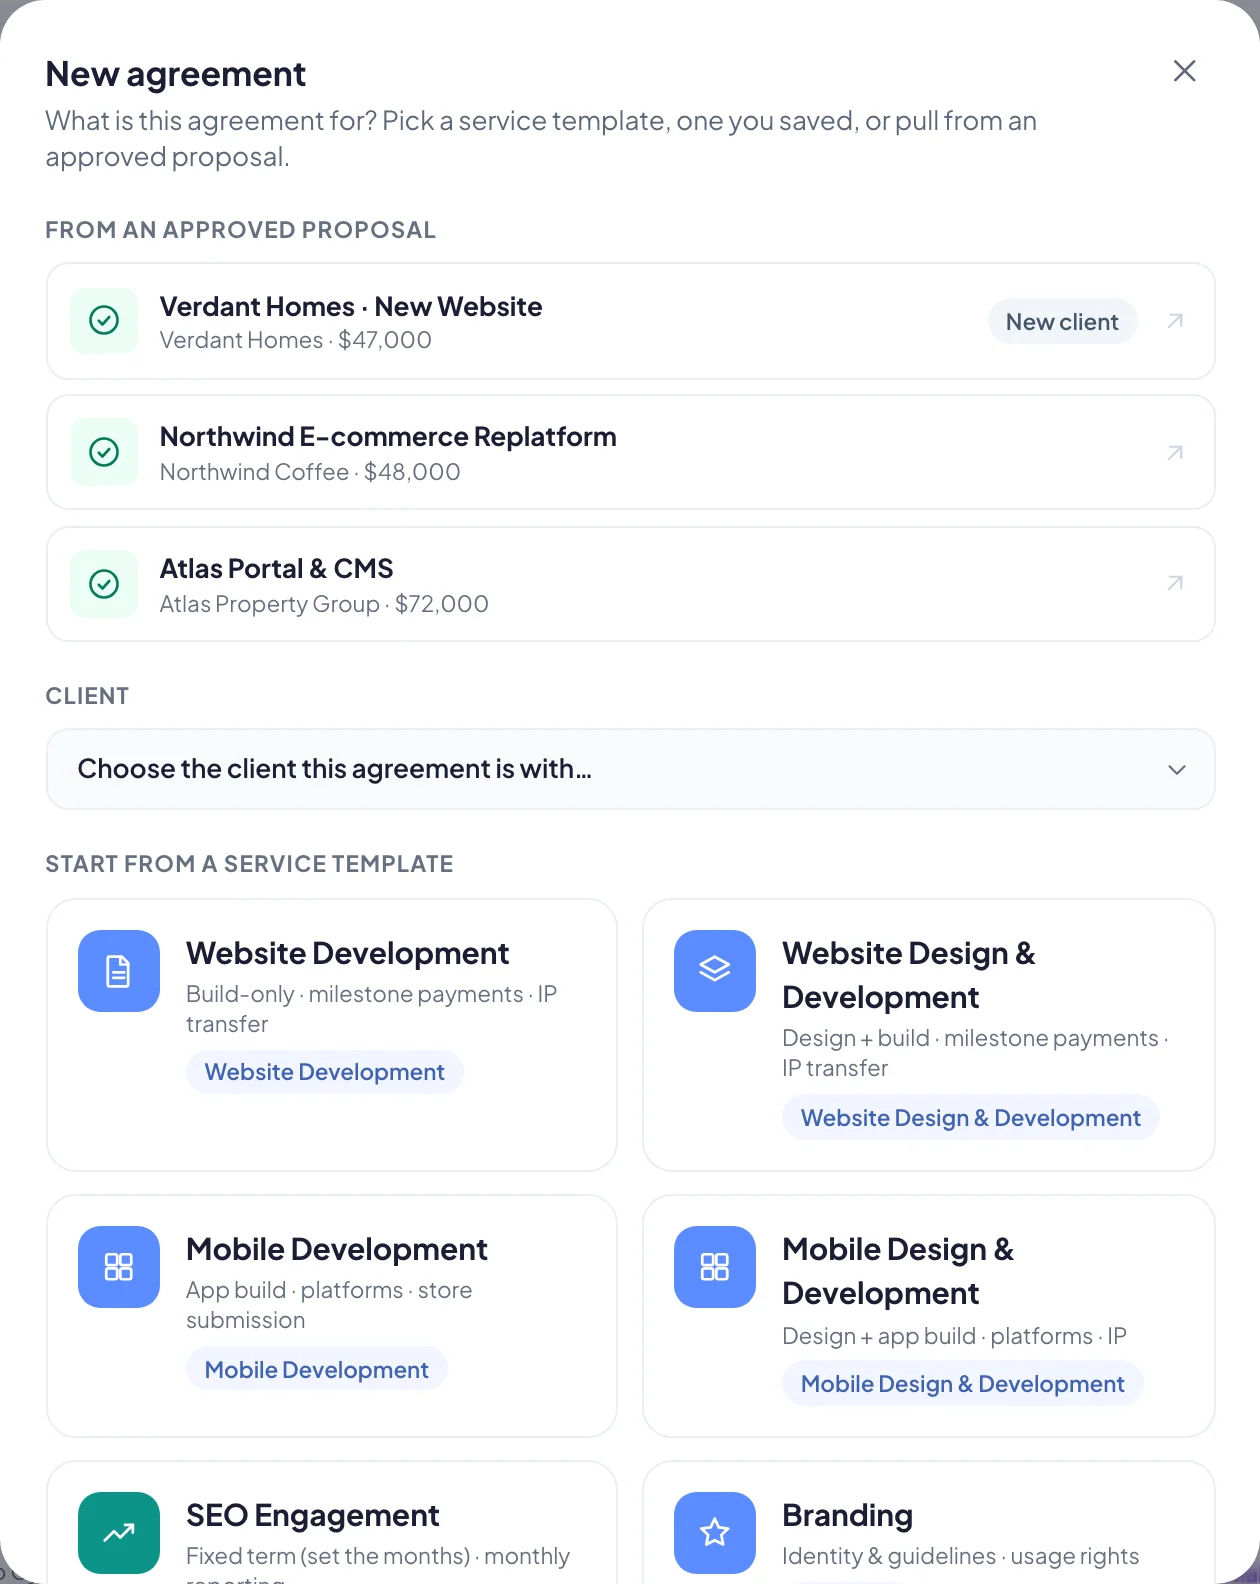
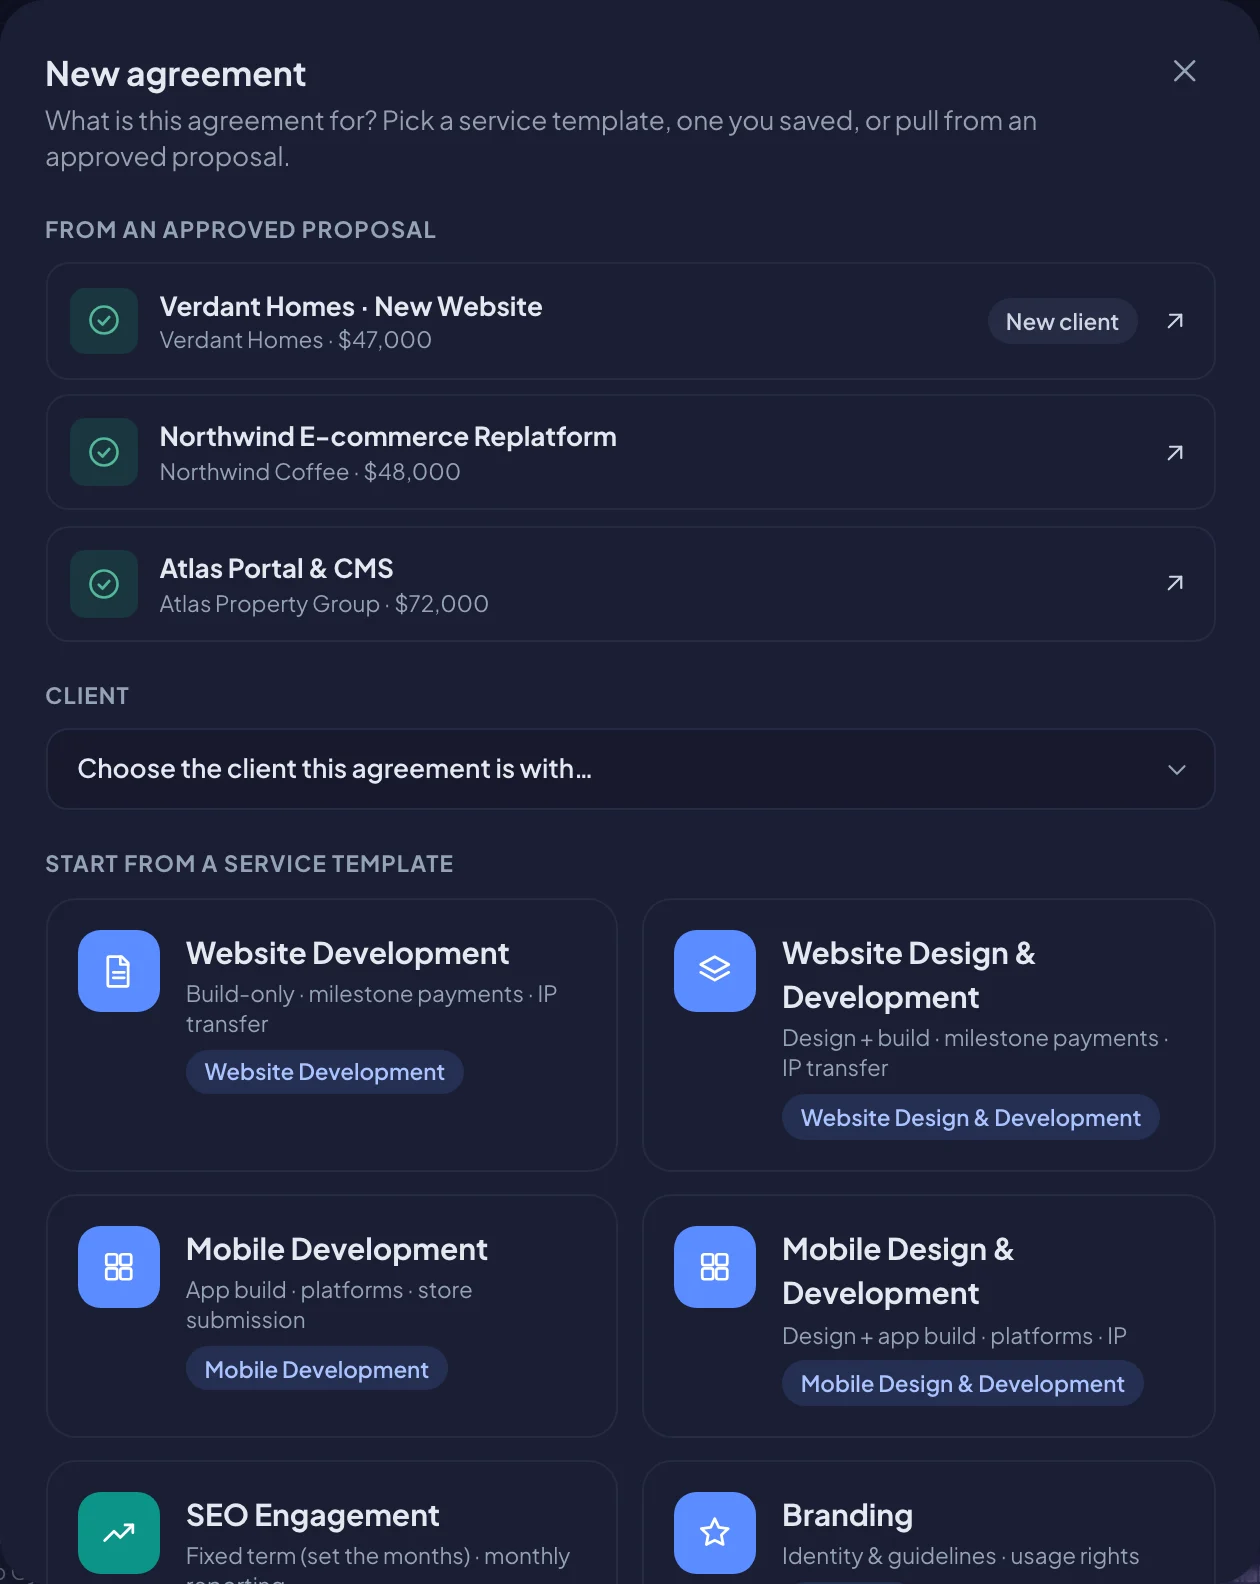
If the proposal was made for a lead rather than a client, you’re asked to Add client first. The details are filled in from the lead. If a client with that name already exists, the agreement uses it.
From a template
- Go to Documents → Agreements and choose New agreement.
- Choose the Client the agreement is with.
- Pick a template you saved under Saved by you, or one under Start from a service template, such as Website Development, Branding or Maintenance & Hosting.
You can also start from Library on the Agreements tab, or from any agreement template in Documents → Templates. See The proposal and agreement library.
Fill in the agreement
The agreement opens in the builder, with Edit and Preview in the header and a panel on the left with five tabs: Content, Design, Pages, Header & footer and Details. Changes save as you work.
Agreement details
At the top of the clauses, choose Edit details (or open the Details tab) and fill in the Agreement details:
- Agreement title
- Client, Jurisdiction and Provider
- Effective date. Leave it blank to use the date both sides have signed.
- Period (months), for fixed-term agreements
- Reference
- who Signs for provider and Signs for client, with their Name and Title
These details fill into the clauses automatically wherever their variables appear.
Clauses
Each clause is numbered. You can rename it, edit its wording, move it, drag it by its number, or remove it. Its Page options button (the page icon) starts it on a new page. Use the variable buttons above the text to insert names and dates.
To add clauses, use the Content tab of the panel on the left:
- Browse library for templates and ready-written clauses. Tick several clauses to add them together with Insert N clauses
- Saved by your team and Common clauses for one-click additions
- Blank clause to write your own
Under Visual blocks, below Blank clause, you can also add an Image, Image + text, Two columns or a Page break. See Pictures and visual blocks.
Standard clause items come from Settings → Agreements. They’re in every agreement and can only be edited there.
Fees
The Fees clause holds the price. Enter a single fee, or milestone lines with Add line. The agreement’s total value is added up from this clause.
Set the payment schedule
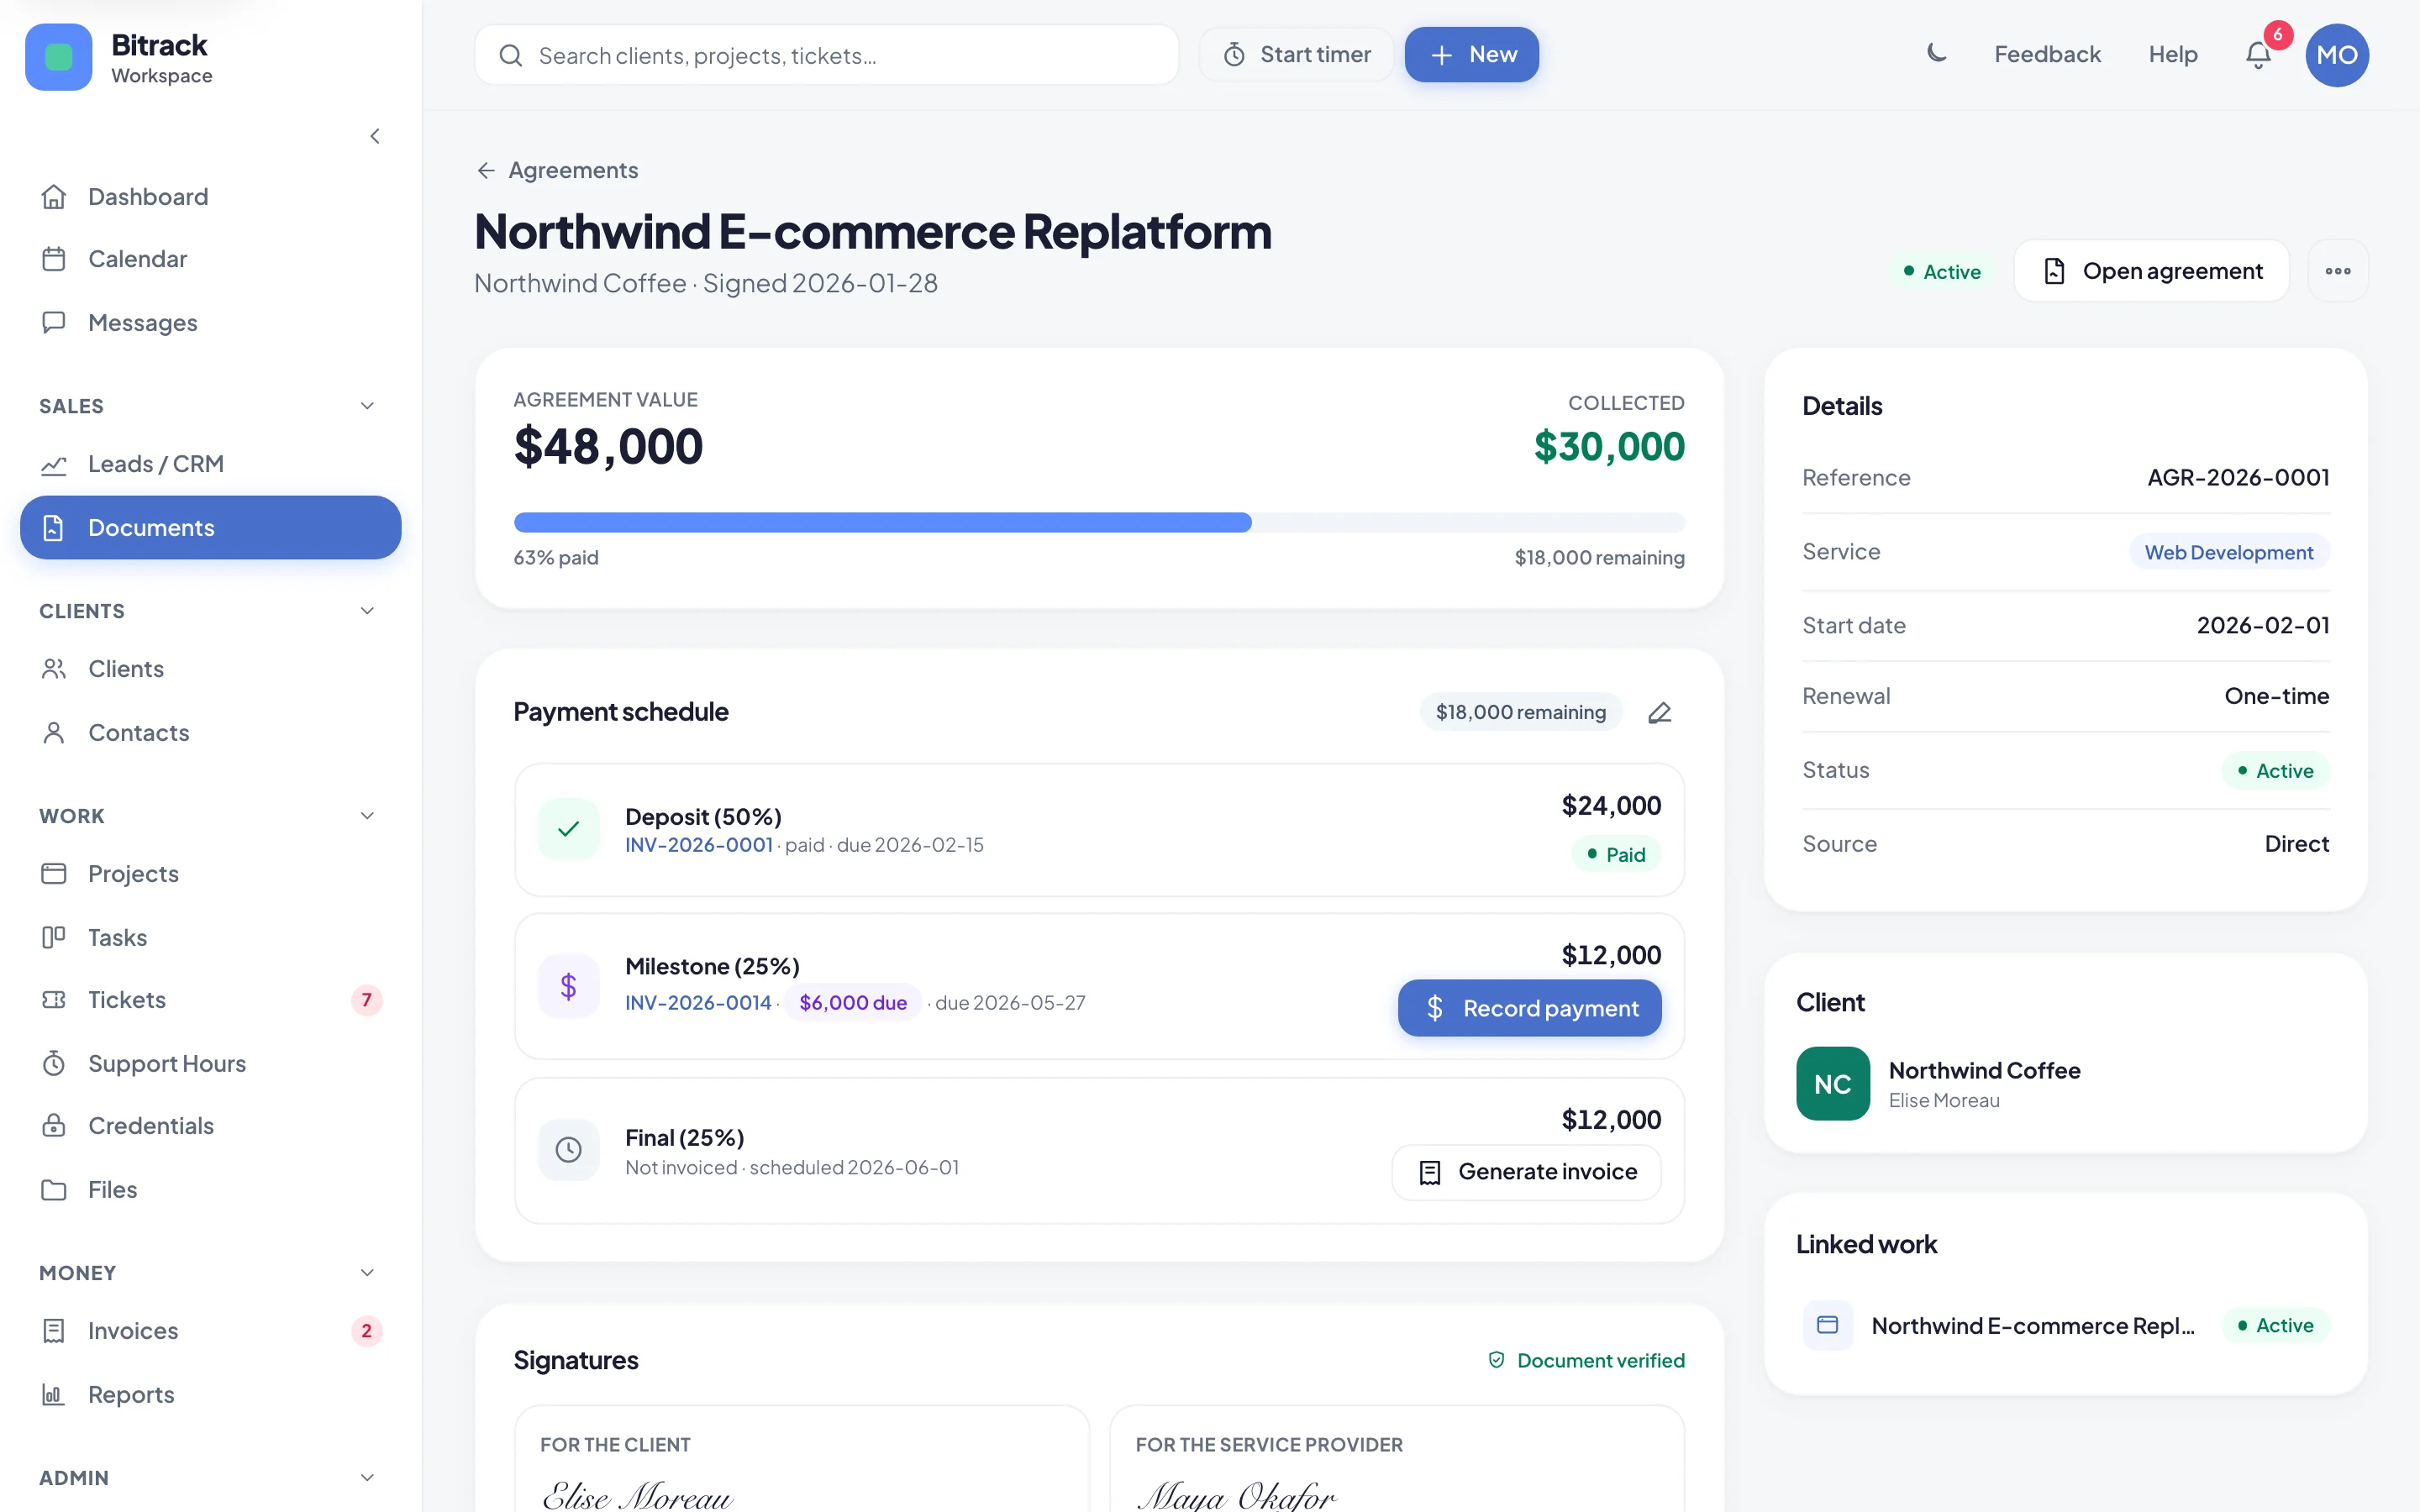
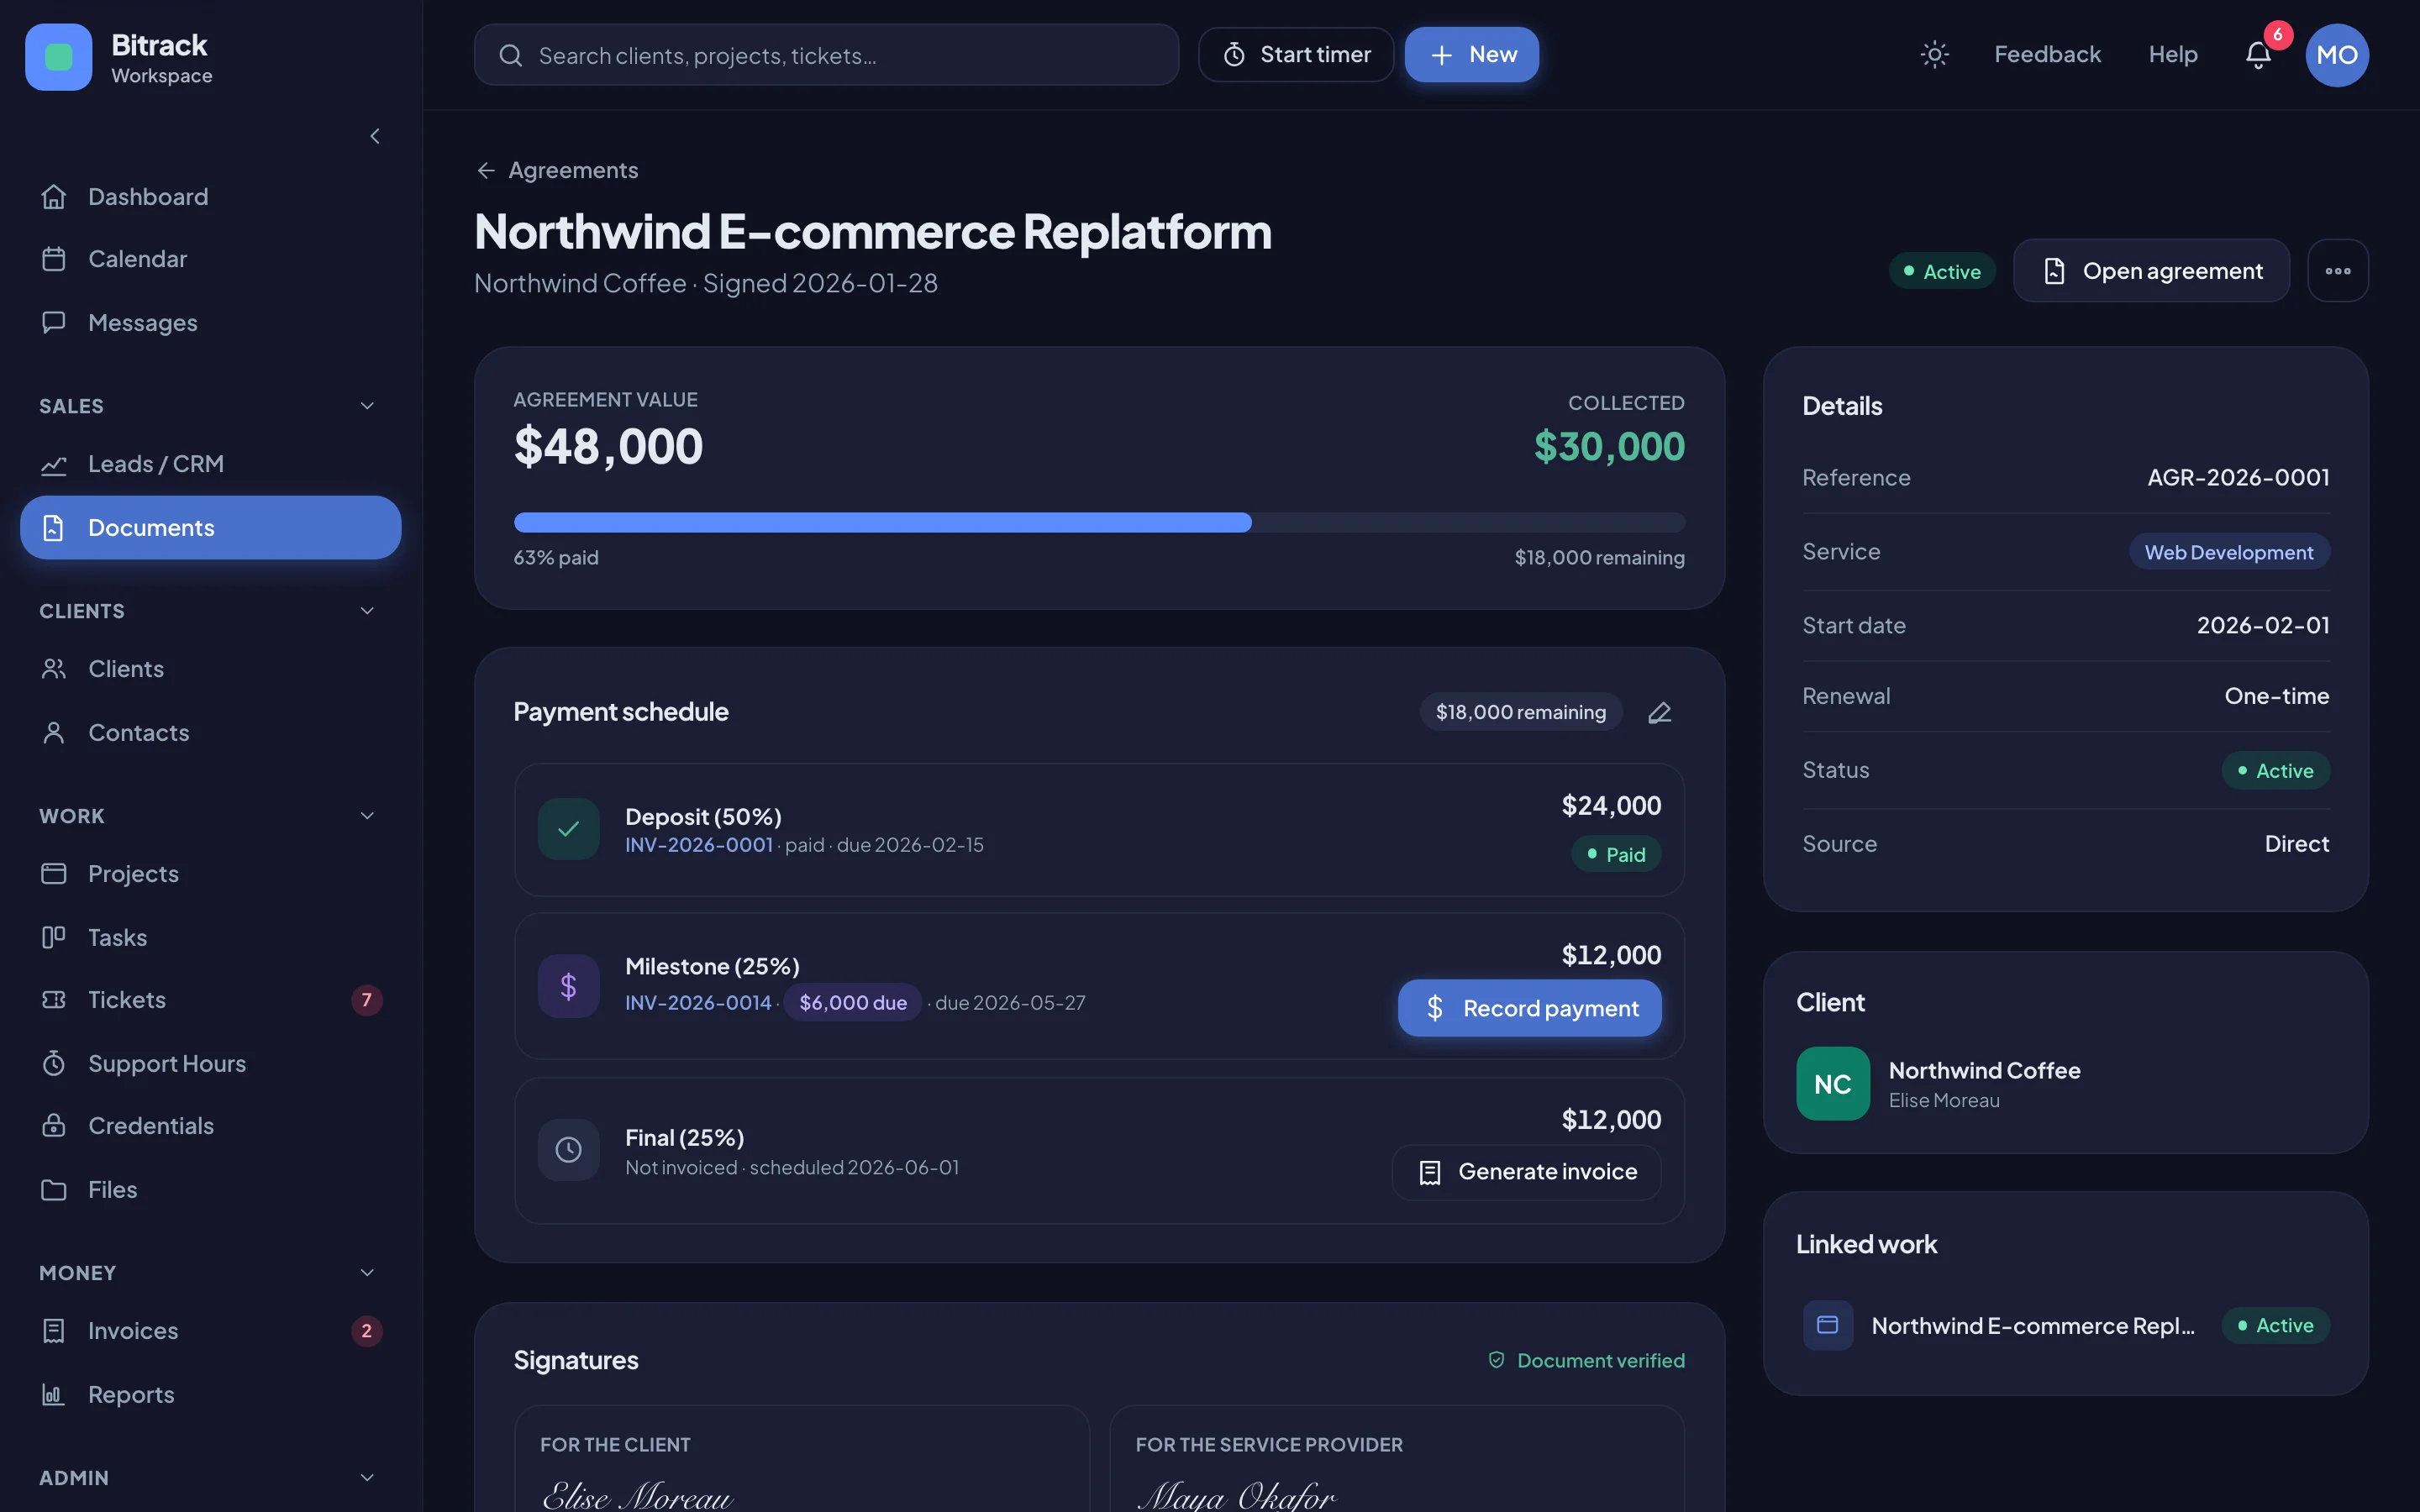
Open the agreement’s page (choose the agreement in the Agreements list) to see its Payment schedule.
- Choose the edit button next to Payment schedule.
- Pick Milestones or Recurring.
- For milestones, give each Payment a Share of the value and the Days after start it falls due. Choose Add payment for more. The shares must add up to 100%.
- For recurring work, choose Monthly or Annual billing.
- Choose Save schedule.
Set the renewal date
For ongoing work, set a renewal date so you never miss one. On the agreement’s page, choose the edit button on the renewal card, pick the date and choose Save. Bitrack reminds the agreement owner 30 days before. See Renewals and changes.
Preview and save
Switch to Preview to see the agreement as your client will: numbered clauses and a signature block in your brand. Choose Download PDF for a copy.
To change the look, use the tabs in the panel on the left: Design for the design, fonts and colour, Pages for the page size, cover, background and watermark, Header & footer for a running header and footer, and Settings for the language. The pages show beside the panel as you change them. See Design your proposals and agreements and Arabic and bilingual documents.
To reuse this agreement, choose Save as template in the Content tab.
When it’s ready, see Sign an agreement.