Services, tags and custom fields
Keep your service catalog, tags and extra fields in order so everyone picks from the same lists.
Services, tags and custom fields keep your data consistent. Everyone picks from the same lists, so filters and reports stay accurate. Owners and Admins can change them.
Services
Your service catalog powers the service dropdowns across projects, leads, proposals and reports.
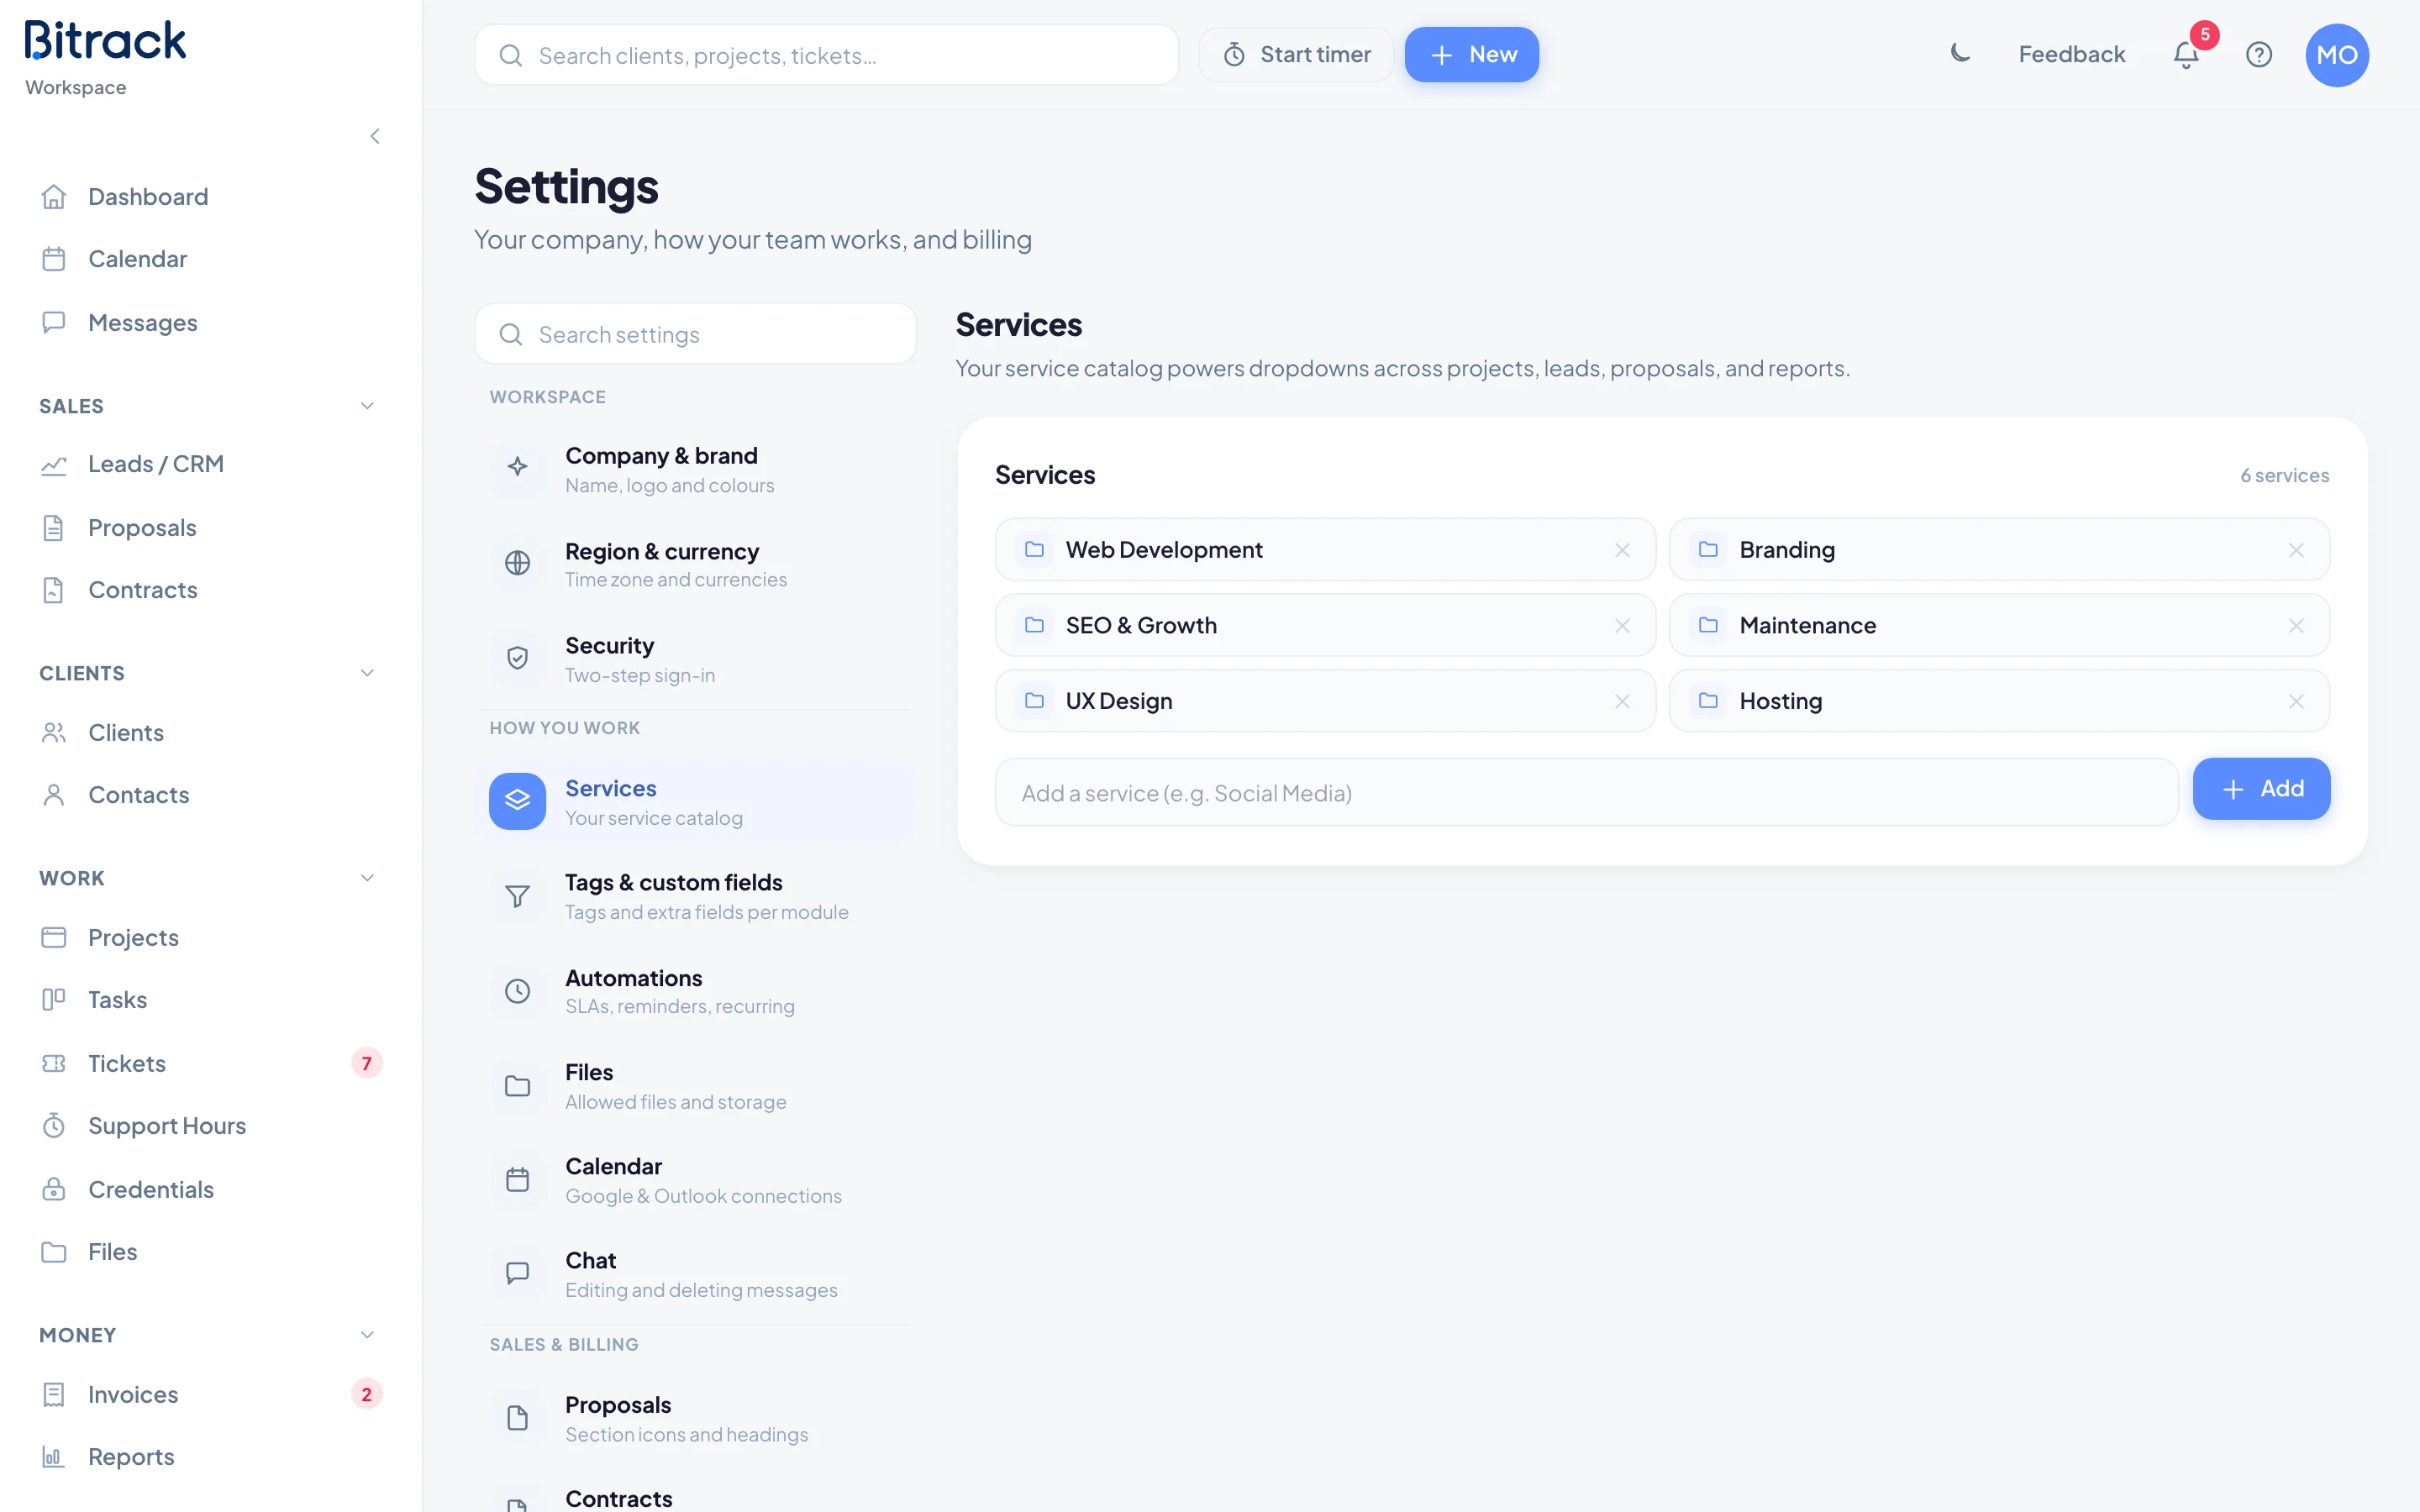
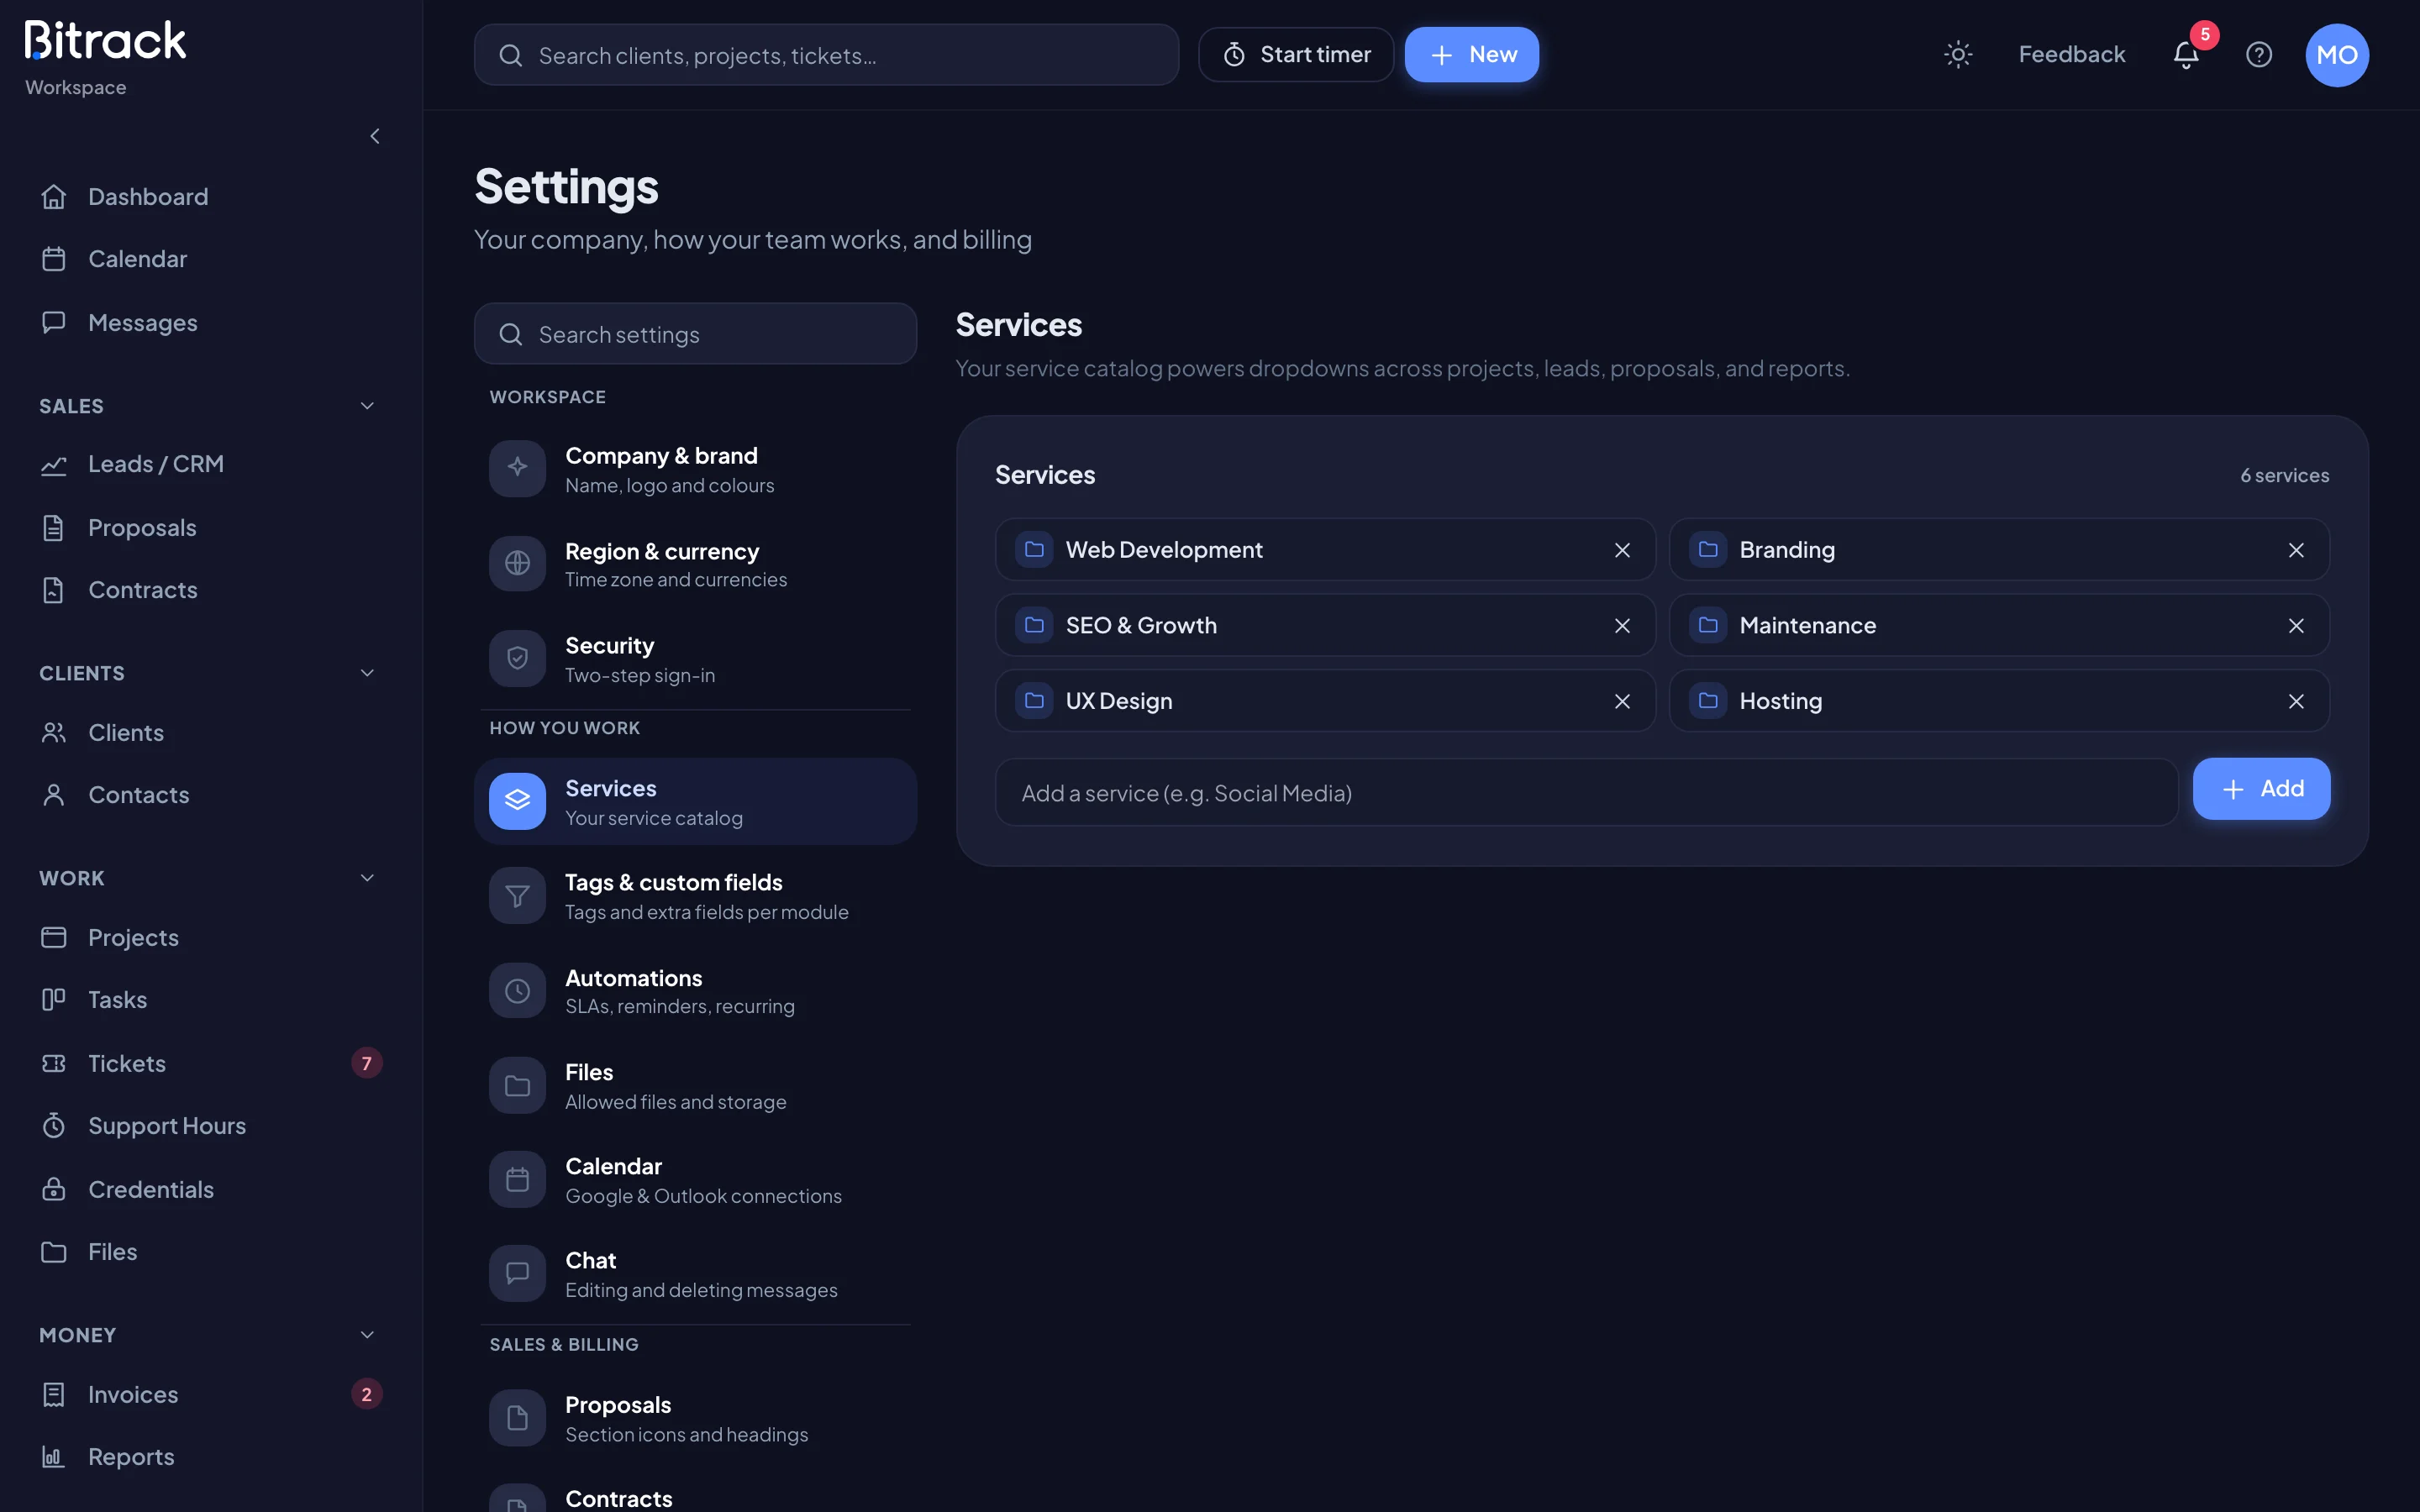
Add a service
- Go to Settings → Services.
- In the box at the bottom, type the name, for example Social Media.
- Choose Add, or press Enter.
Each service name must be unique. If it already exists, Bitrack tells you.
Remove a service
- Choose the x next to the service.
- Choose Remove service to confirm.
Existing projects keep their service. You just can’t pick it for new ones.
Tags
Tags group clients, projects and leads so you can filter by them later.
- Go to Settings → Tags & custom fields.
- Stay on the Tags tab.
Each tag shows its colour, its name and how many times it’s used.
| To | Do this |
|---|---|
| Add a tag | Type a name in the box at the bottom, for example Priority, then choose Add tag |
| Rename a tag | Select its name, type the new one, then press Enter or choose outside the box |
| Change its colour | Choose the coloured square, then pick a colour |
| Delete a tag | Hover over it, choose the trash icon, then choose Delete tag |
Custom fields
Custom fields hold the extra details your team tracks, such as a PO number or a contract renewal date. Each module has its own tab next to Tags, and each tab says where its fields show.
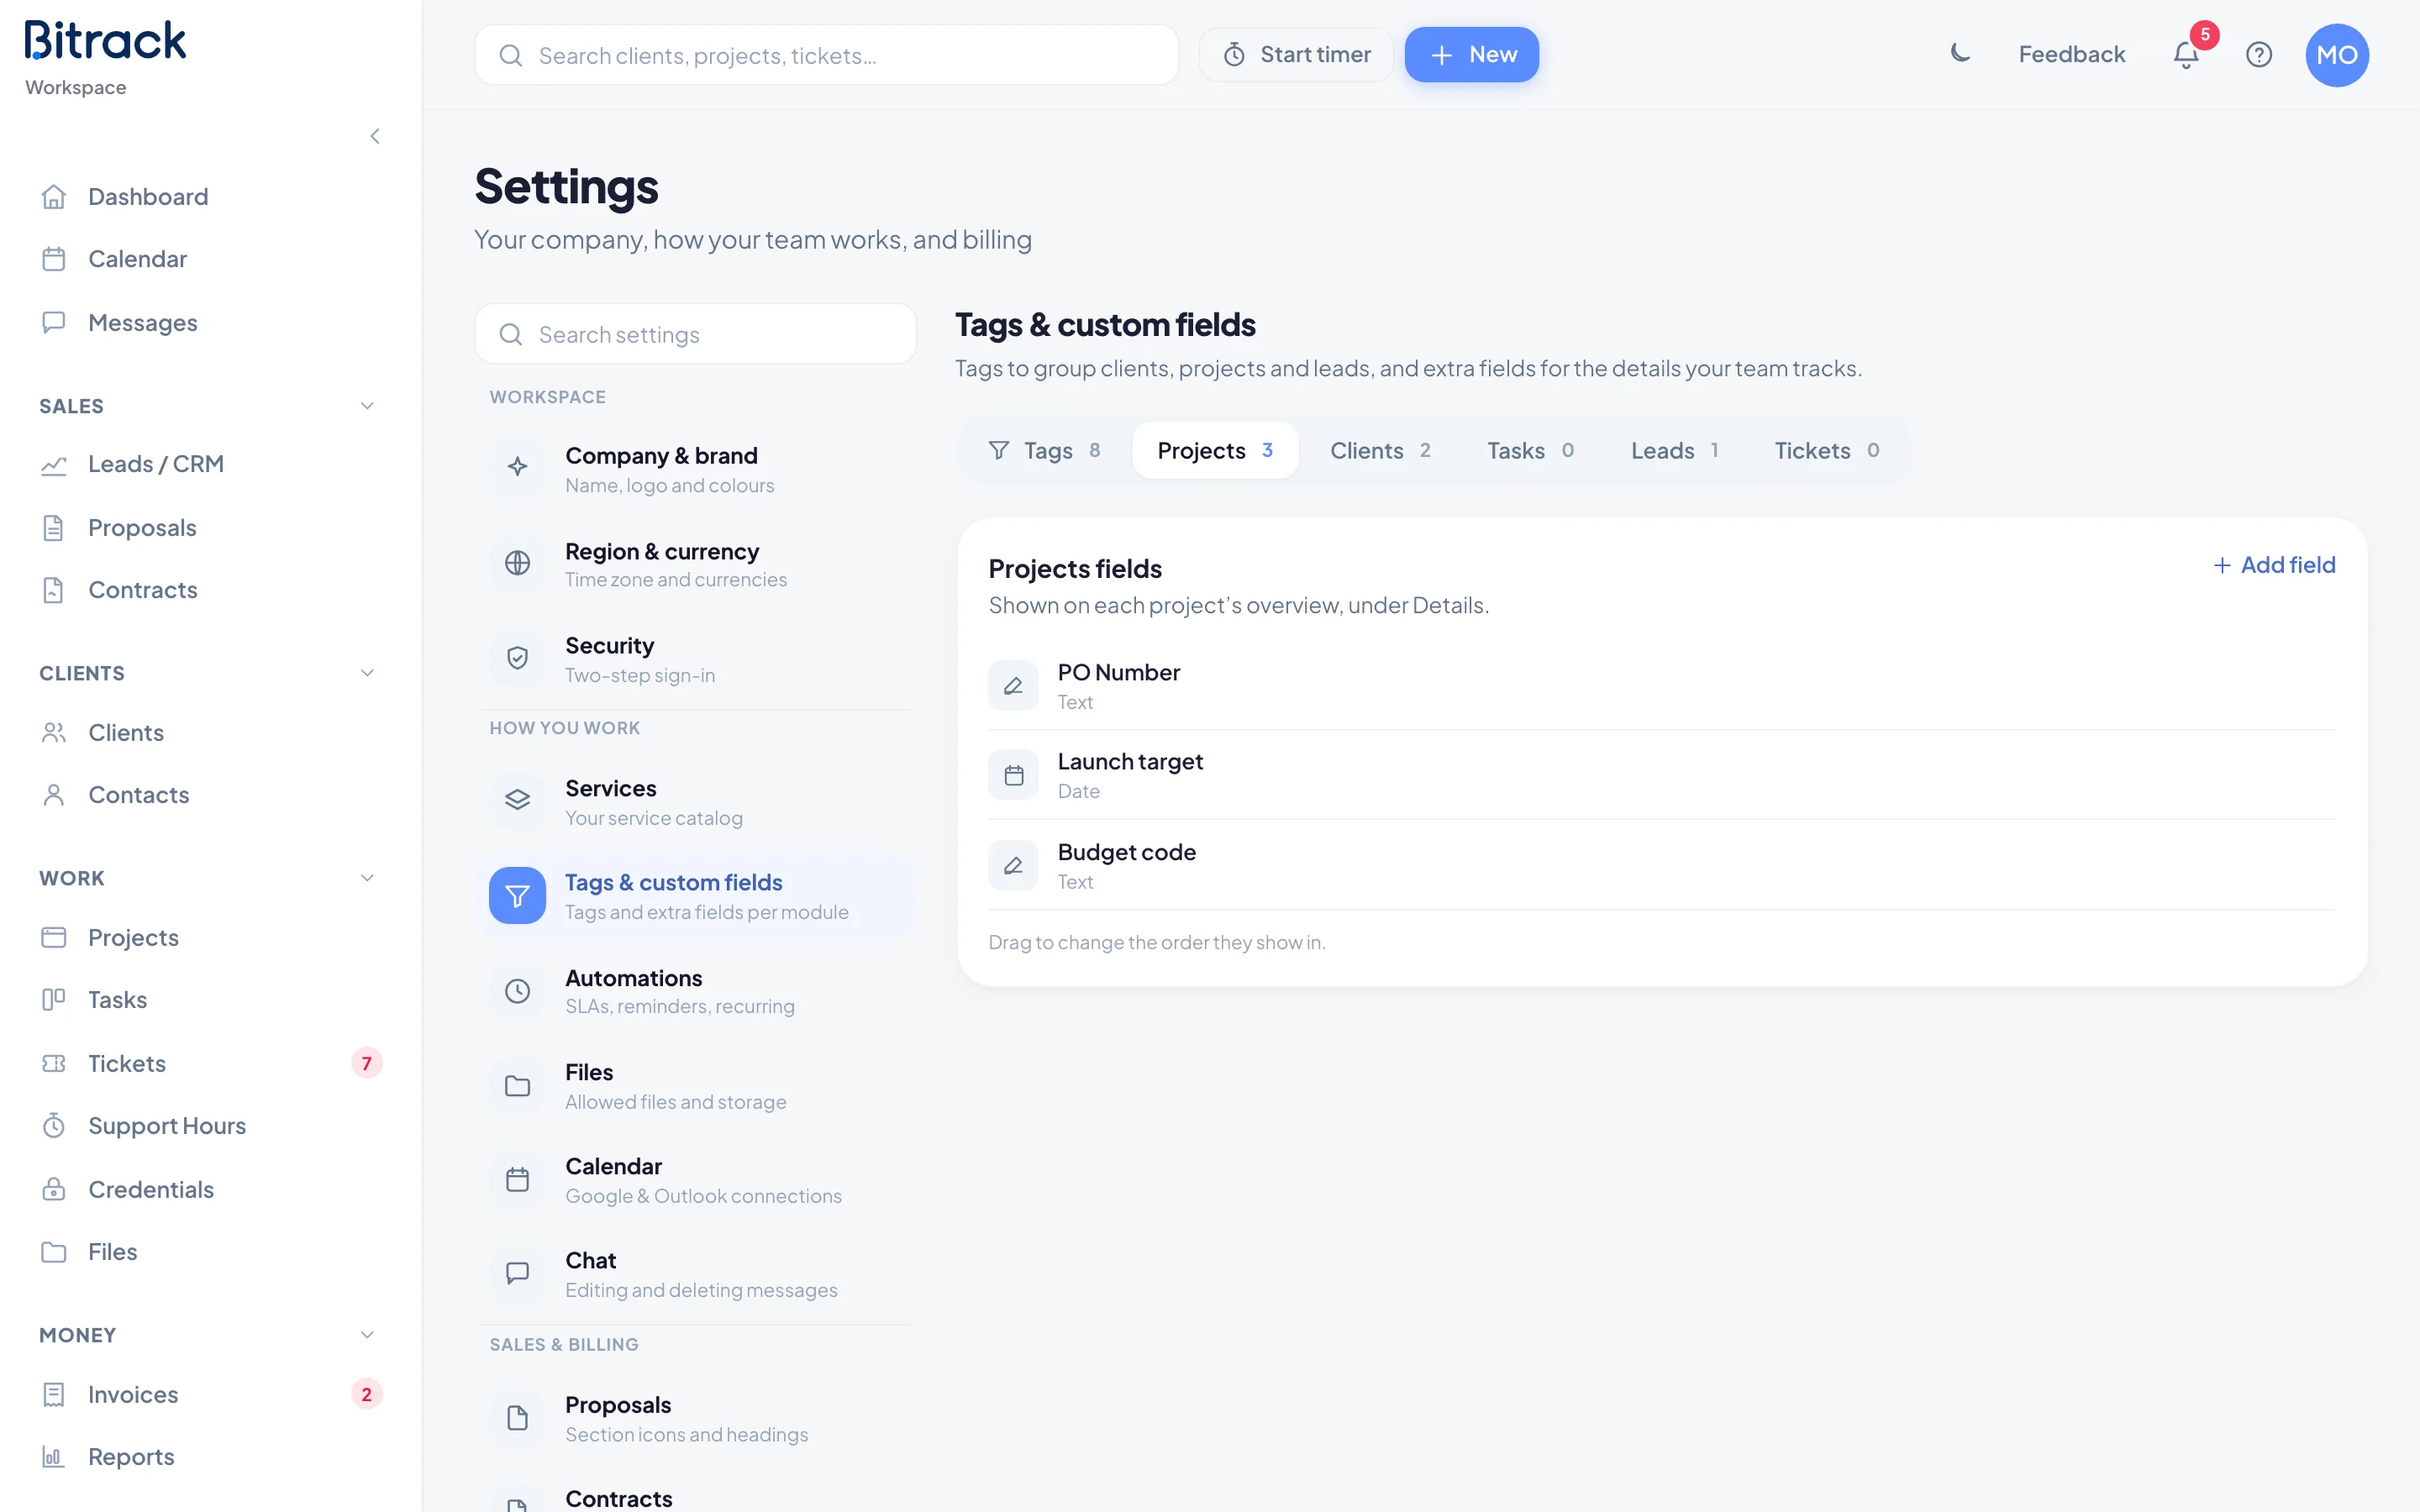
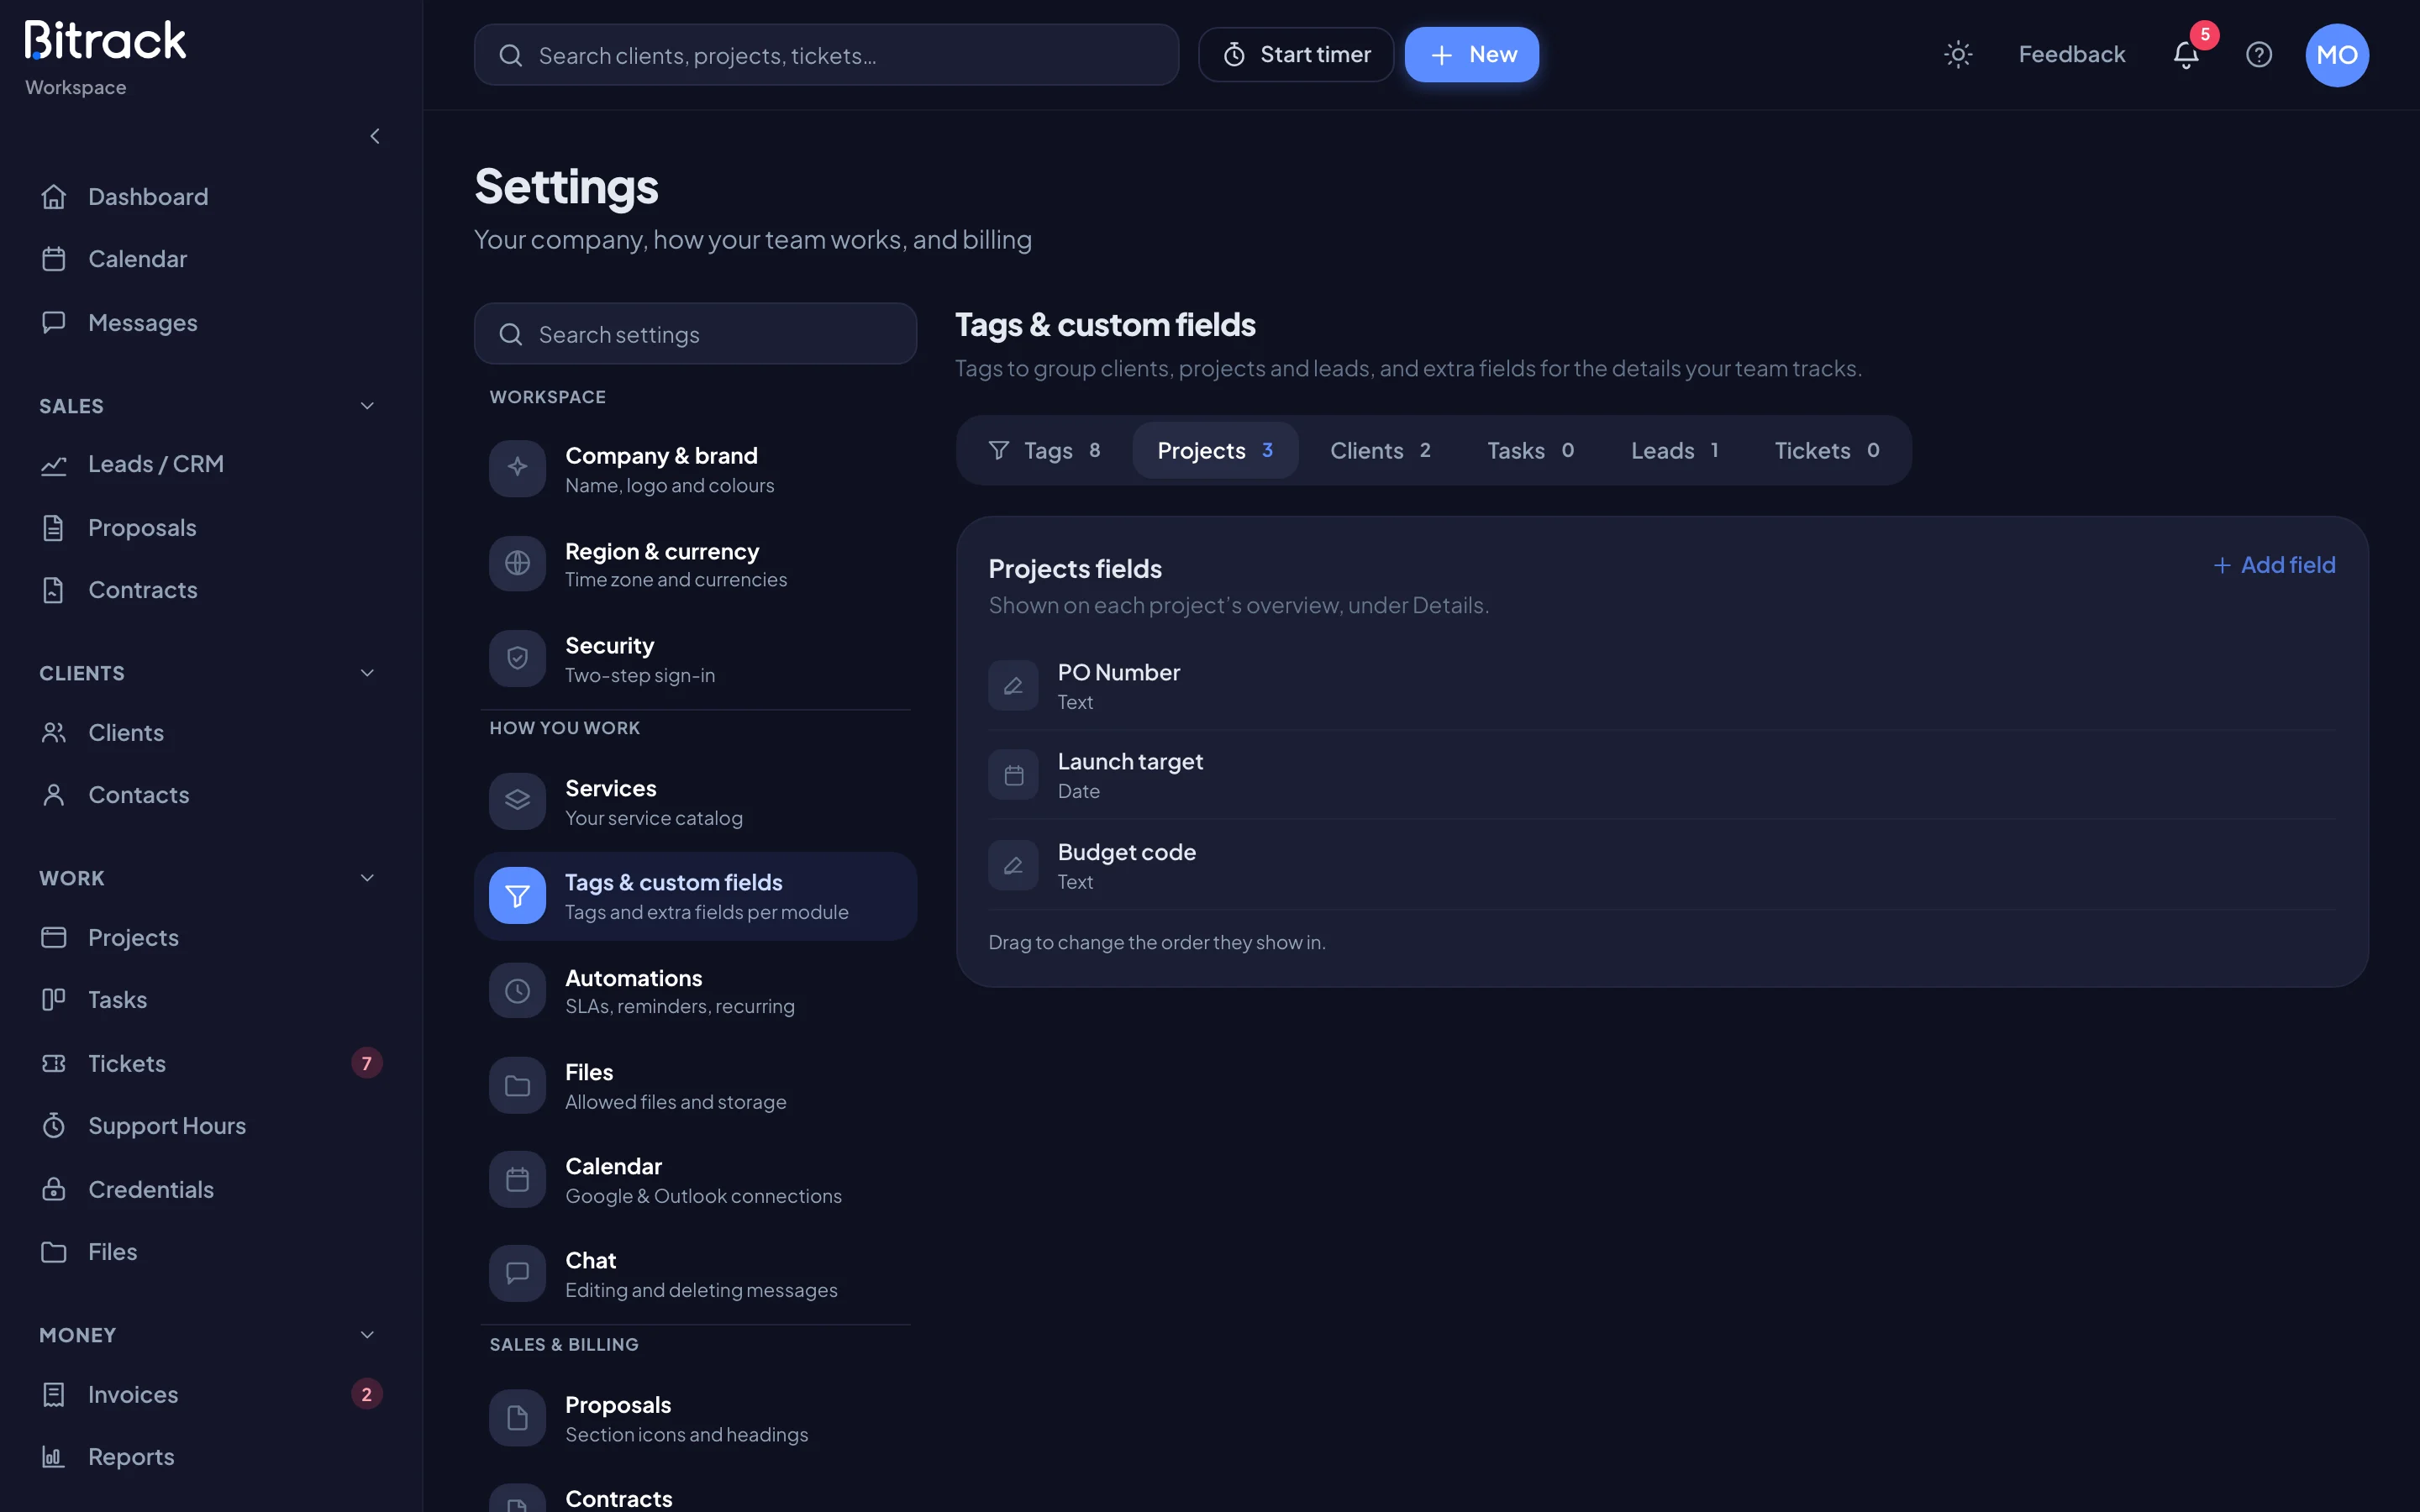
| Tab | Where the fields show |
|---|---|
| Projects | On each project’s overview, under Details |
| Clients | On each client page, under Details, and in the new client form |
| Tasks | In the task panel, and when creating a task |
| Leads | On each lead. Your website form can fill them too |
| Tickets | On each ticket, for your team only. Clients never see them |
You only see the tabs for modules your workspace uses.
Add a field
- Go to Settings → Tags & custom fields and open the tab you need.
- Choose Add field.
- Enter a Field name, for example PO Number.
- Pick a Type:
- Text
- Number
- Date
- Dropdown: type the Options, one per line.
- Yes / No
- Tick Required field if it must always be filled in.
- Choose Add field.
Edit, reorder or delete a field
- Edit: hover over the field, choose the pencil icon, make your changes, then choose Save field.
- Reorder: drag a field up or down. Fields show in this order wherever they appear.
- Delete: hover over the field, choose the trash icon, then choose Delete field. The field and its values on every record are removed. This can’t be undone.