Company and brand
Set your company name, logos, menu icon and brand colours so Bitrack, your client portal and your documents look like you.
Your company name, logo and colours appear across the app, the client portal, your emails and your documents. You set them once in Settings → Company & brand.
Owners and Admins can change these settings. Anyone else who can open Settings sees them but can’t edit them.
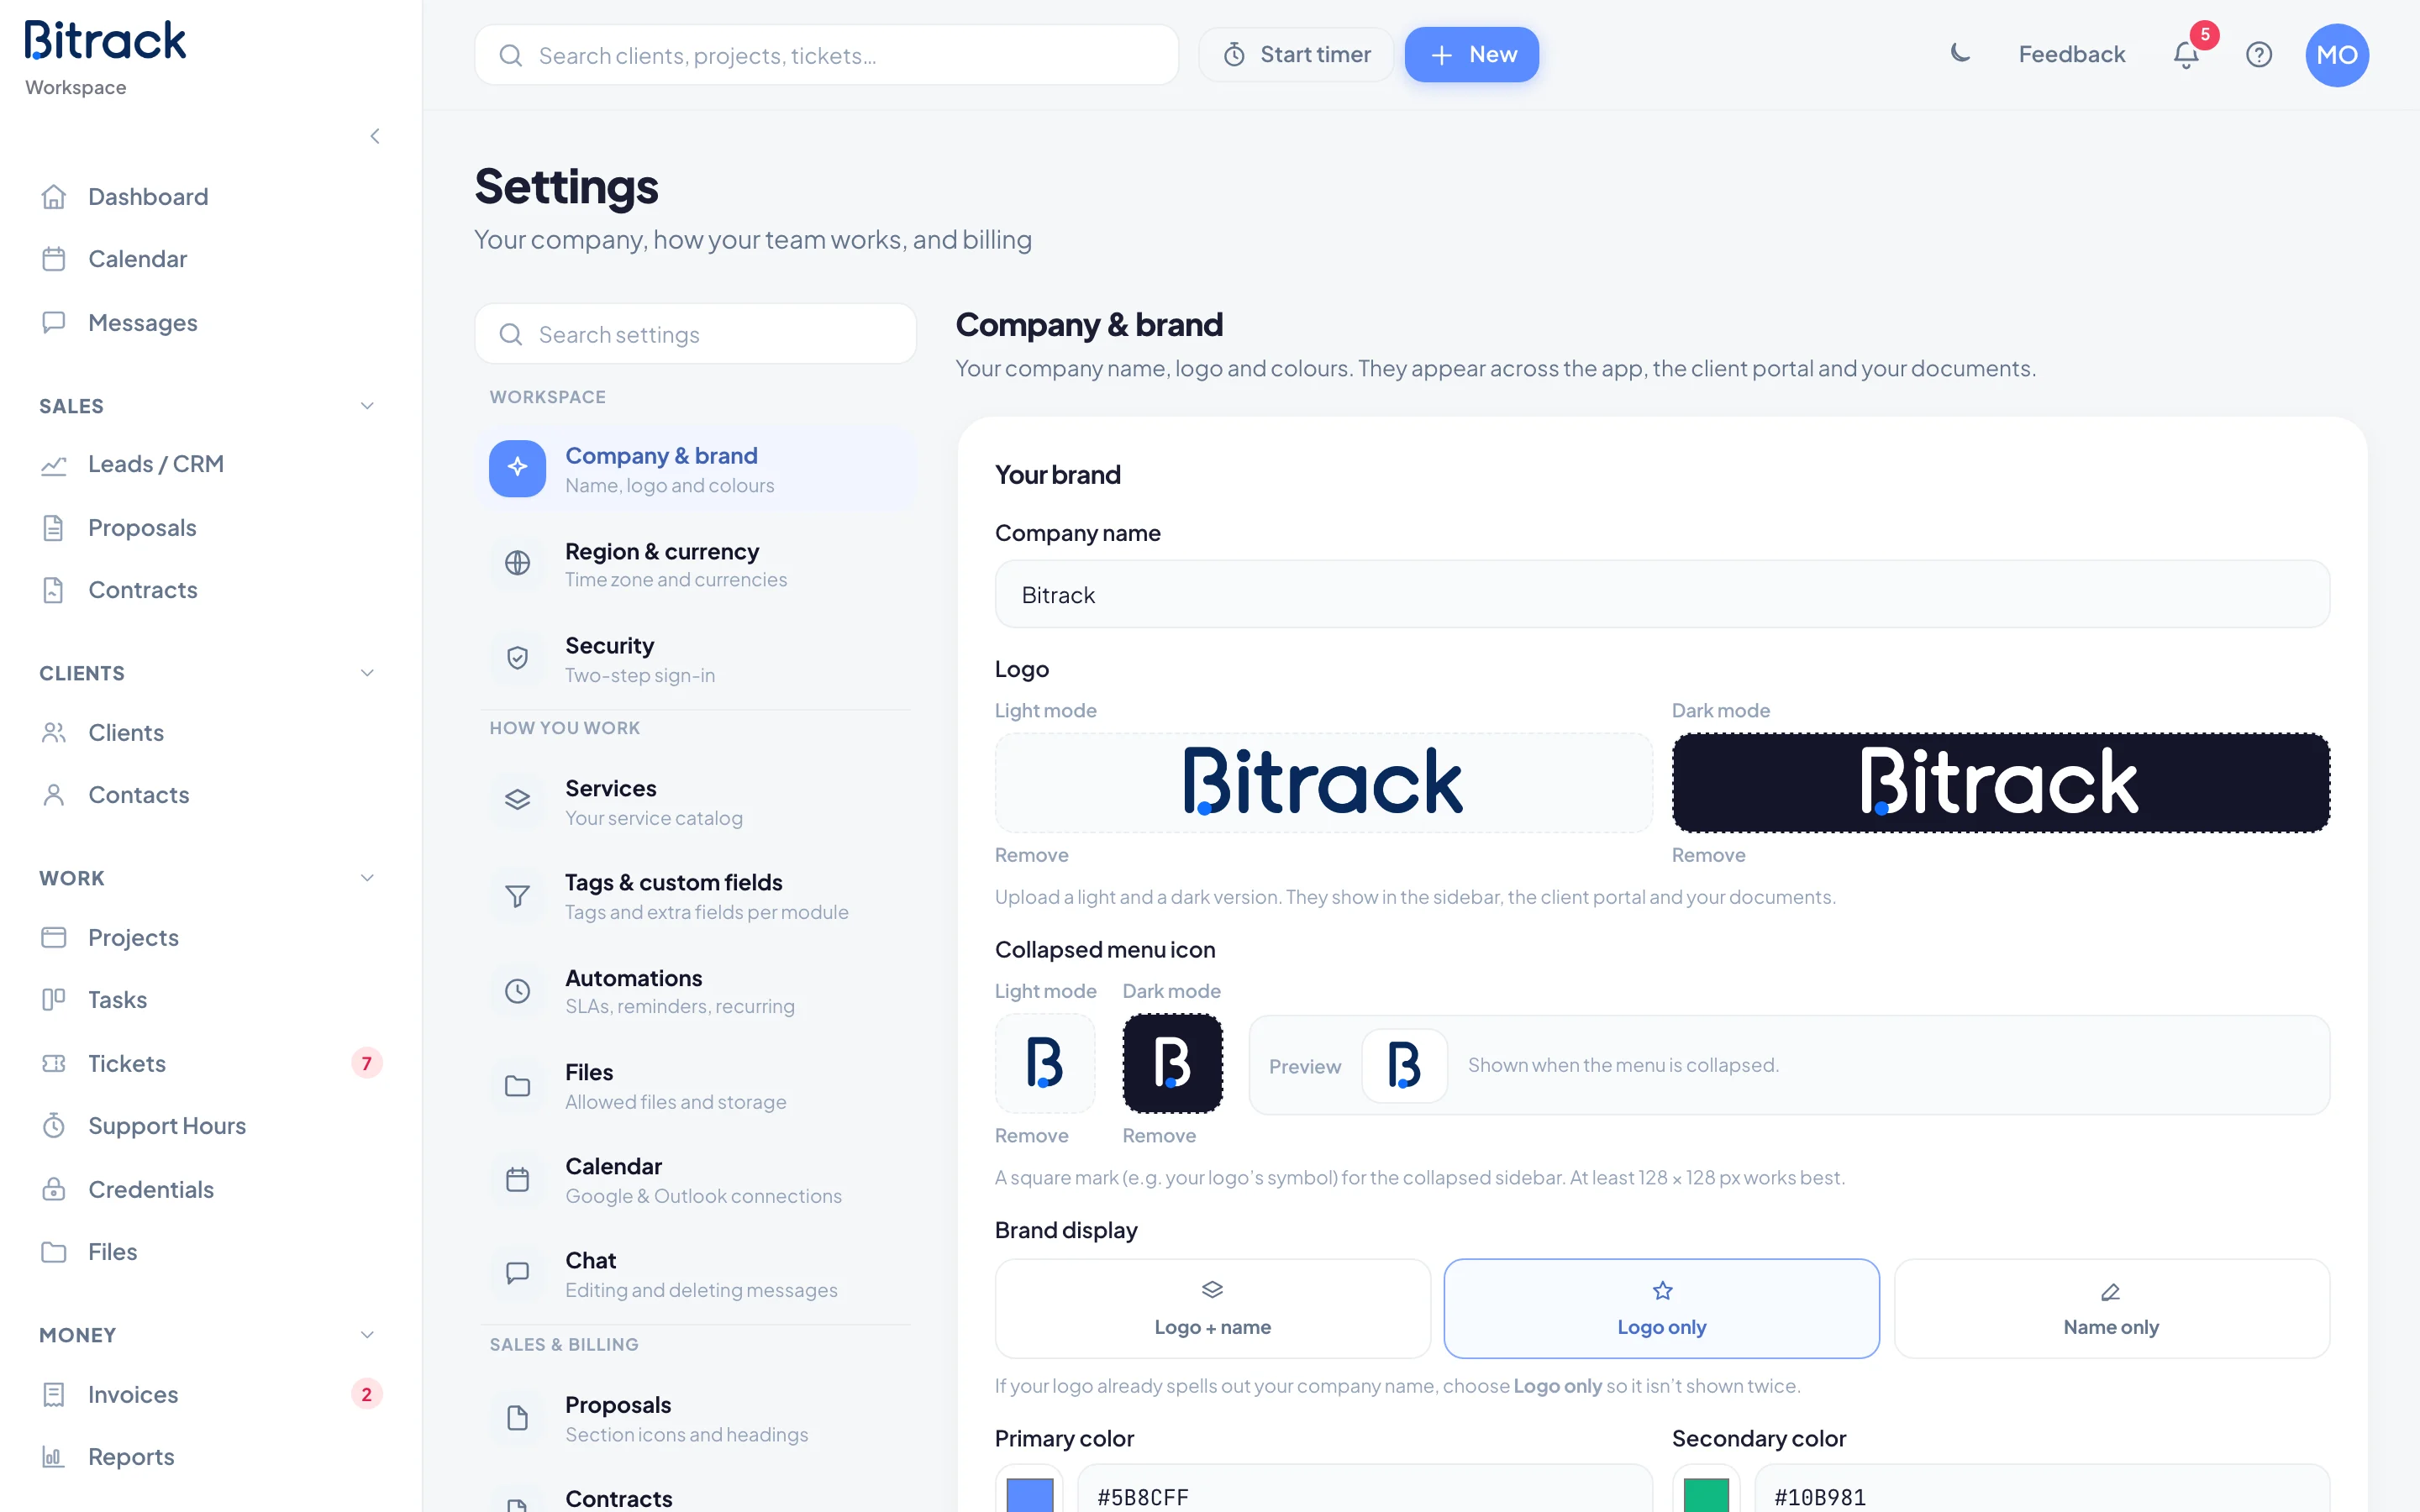
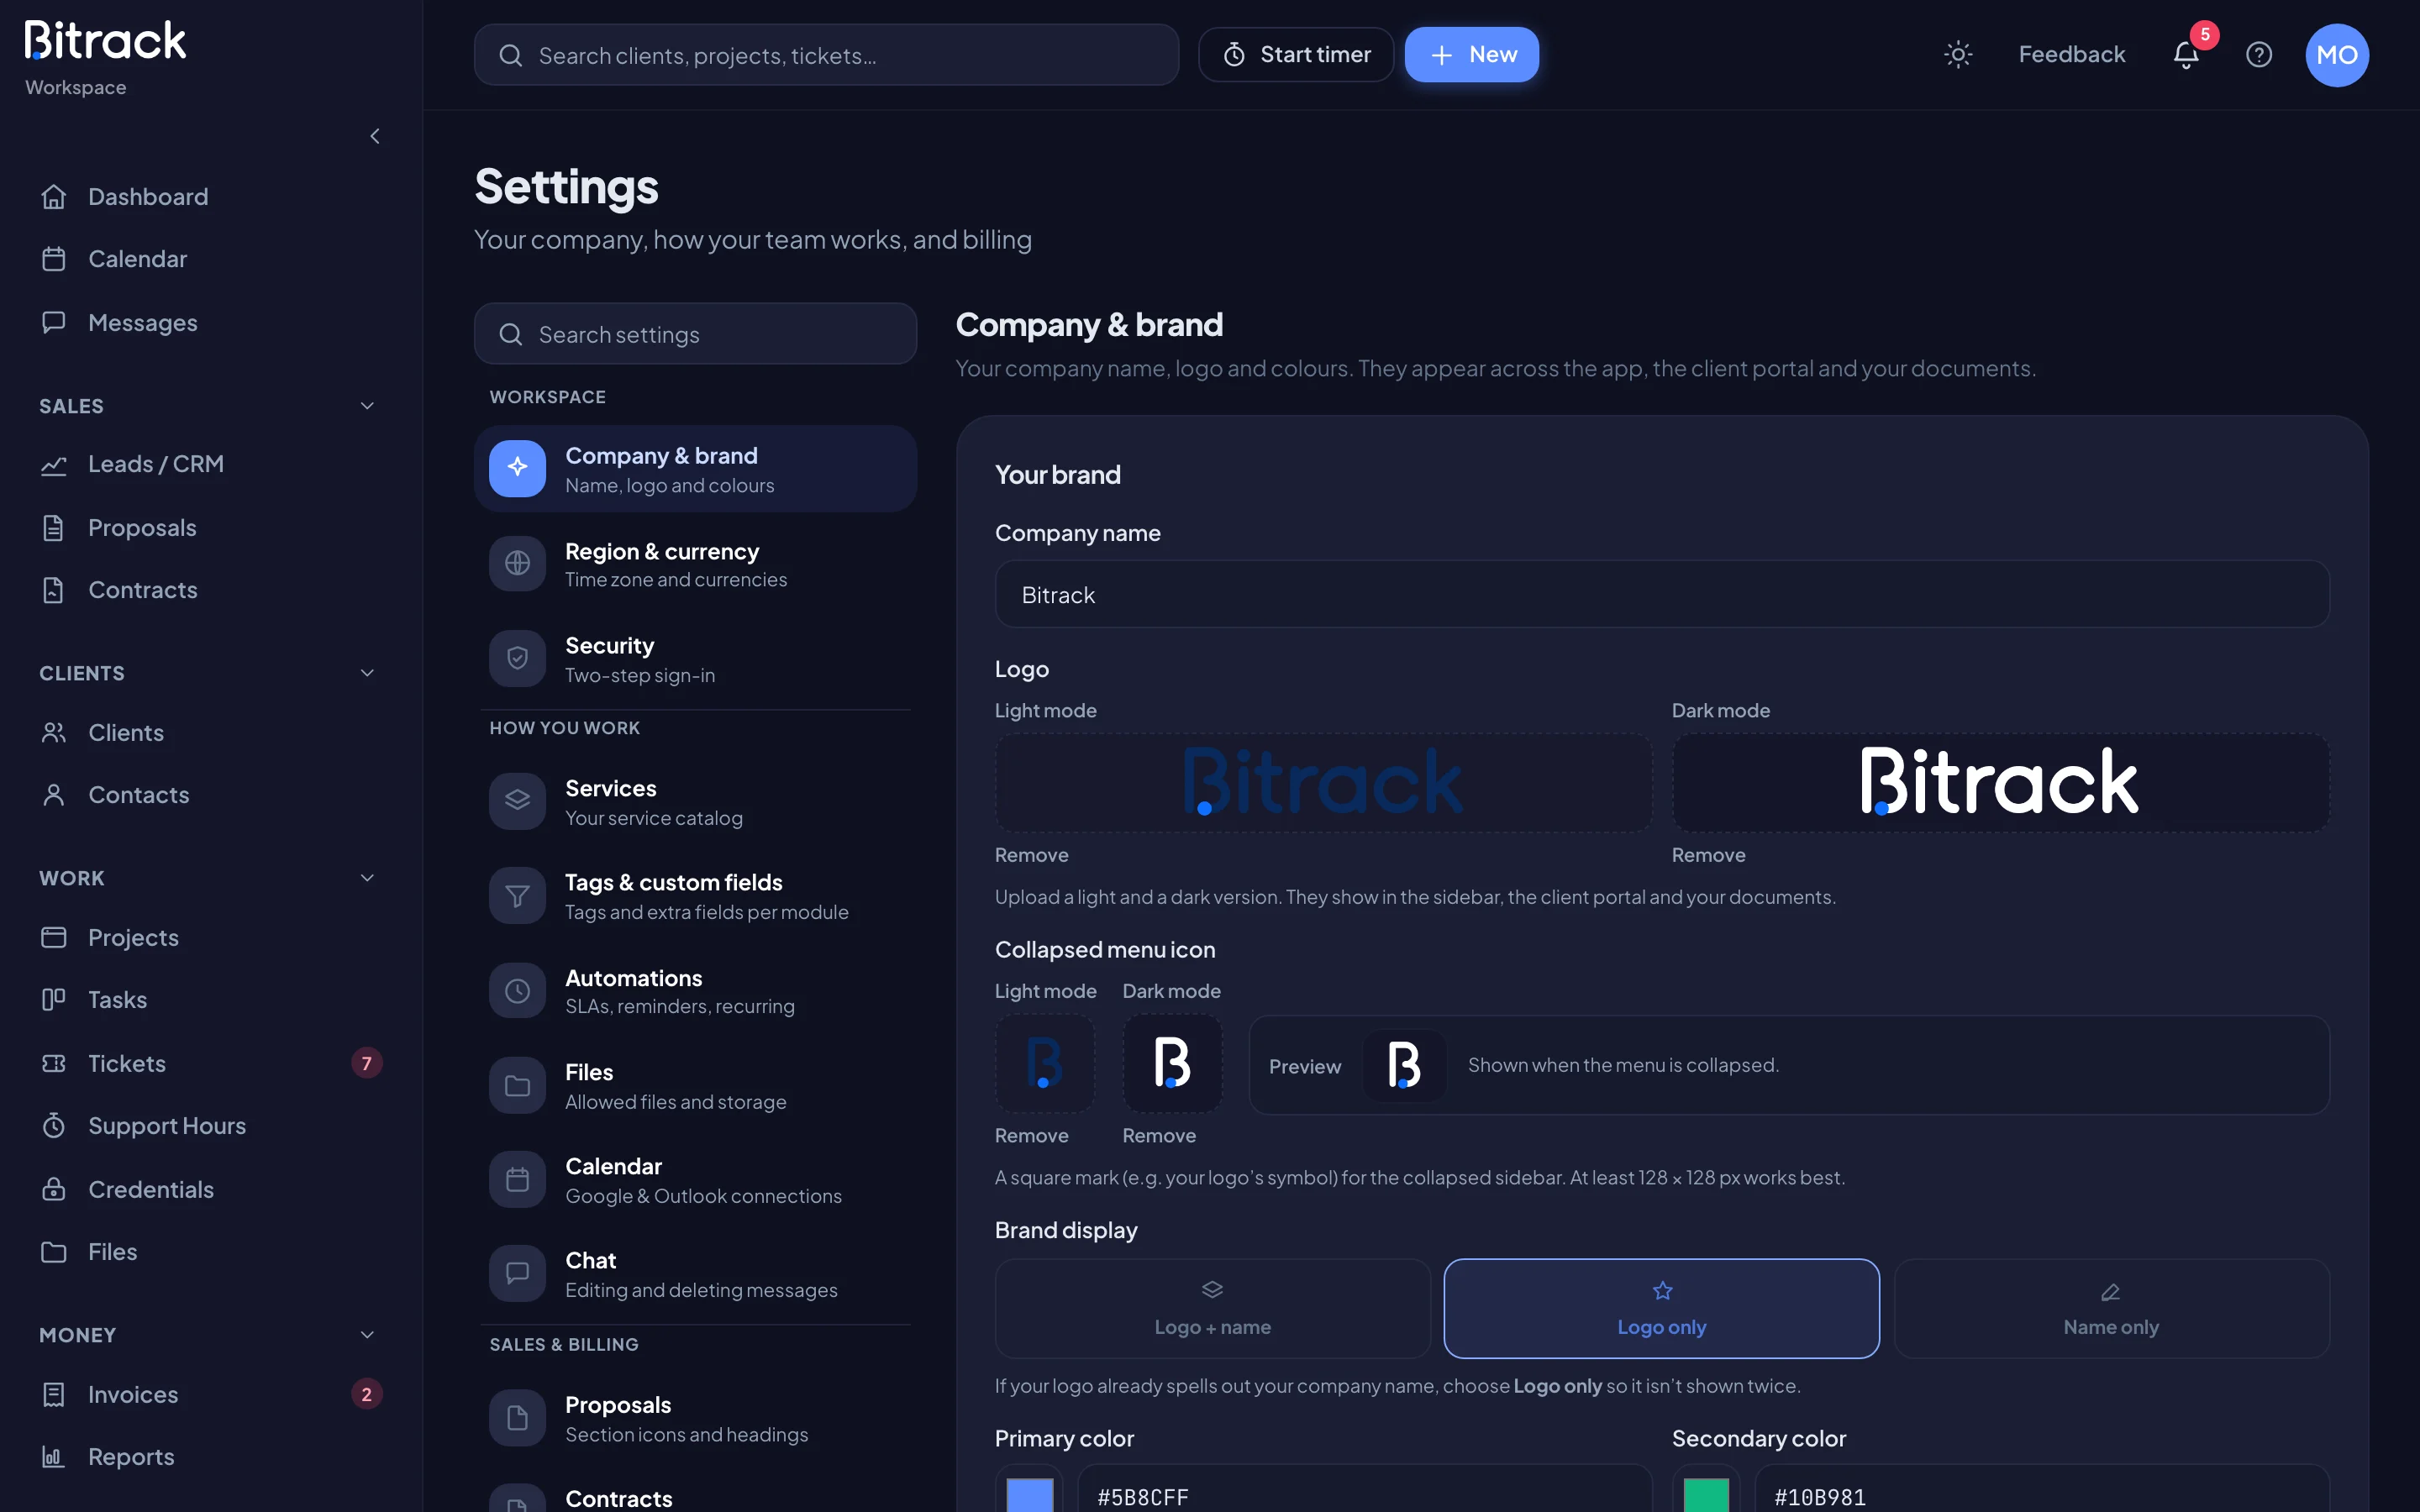
Change your company name
- Go to Settings → Company & brand.
- Under Company name, type the new name.
- Choose anywhere outside the field. The name saves straight away.
Upload your logo
Bitrack uses two versions of your logo: one for light mode and one for dark mode. They show in the sidebar, the client portal and your documents.
- Under Logo, choose the Light mode box and pick an image file.
- The Crop logo window opens. Drag the image to position it and use the zoom slider to fit it.
- Choose Square or Original shape. Square works best for the sidebar mark; a wide wordmark usually suits its original shape.
- Choose Use logo. You’ll see Logo updated.
- Repeat with the Dark mode box, using a version that reads well on a dark background.
To take a logo off, choose Remove under it.
Add a collapsed menu icon
When someone collapses the sidebar to icons, Bitrack shows a small square mark instead of your full logo.
- Under Collapsed menu icon, choose the Light mode box and pick an image. Your logo’s symbol works well.
- Position and zoom it in the crop window, then choose Use logo. The icon is always square.
- Add a Dark mode version the same way.
The Preview next to the boxes shows how it looks. Without an icon, the collapsed menu shows your workspace’s first letter.
Choose how your brand is shown
Under Brand display, pick one of three styles:
| Style | What shows |
|---|---|
| Logo + name | Your logo with your company name beside it |
| Logo only | Just your logo |
| Name only | Just your company name |
If your logo already spells out your company name, choose Logo only so it isn’t shown twice.
Set your brand colours
You have two colours: Primary color and Secondary color. For each one, either choose the colour swatch and pick a colour, or type a hex code such as #5B8CFF in the box next to it.
| Colour | Where it appears |
|---|---|
| Primary | Buttons, links and highlights in the app, your client portal, emails and documents |
| Secondary | The thin rule across the top of your emails, invoices and client portal, and the second series in charts |
The Live preview at the bottom of the card updates as you go, with a sample button, badge and mark.
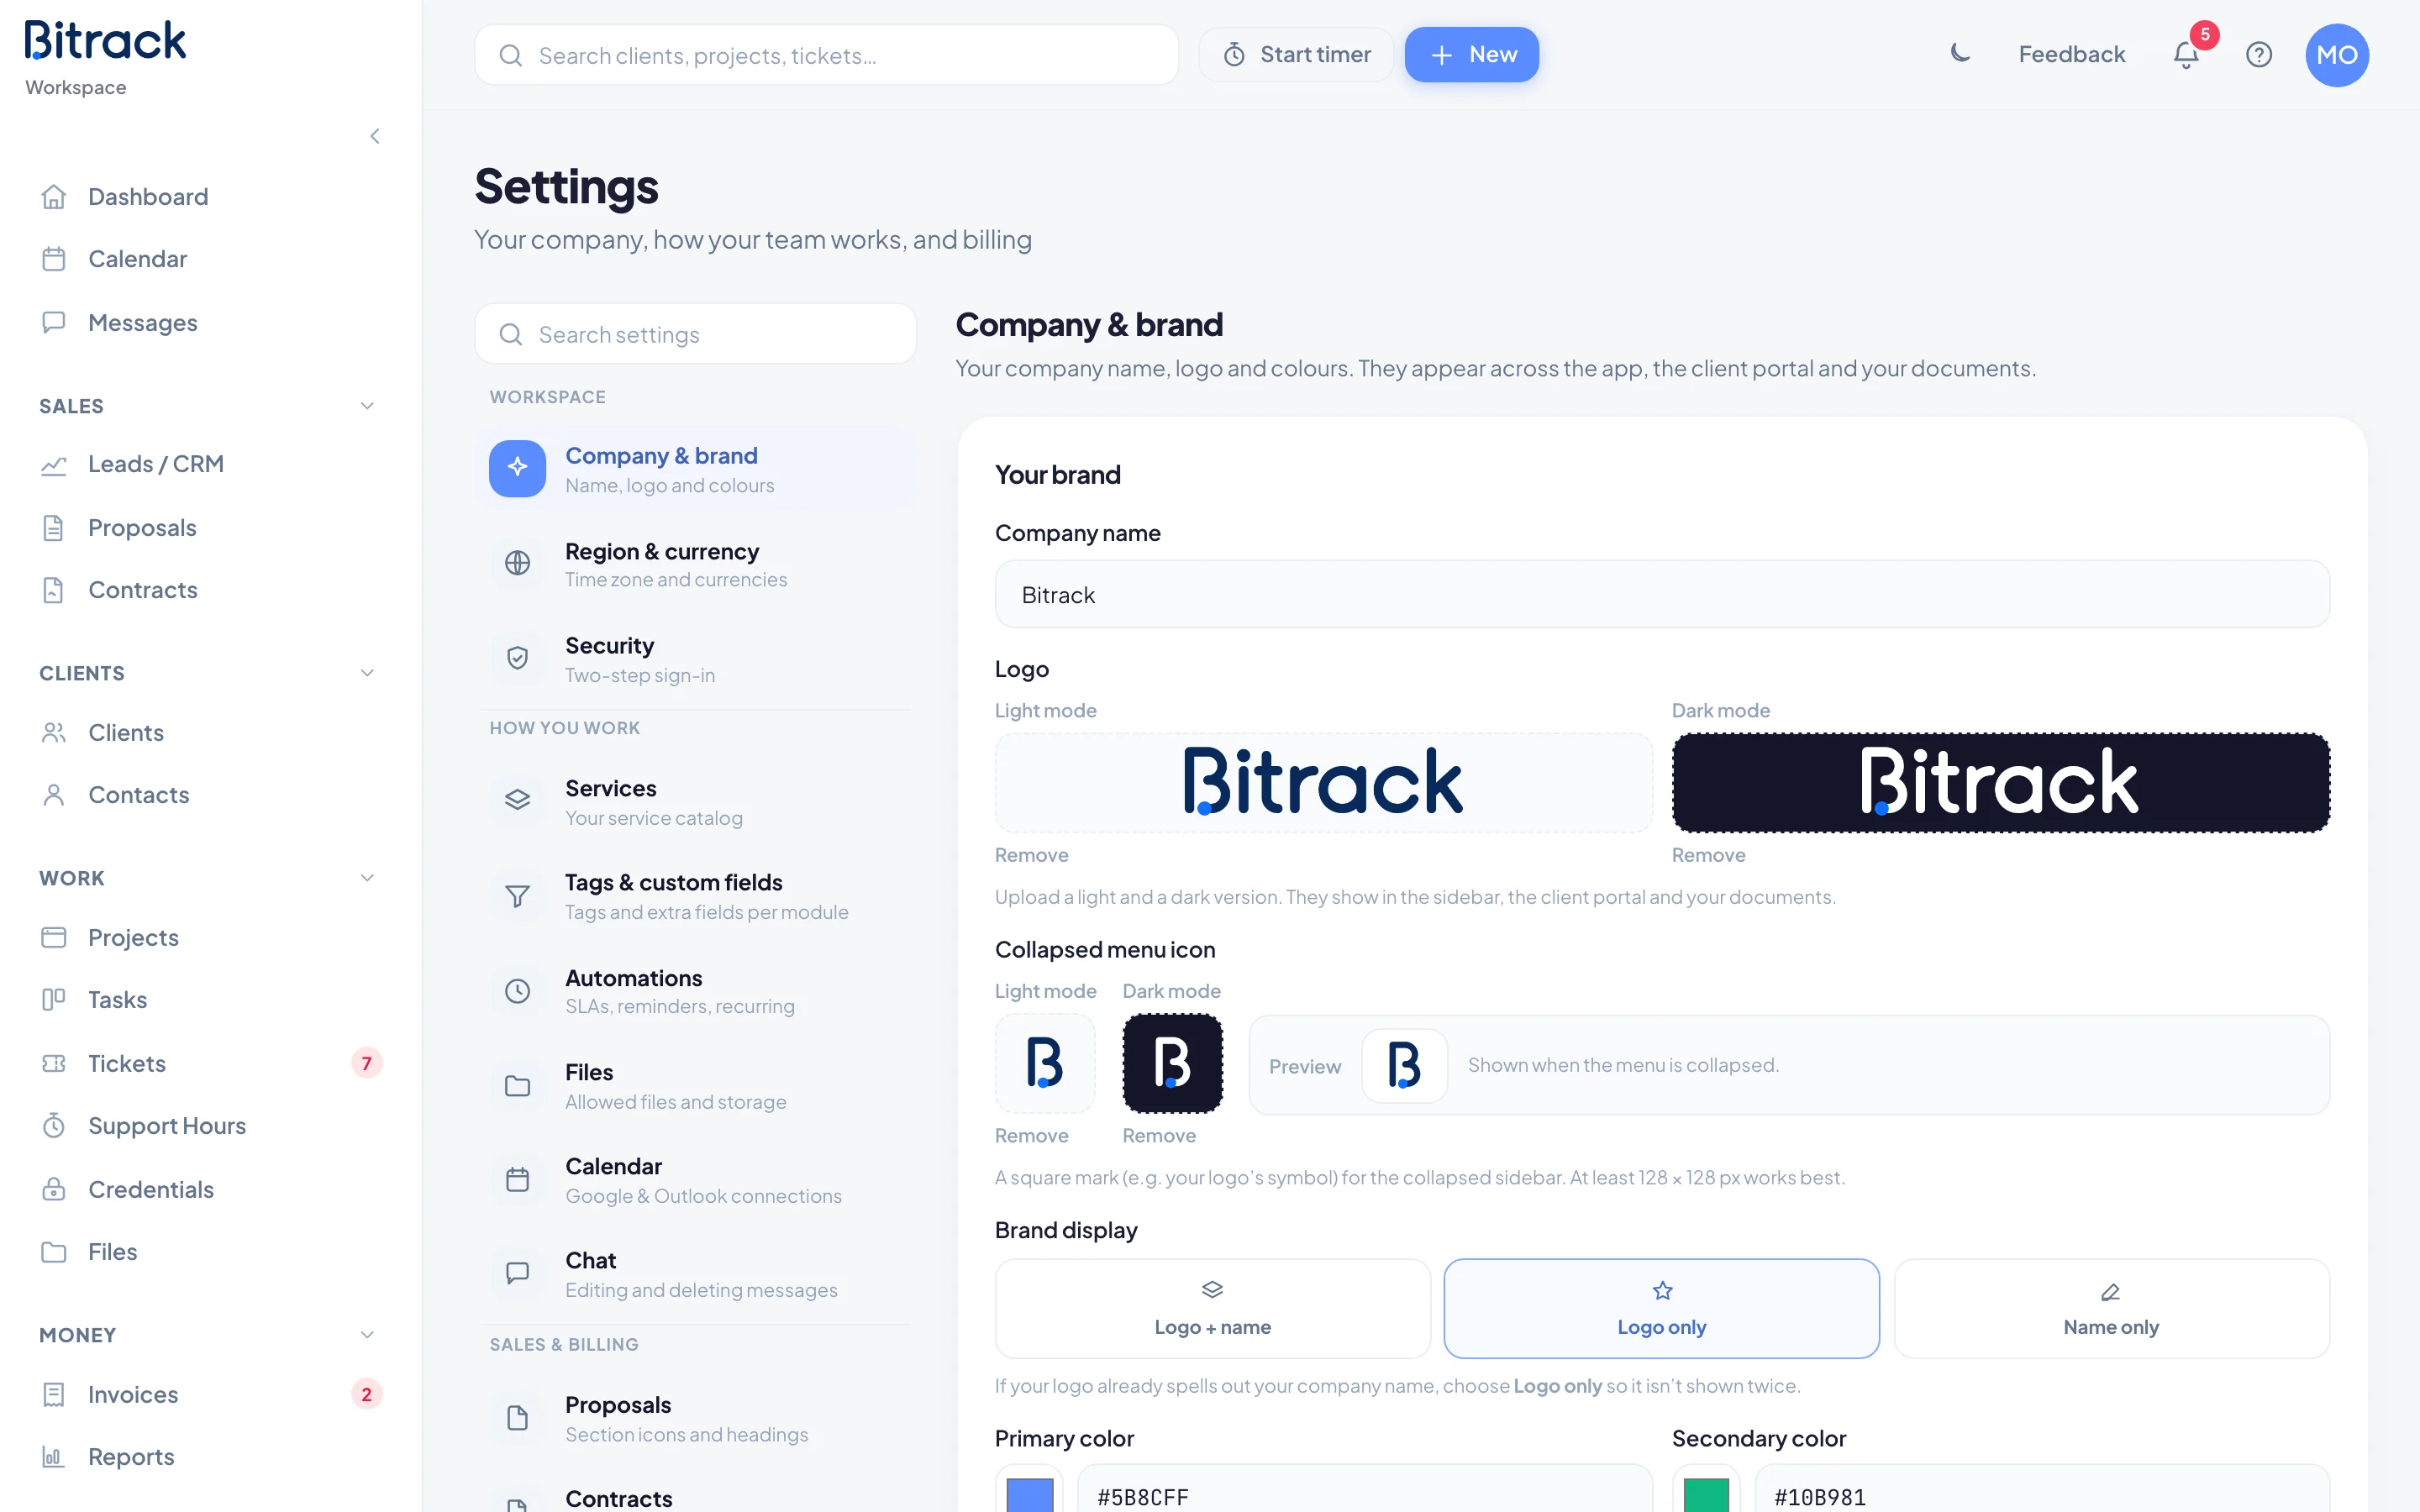
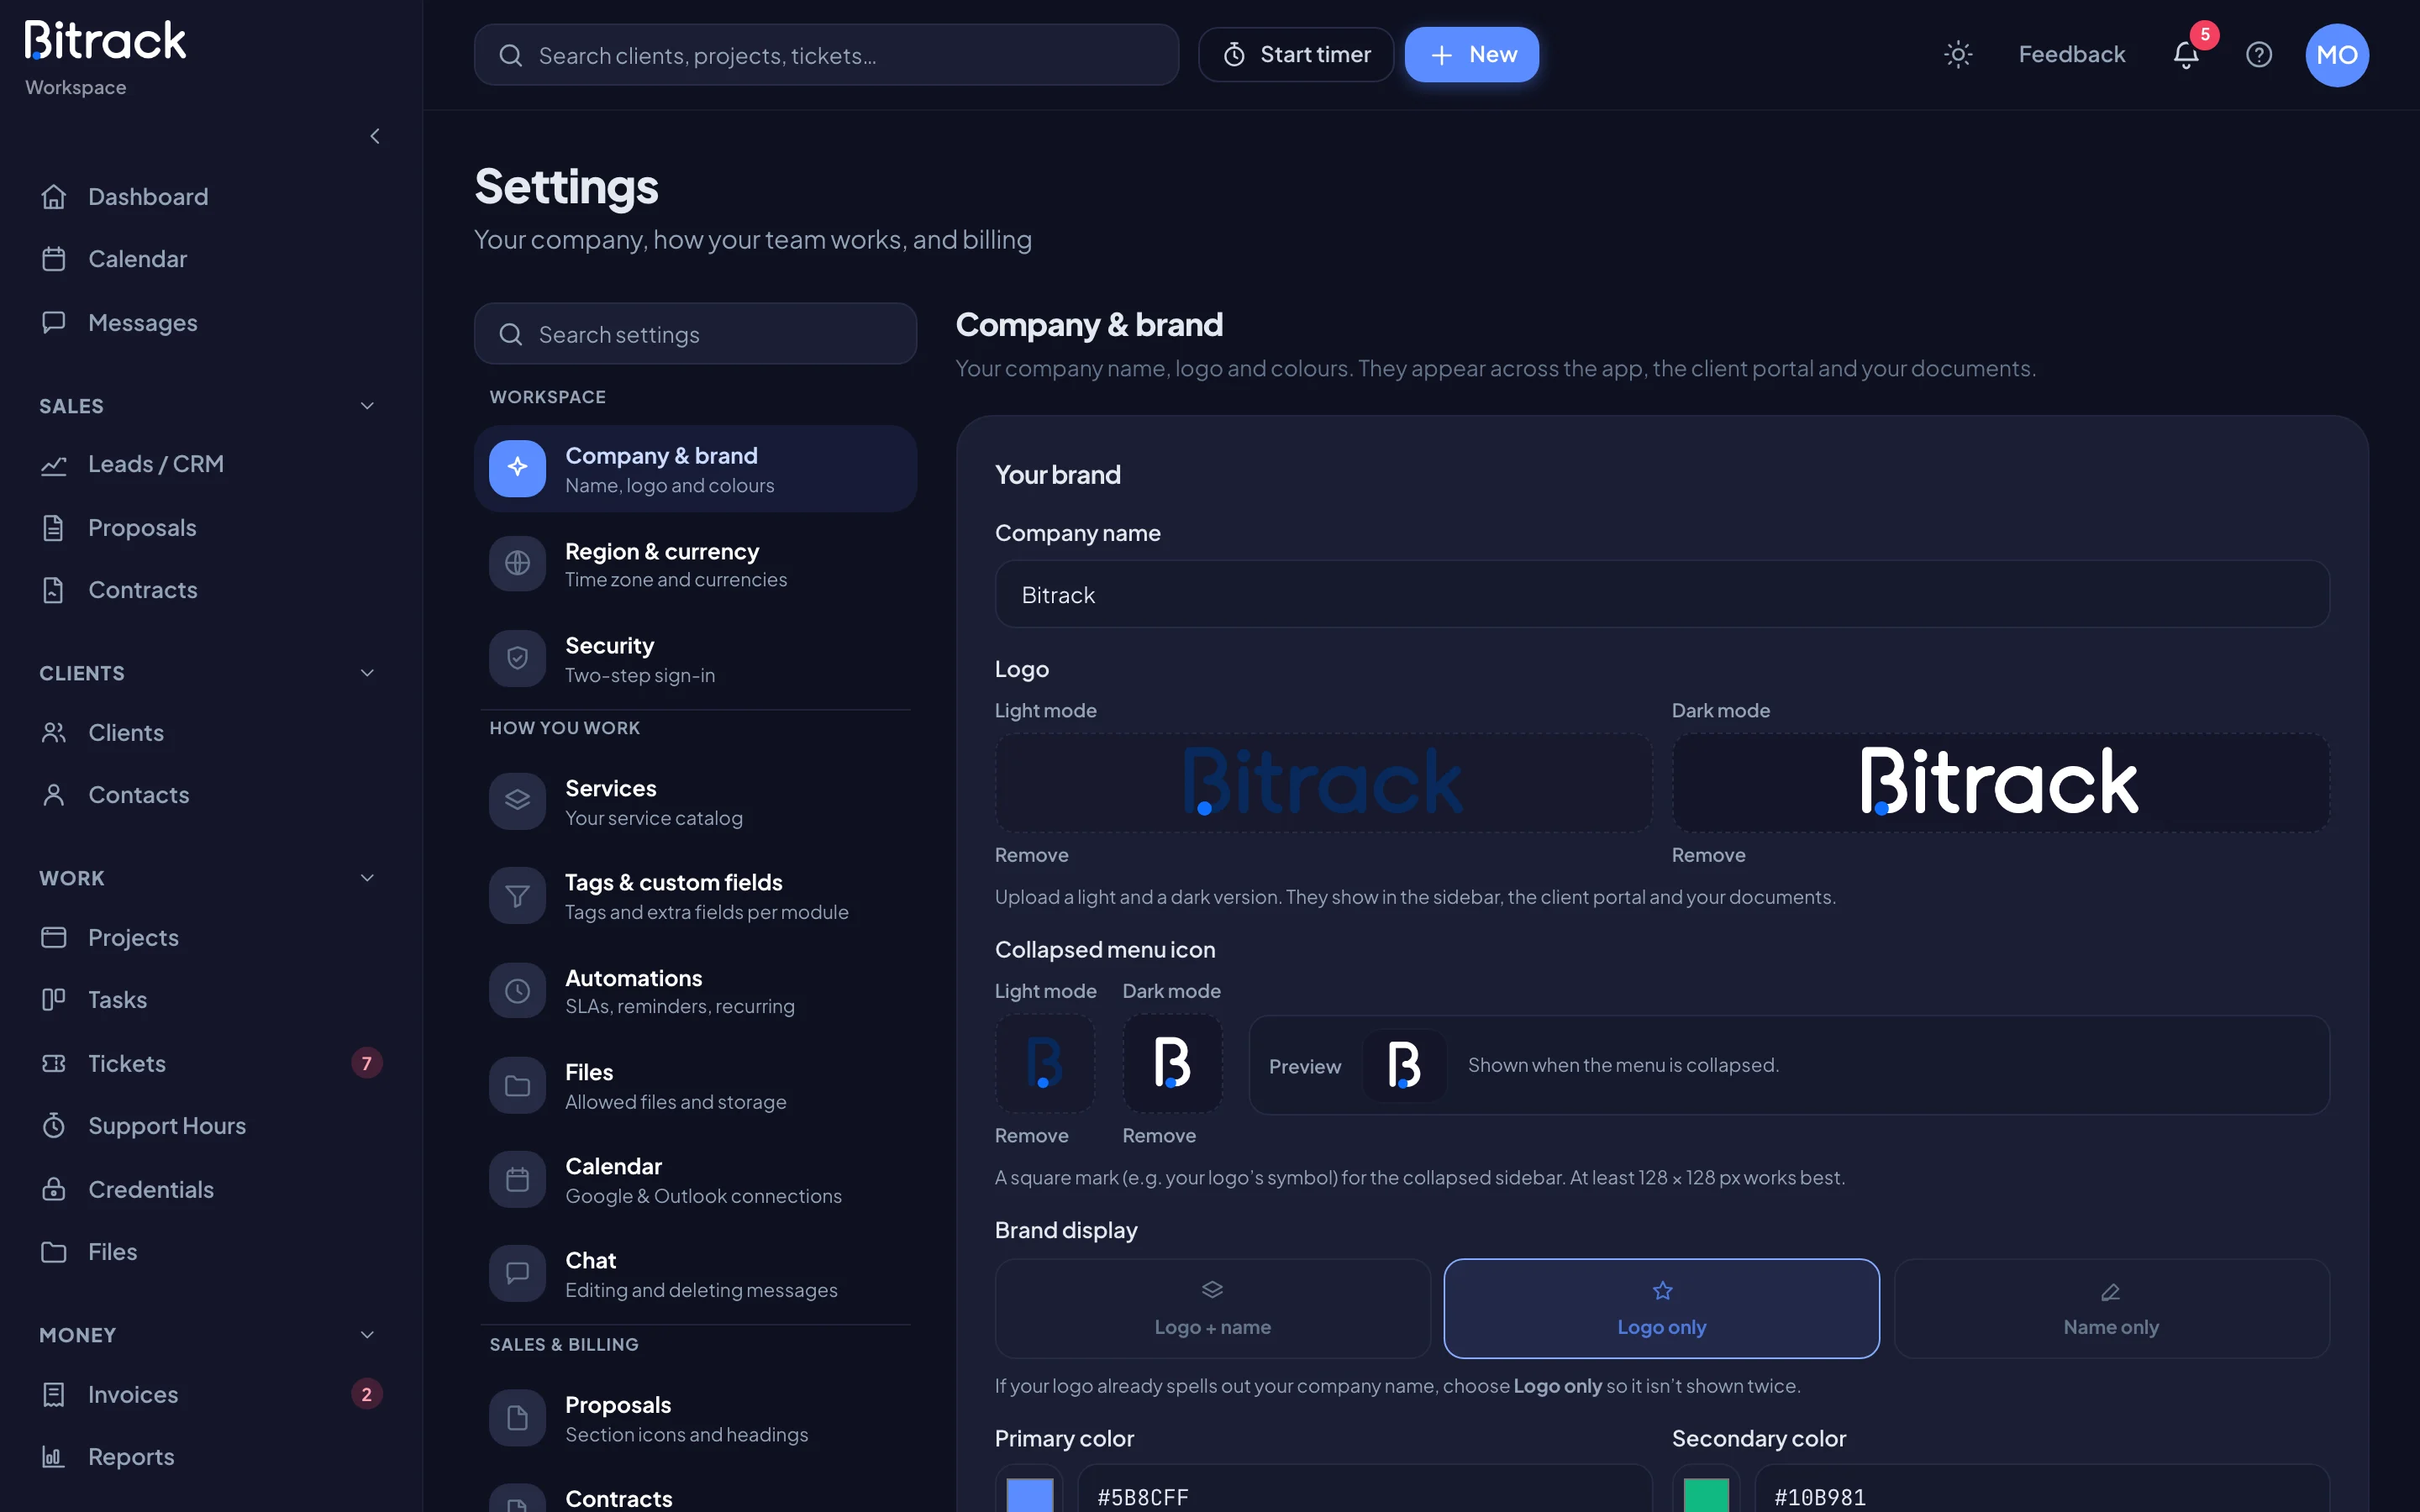
Starter kit and sample data
Owners and Admins also see a Starter kit & sample data card on this page.
- Starter kit: the card shows which kit your workspace was set up with. Choose Add next to another kit to bring in its services, disciplines, task labels, task templates and credential types. It only adds what you don’t have yet. Nothing you already have is changed or removed.
- Sample data: choose Add sample data to add two clients with projects, tasks, a lead and a ticket, so you can explore every screen. When you’re done, choose Clear sample data. This removes the sample records and anything you added inside the sample projects. Your own work isn’t touched.