Invite your team
Invite people to your workspace by email, choose their role, and manage invitations that are still pending.
Bitrack works best when your whole team is in it. You invite people by email, choose what they can do, and they join with one click.
You need permission to manage users to invite people. Owners and Administrators have it by default.
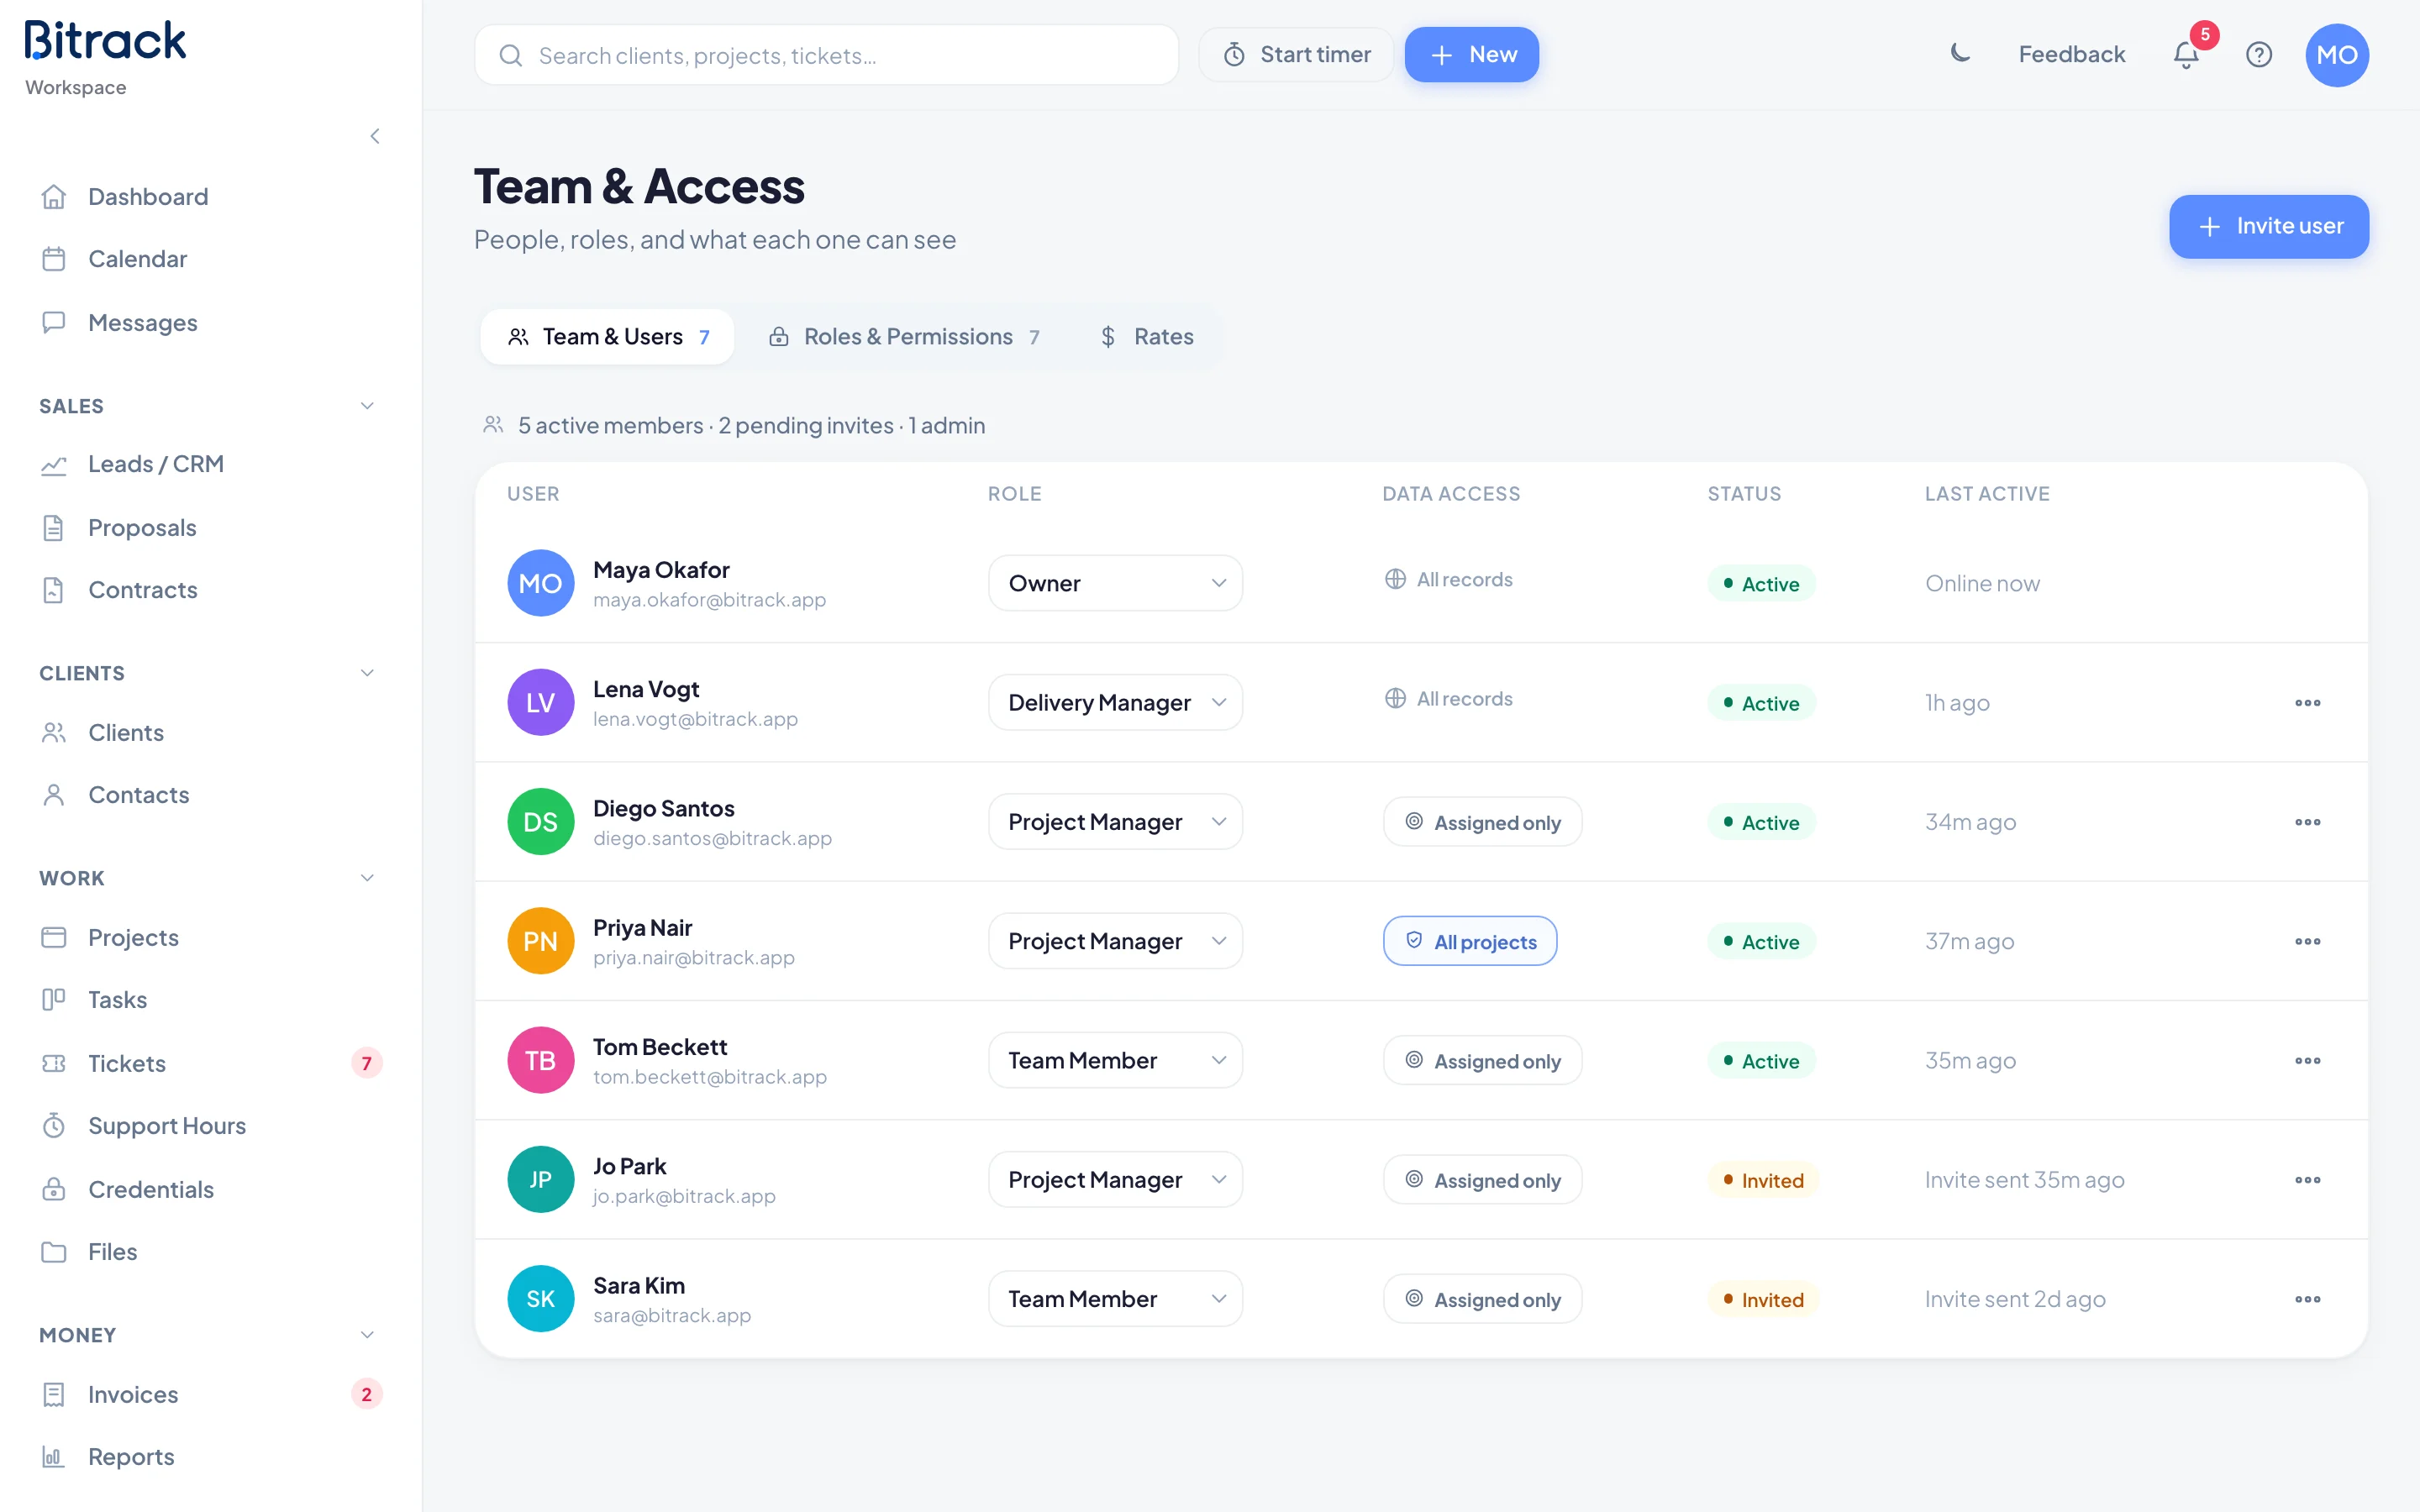
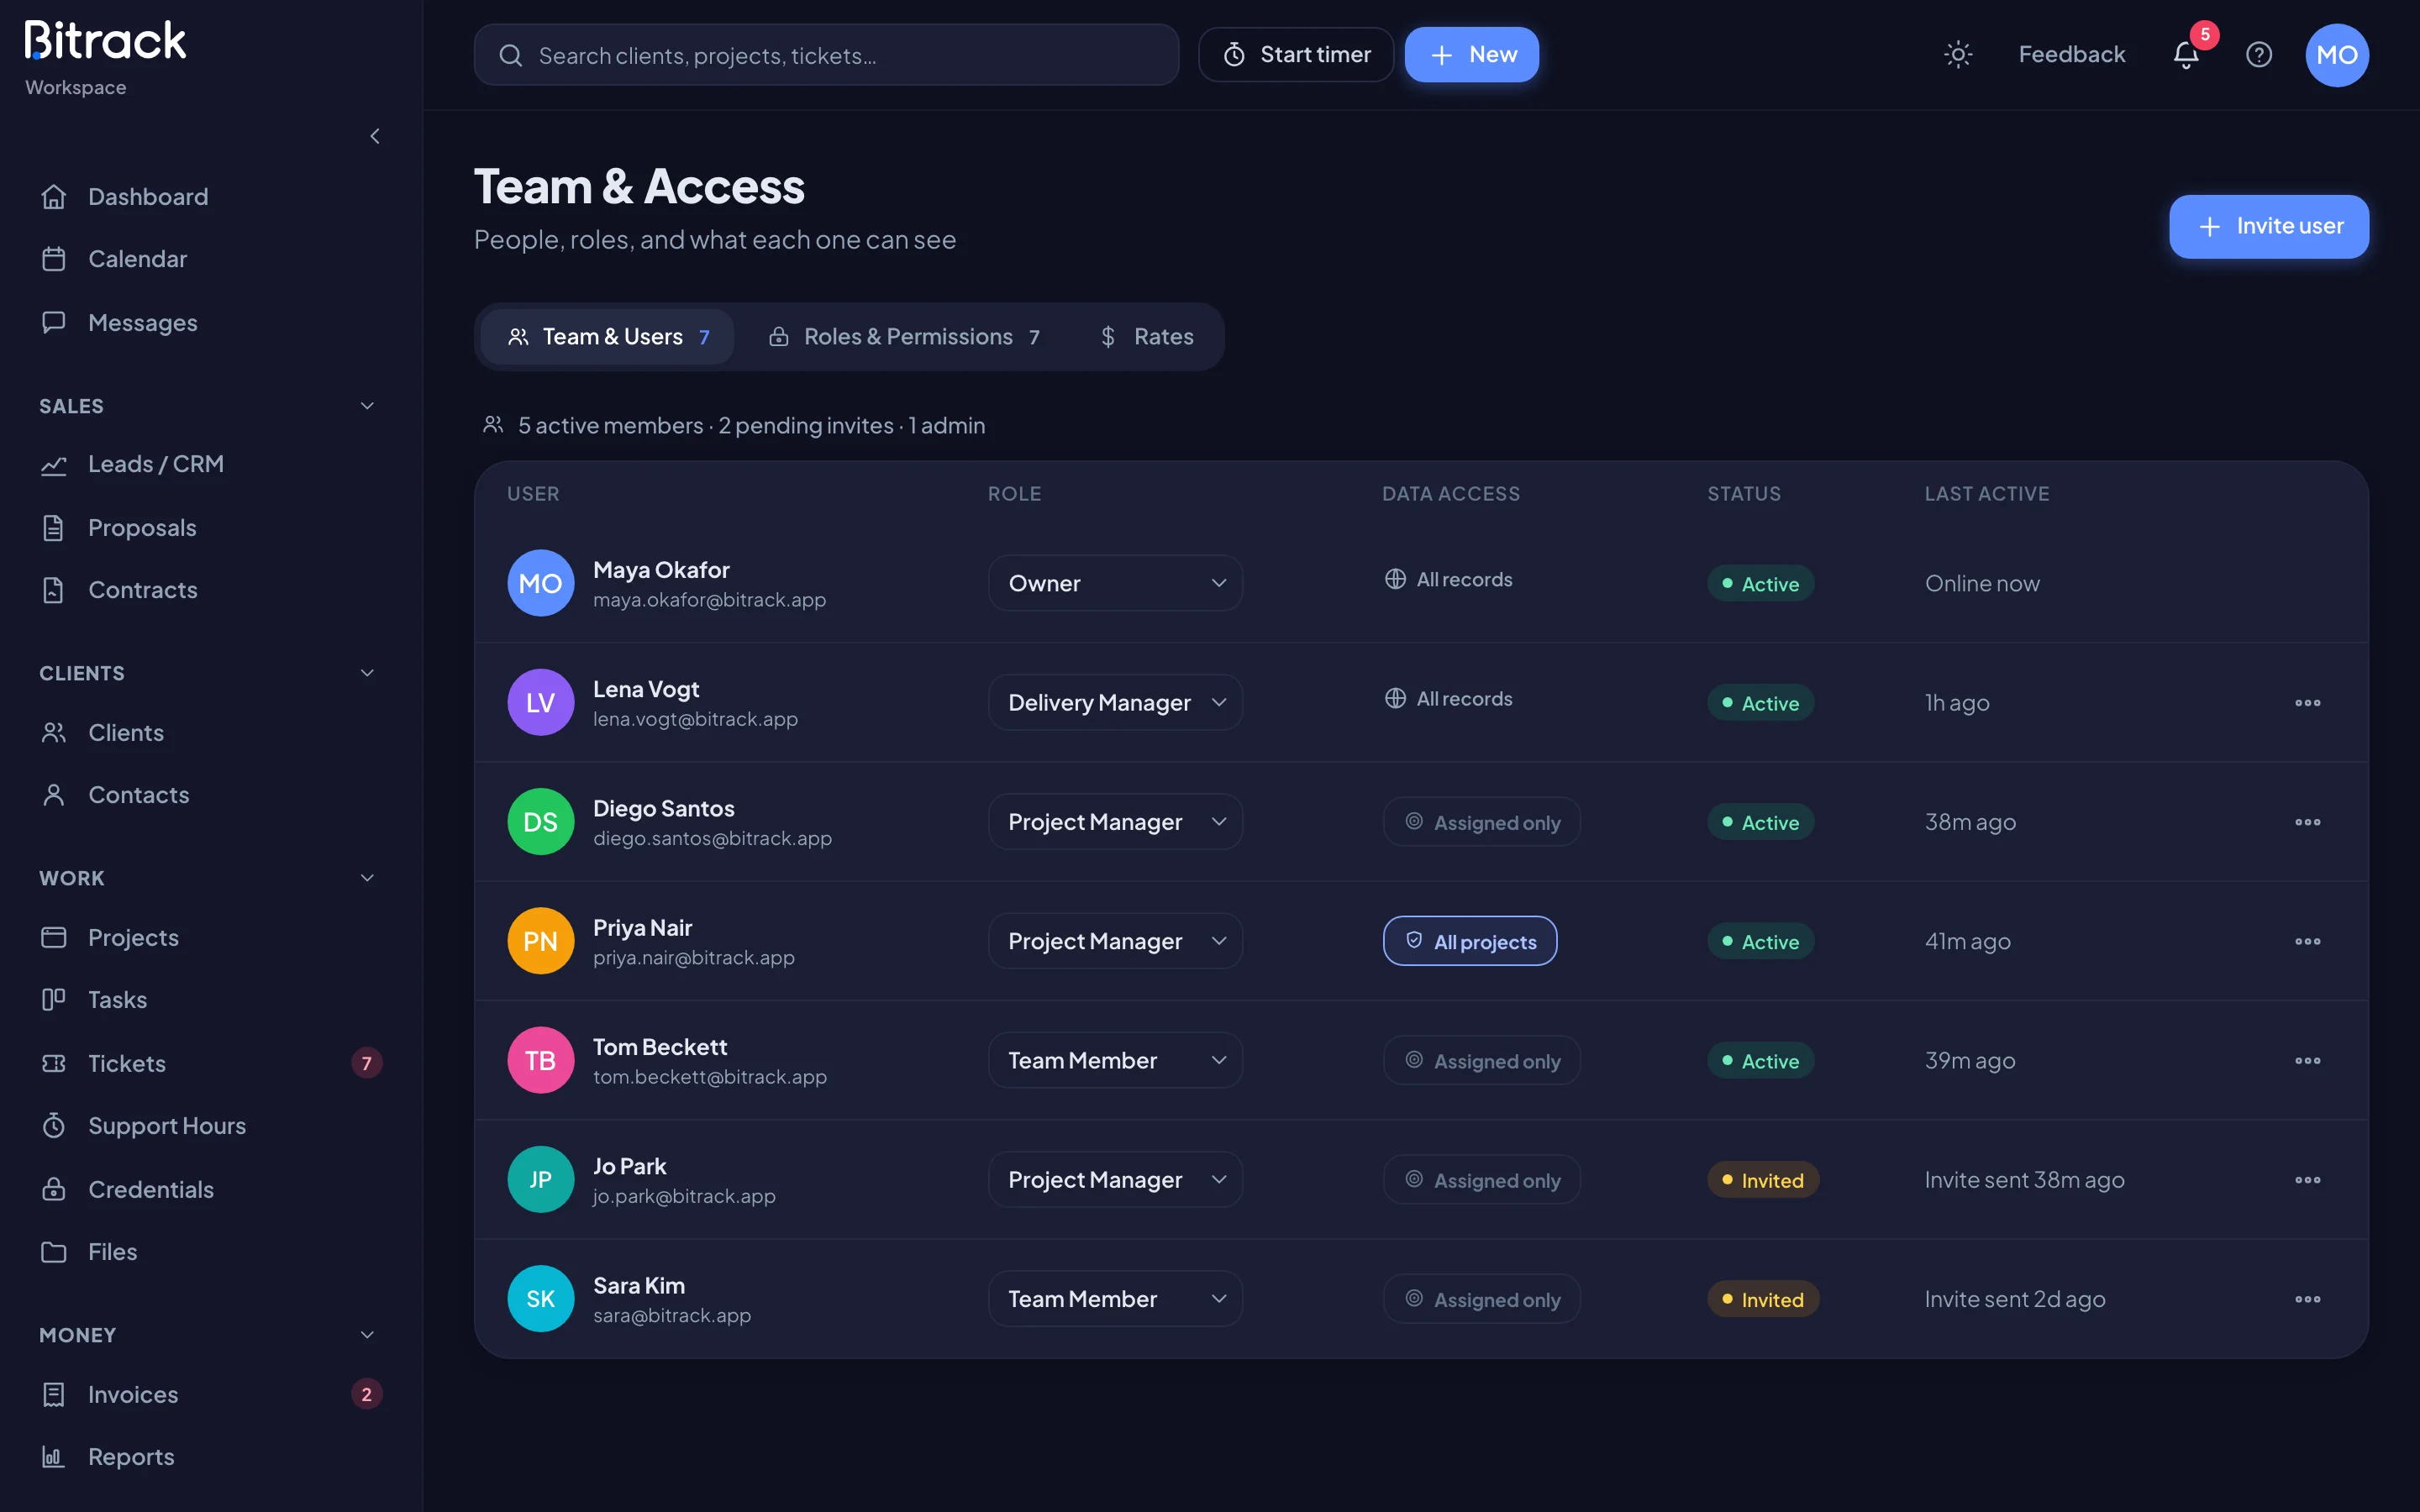
Invite someone
- Go to Team & Access in the sidebar.
- On the Team & Users tab, choose Invite user.
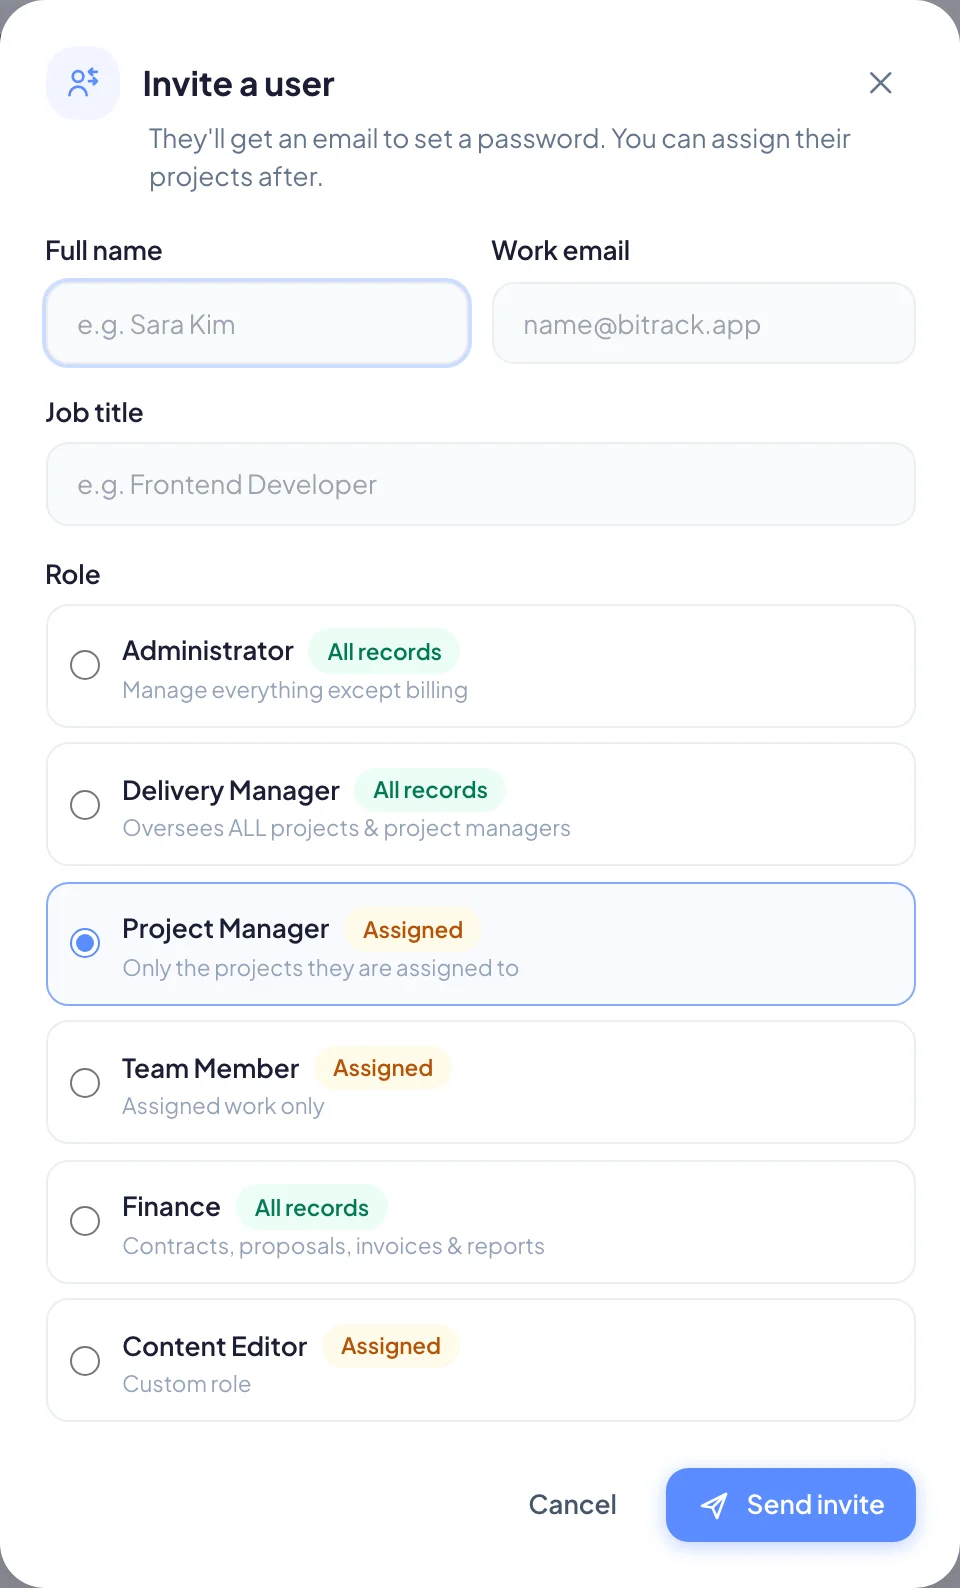
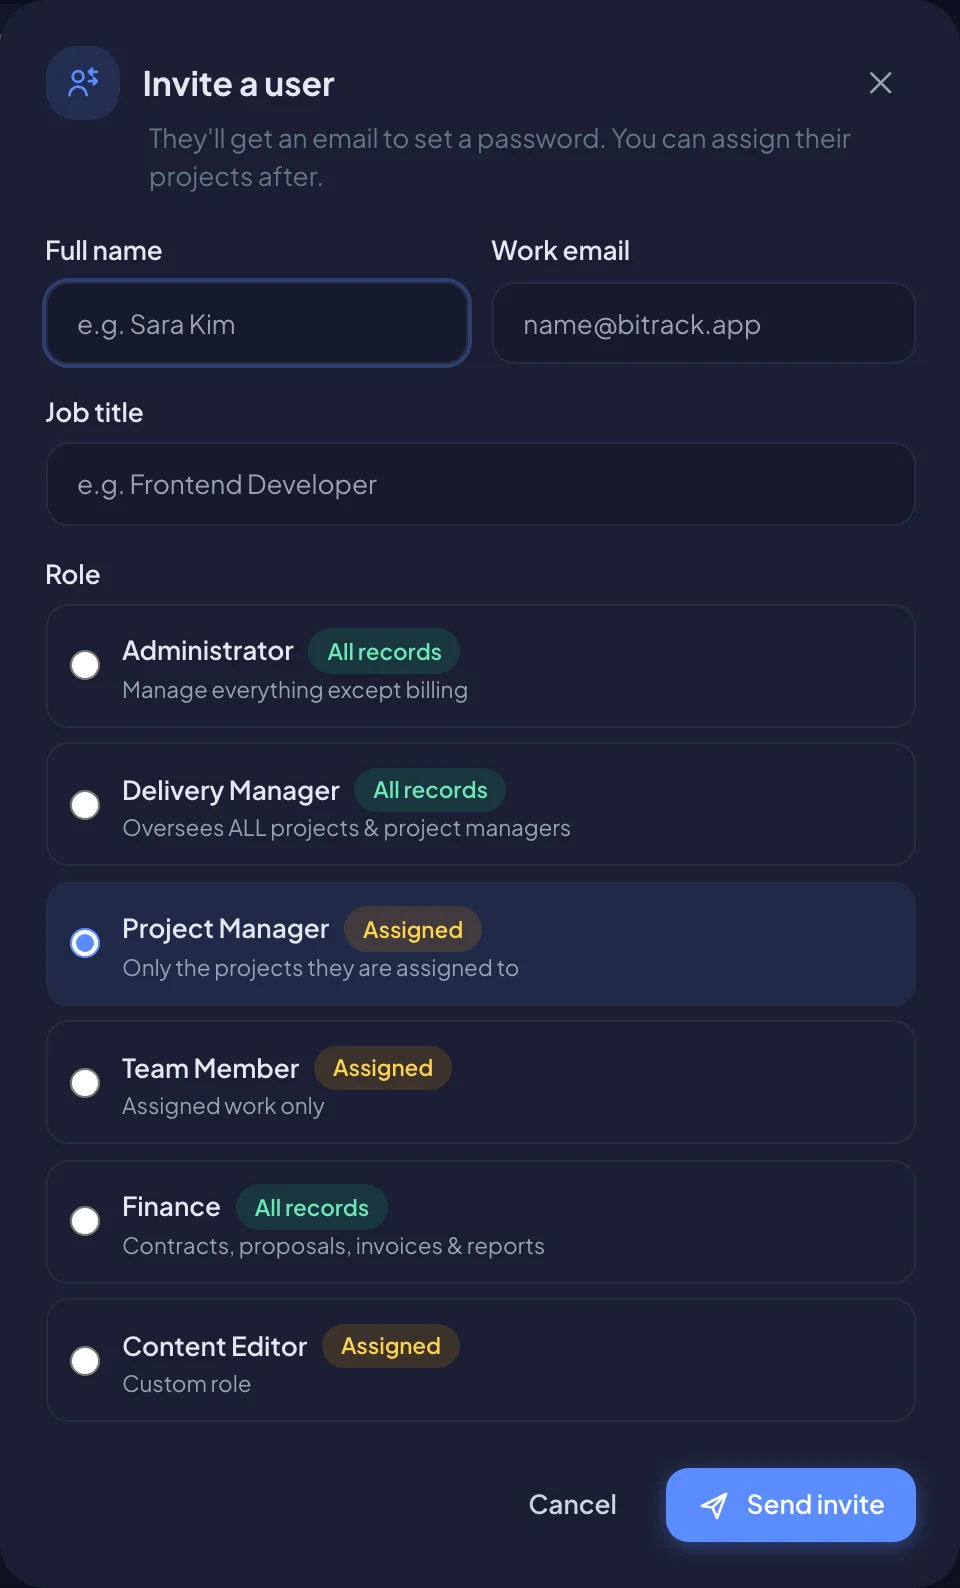
- Enter their Full name and Work email.
- Add a Job title if you like (for example Frontend Developer). It shows next to their name across the workspace.
- Under Role, pick what they can do. Each role shows whether it sees All records or only Assigned work.
- Choose Send invite.
They appear in the list straight away with the status Invited. You can assign their projects now, before they accept.
Not sure which role to pick? Read Roles and permissions.
What the invited person sees
They get an email from Bitrack saying who invited them, to which workspace, and with which role. To join:
- They choose Accept invitation in the email.
- They enter their Full name and choose a Password with at least 8 characters, then choose Accept & sign in.
- If they use Google at work, they can choose Accept with Google instead and skip the password.
Once they accept, their status changes to Active.
Resend or cancel an invitation
- In Team & Access, find the person with the Invited status.
- Choose the ⋯ (Manage) button at the end of their row.
- Choose Resend invite to send a fresh link (the old one stops working), or Cancel invite to withdraw it.
Manage people after they join
The same Manage button opens a person’s settings. From there you can:
| Option | What it does |
|---|---|
| Role | Changes what they can do. |
| Data access | For roles that see assigned work only: Assigned only (just their projects) or All projects (full visibility). |
| Assigned projects | The projects they’re on. For scoped roles, these are the only projects they can open. |
| Rates | Their cost and bill rates, if you can see costs. |
| Deactivate | Stops them signing in. Their projects stay assigned, and you can Reactivate them later. |
| Remove | Takes away their access immediately. Their past work stays, but they leave project teams. |
Choose Save to keep your changes.
You can also change a role or data access right in the list: use the Role menu, or the Assigned only / All projects button in the Data access column.