Work with tickets
Track support requests from clients and your team, reply in one thread, keep private notes and close tickets when they’re done.
Tickets is where support requests live, whether a client raised them in the portal or your team opened them. Every ticket belongs to a client’s project, has a priority and a status, and keeps the whole conversation in one place.
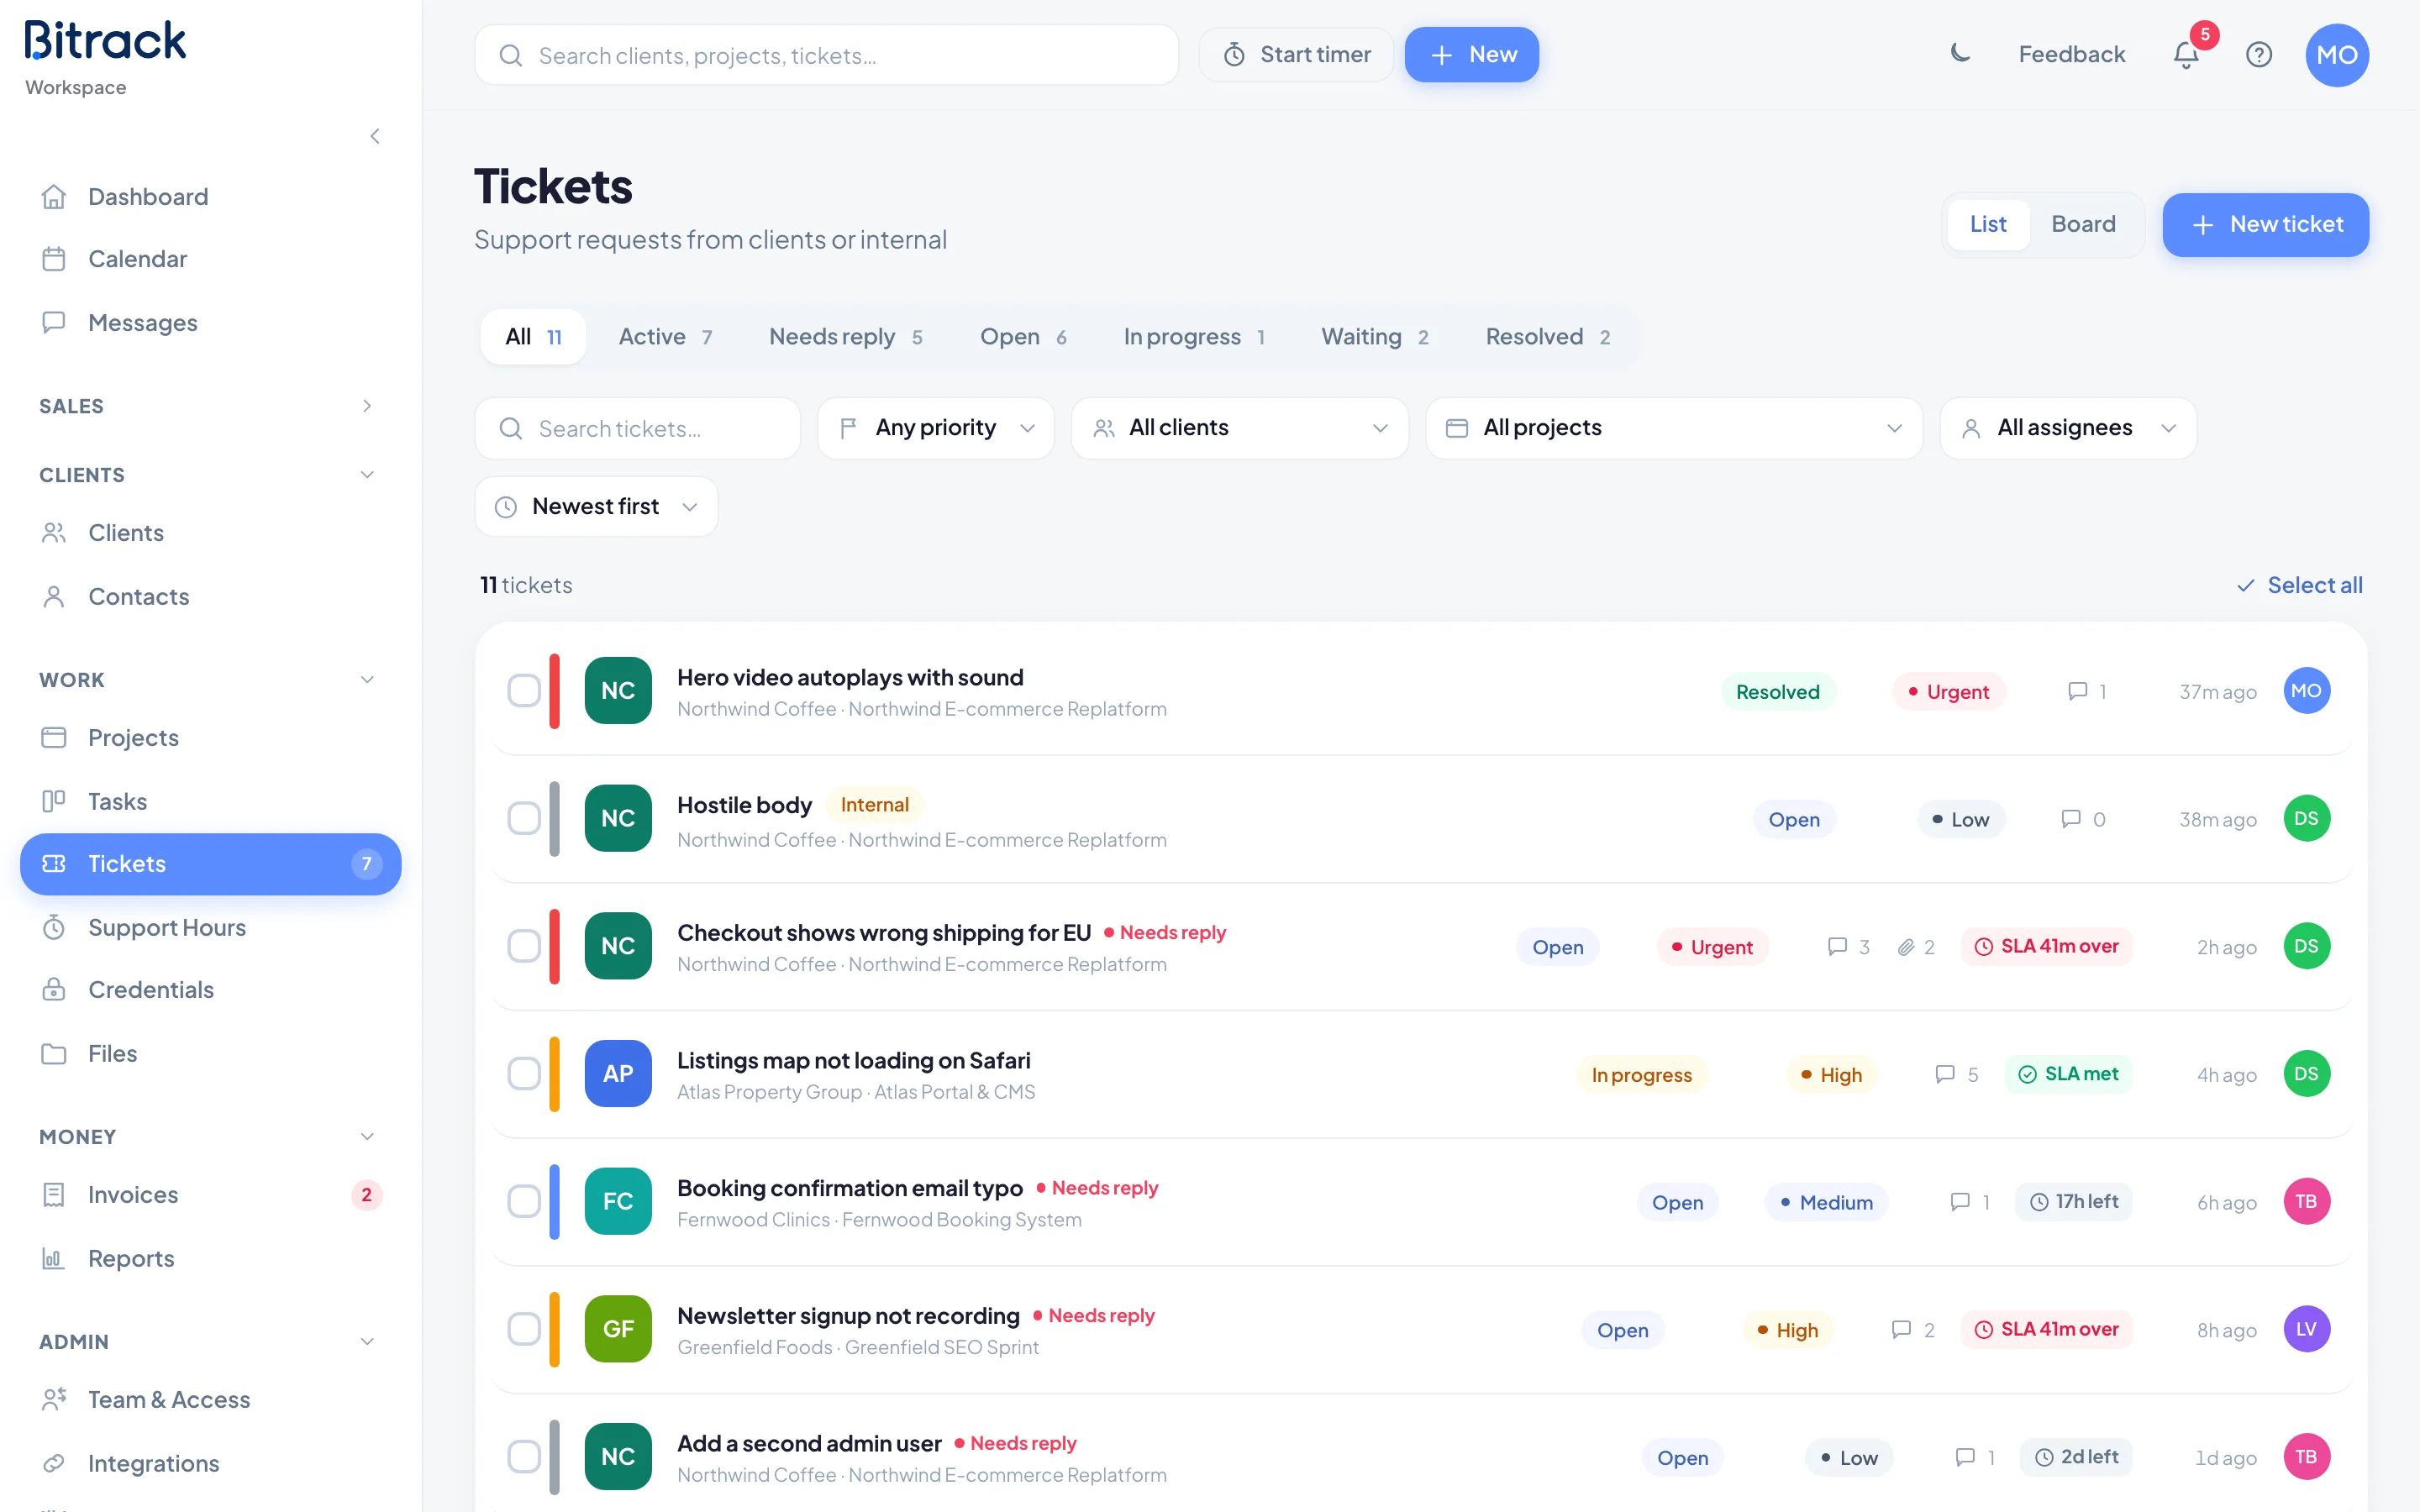
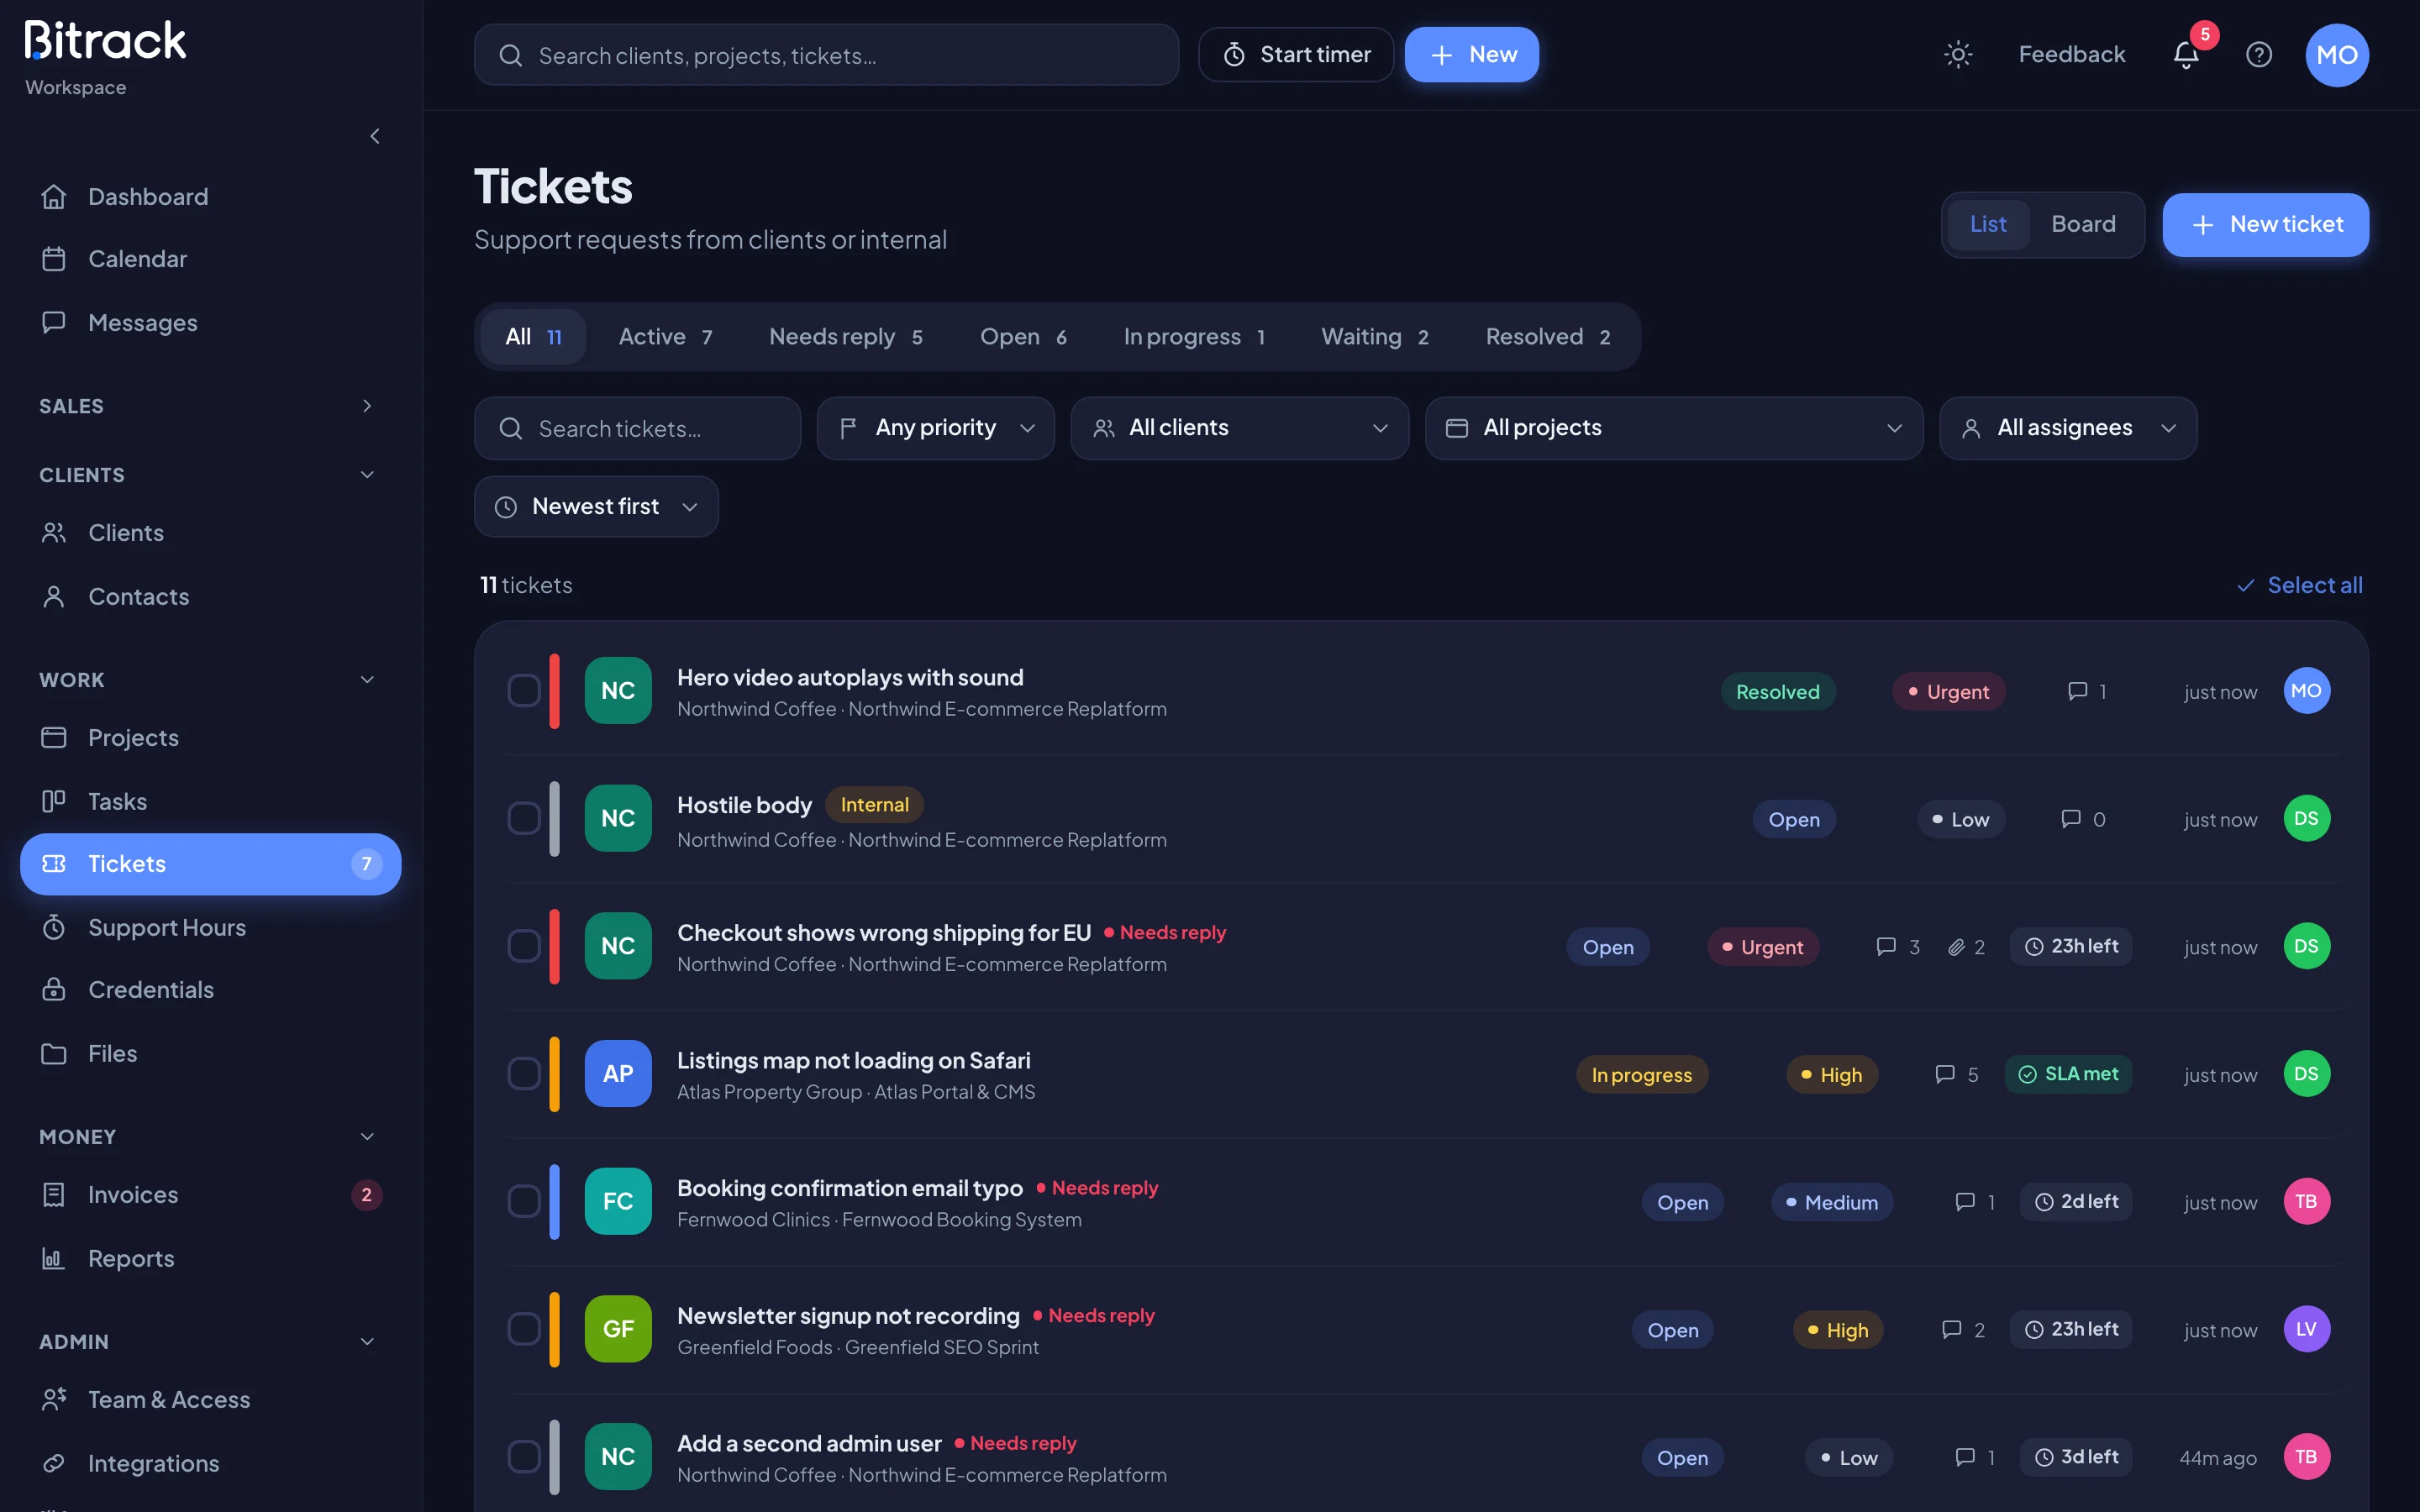
List and board
Use the List / Board switch at the top of the page to change how you see tickets.
- List shows every ticket in one column, with tabs to narrow it down and a sort order (Newest first or Oldest first).
- Board shows a column for each status. Drag a card to another column to change its status, or drag it up and down to set the order. The order is saved for everyone.
The filters work in both views: search by subject, and pick a priority, client, project or assignee. Choosing an assignee also finds tickets where that person is a collaborator.
The status tabs
In list view, the tabs sort tickets by where they stand. Each tab shows a count.
| Tab | What’s in it |
|---|---|
| All | Every ticket |
| Active | Tickets that are open or in progress, the work on your plate right now |
| Needs reply | Client tickets where the client spoke last and is waiting on you |
| Open, In progress, Waiting, Resolved | Tickets in that one status |
Waiting means your team is waiting on the client. Use it when you’ve asked a question and the next move is theirs.
Priorities
Each ticket is Urgent, High, Medium or Low. The priority also sets the ticket’s response target, if your workspace uses them. Read more in Response targets (SLAs).
Create a ticket
- Choose New ticket.
- Enter a Subject and, if you like, the Details and any Attachments. You can drag, drop or paste files.
- Pick the Project, the Priority and the Owner.
- Add Collaborators to keep teammates in the loop.
- Tick Internal ticket for work your team does for itself. Clients never see internal tickets.
- Leave Email the client on to send the client contact a copy, or turn it off.
- Choose Create ticket.
Open a ticket
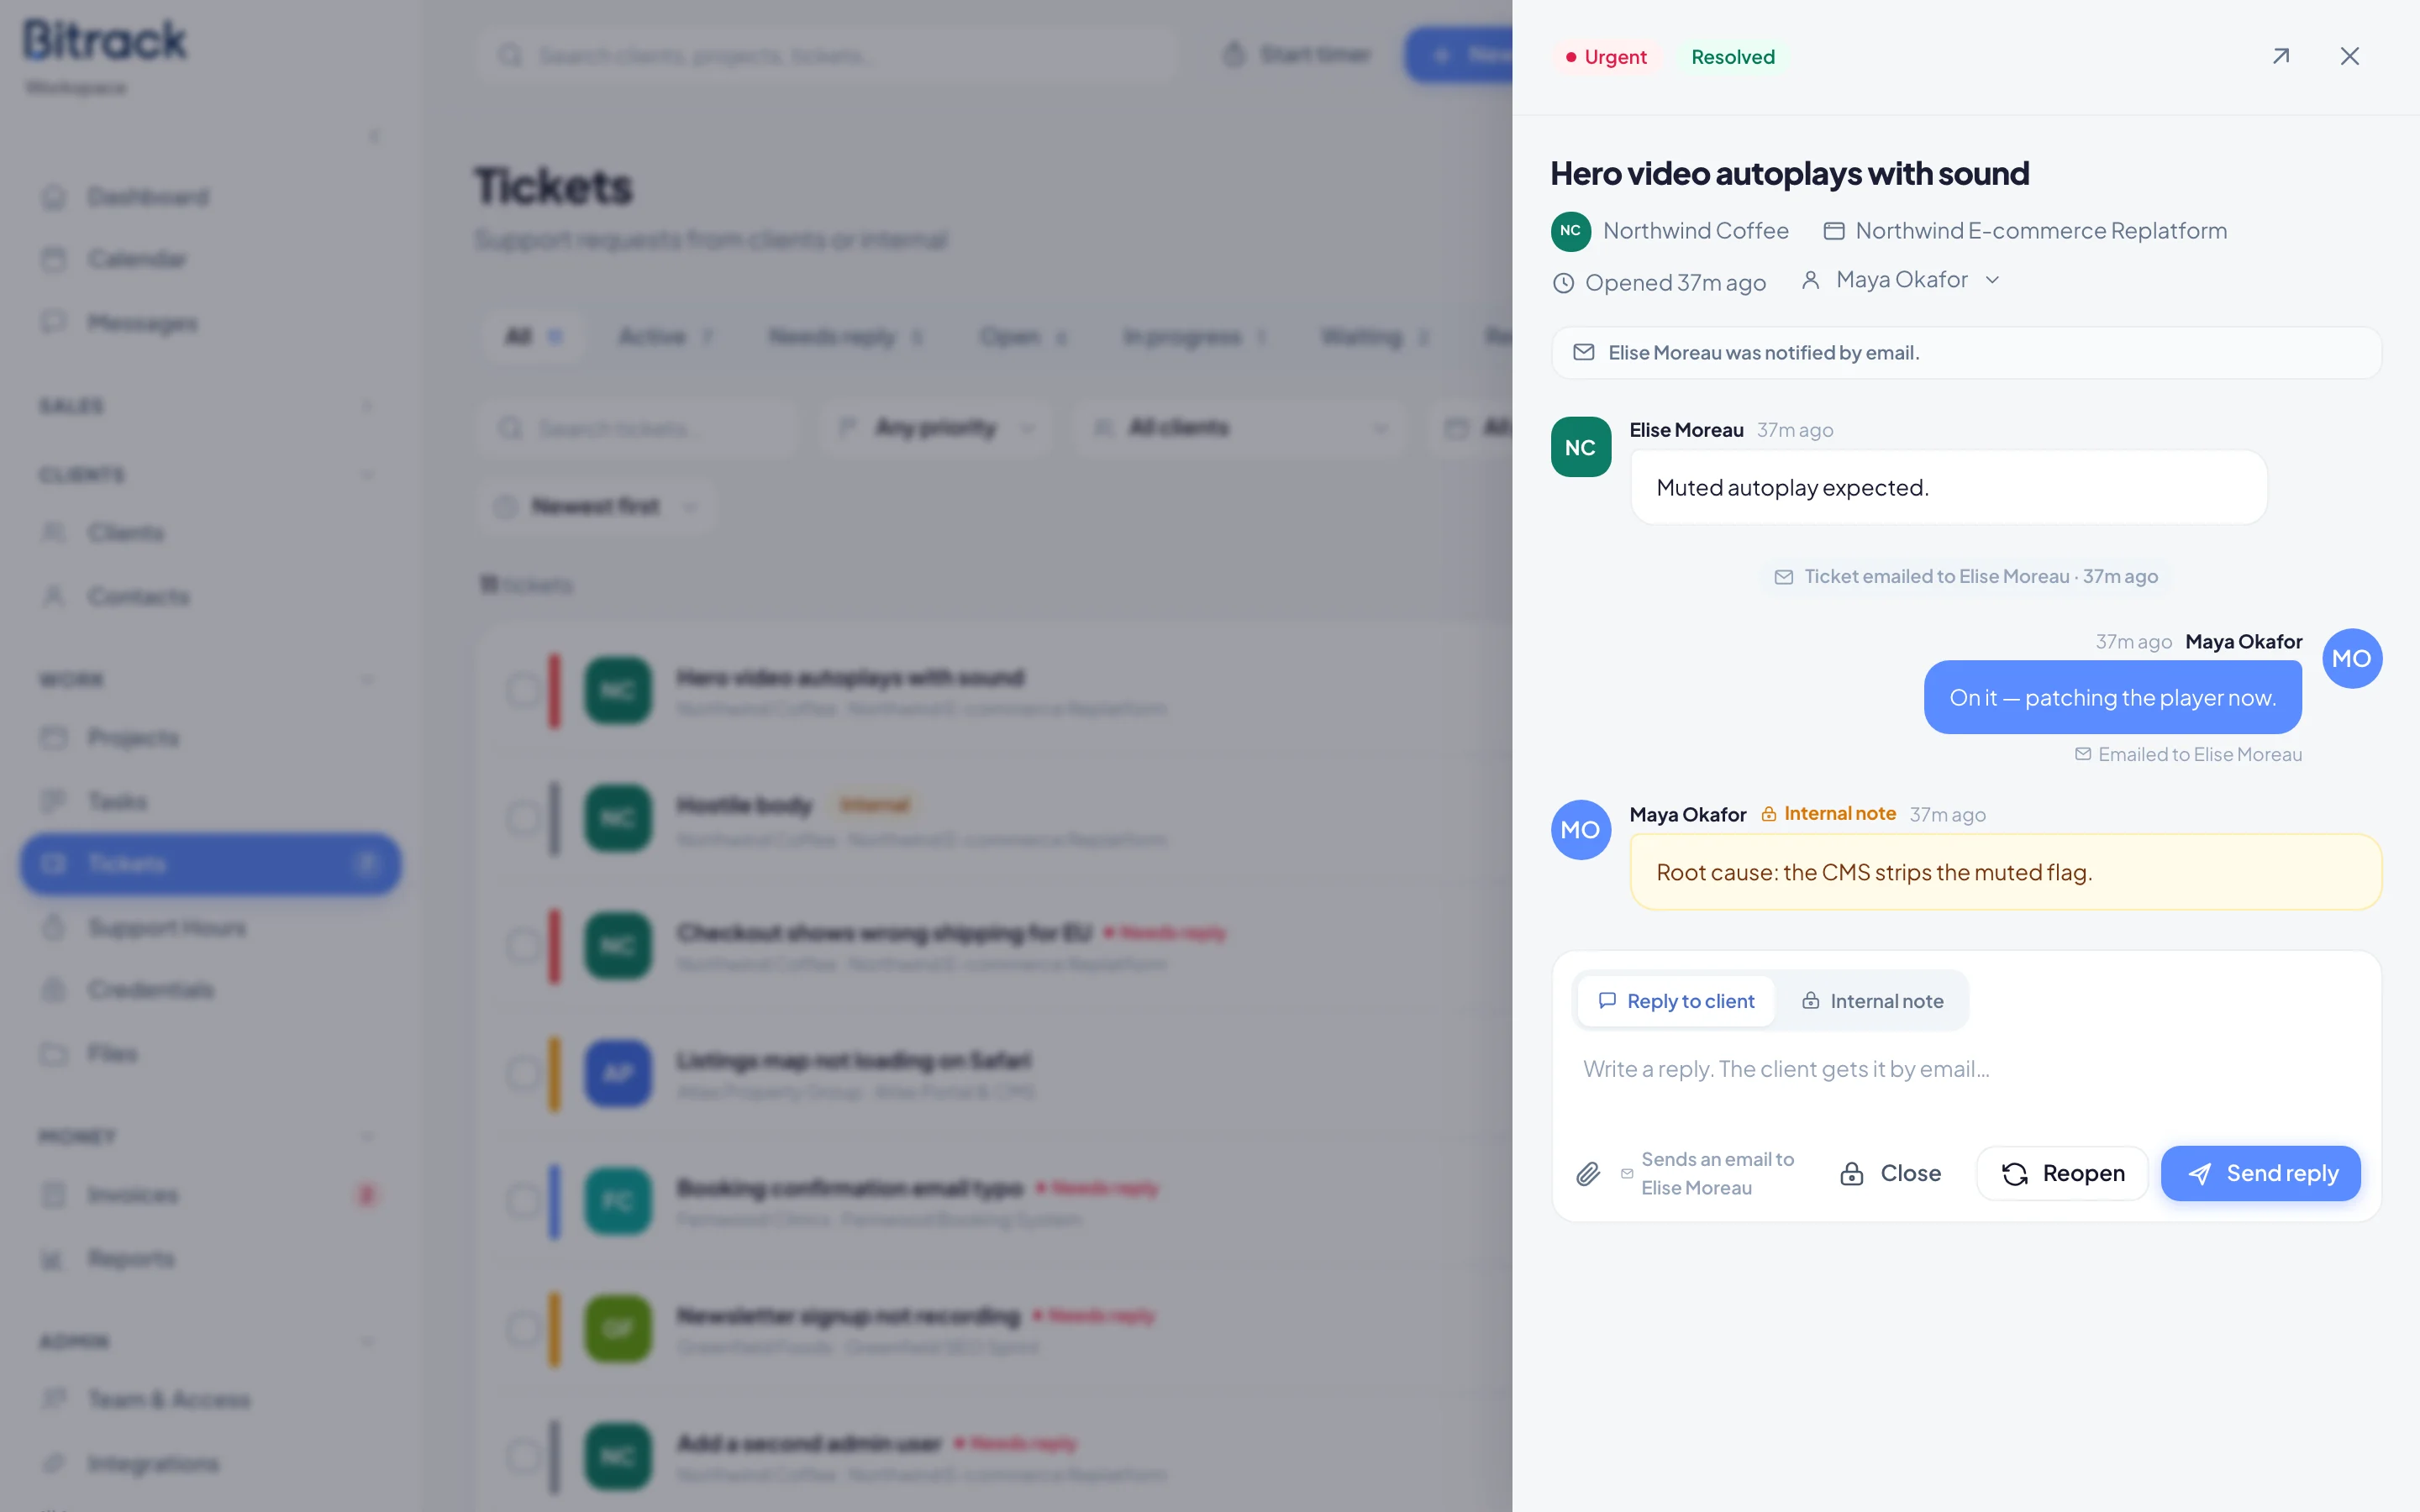
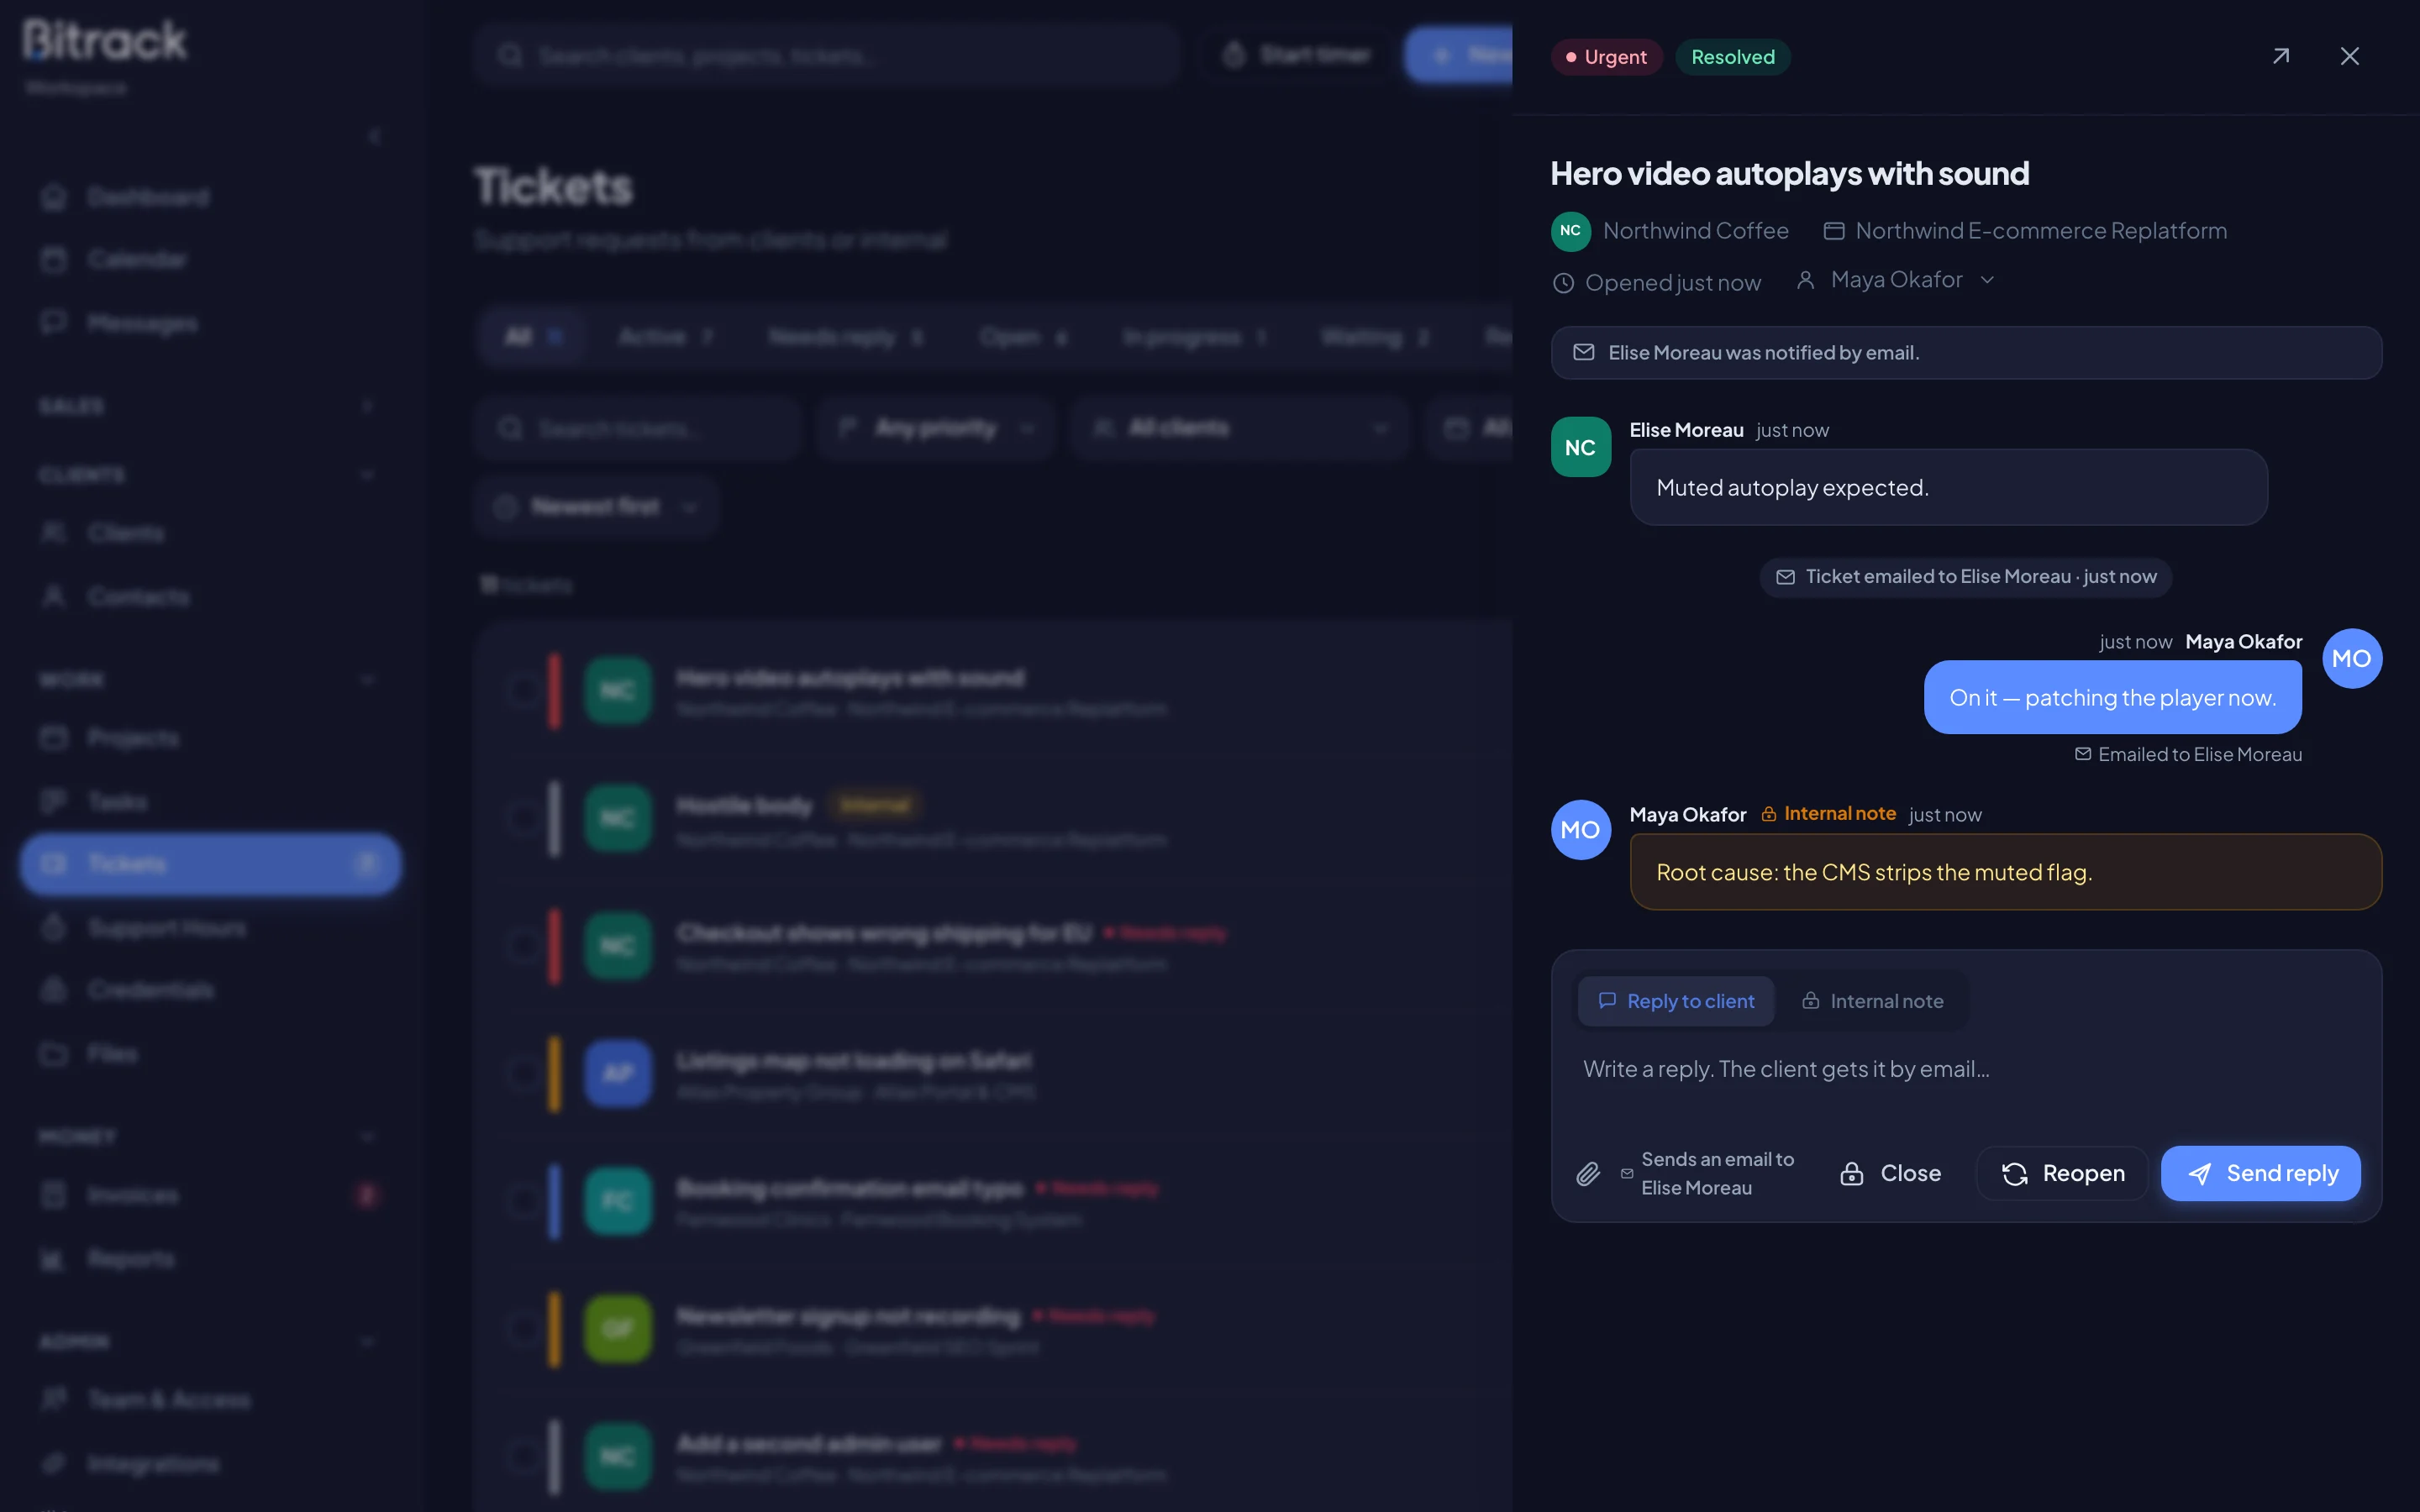
Choose a ticket to open it in a side panel. Choose Open as full page to give it the whole screen.
At the top you’ll see the priority and status badges. If you’re allowed to change them, choose a badge to pick a new value. Under the subject is the client, the project, when it was opened, its response target and its owner. Choose the owner to change the Owner or add Collaborators.
Reply or add an internal note
The box under the conversation has two modes:
- Reply to client sends your message to the client contact by email. Choose Send reply.
- Internal note is for your team only. Notes show in amber in the thread and are never shown to the client. Choose Add internal note.
You can attach files to both. Choose the paperclip, or drag files onto the box.
Resolve, close and reopen
- Resolve marks the ticket as done. If the client replies later, it opens again on its own.
- Close resolves the ticket and turns off client replies. The client can open a follow-up ticket that links back to this one. Internal notes still work.
- Reopen brings a resolved or closed ticket back to Open.
Your workspace can also close resolved tickets automatically after a few days with no reply. Owners and Admins turn this on in Settings > Automations with Close resolved tickets automatically.
Tickets from the client portal
Clients can raise tickets from the Support page in their portal. Their details and files become the first message, and the ticket is assigned to the project lead. The people on the ticket get a notification, so nothing sits unseen.
When a client replies in the portal:
- a Waiting ticket moves back to In progress;
- a Resolved ticket opens again.
Bulk changes
In list view, choose Select all or tick tickets one by one. The bar at the bottom lets you change the Status, Assignee or Priority, Close them, or Delete them. Deleted tickets go to the Trash, where you can restore them.