Create an invoice
Bill any client from scratch or from a contract’s payment schedule, with line items, tax, currency and due date.
You can create an invoice two ways: build one yourself, or generate it from a contract’s payment schedule. Either way, it starts as a draft you can check before it goes to the client.
Create an invoice from scratch
- Go to Invoices and choose New invoice.
- Fill in each section, as described below.
- Choose how to finish: Save as draft, Submit for approval or Create & send.
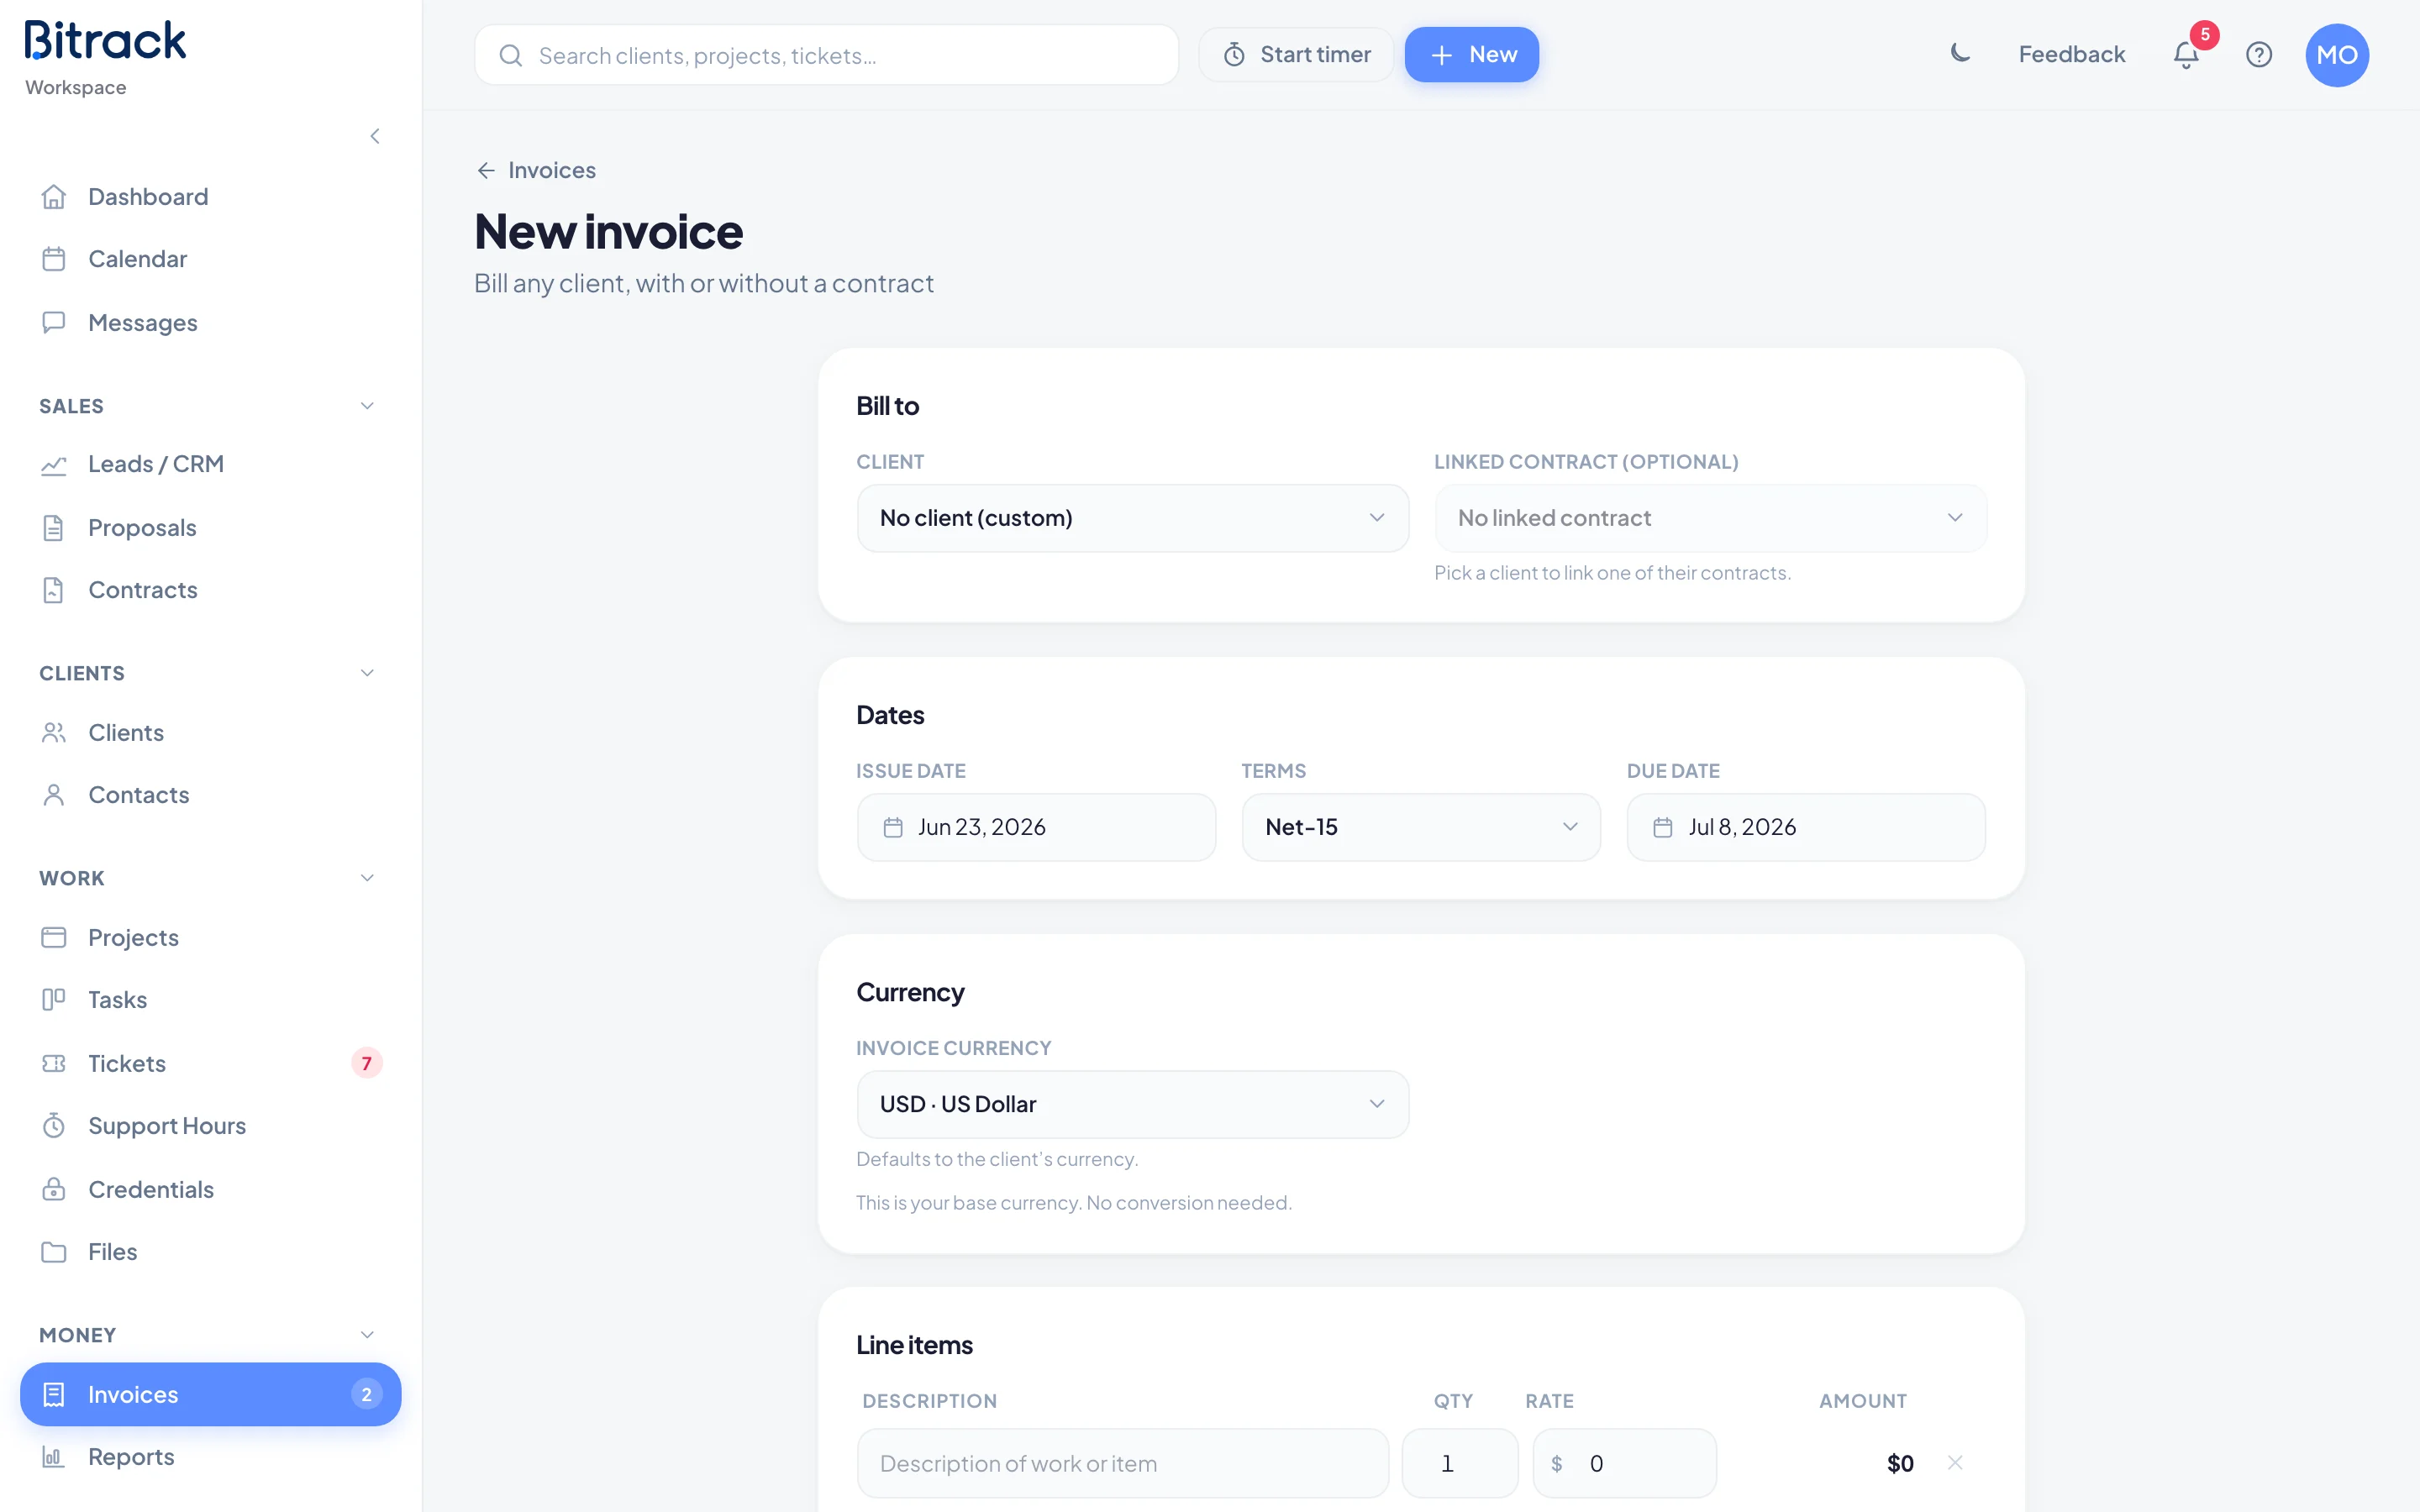
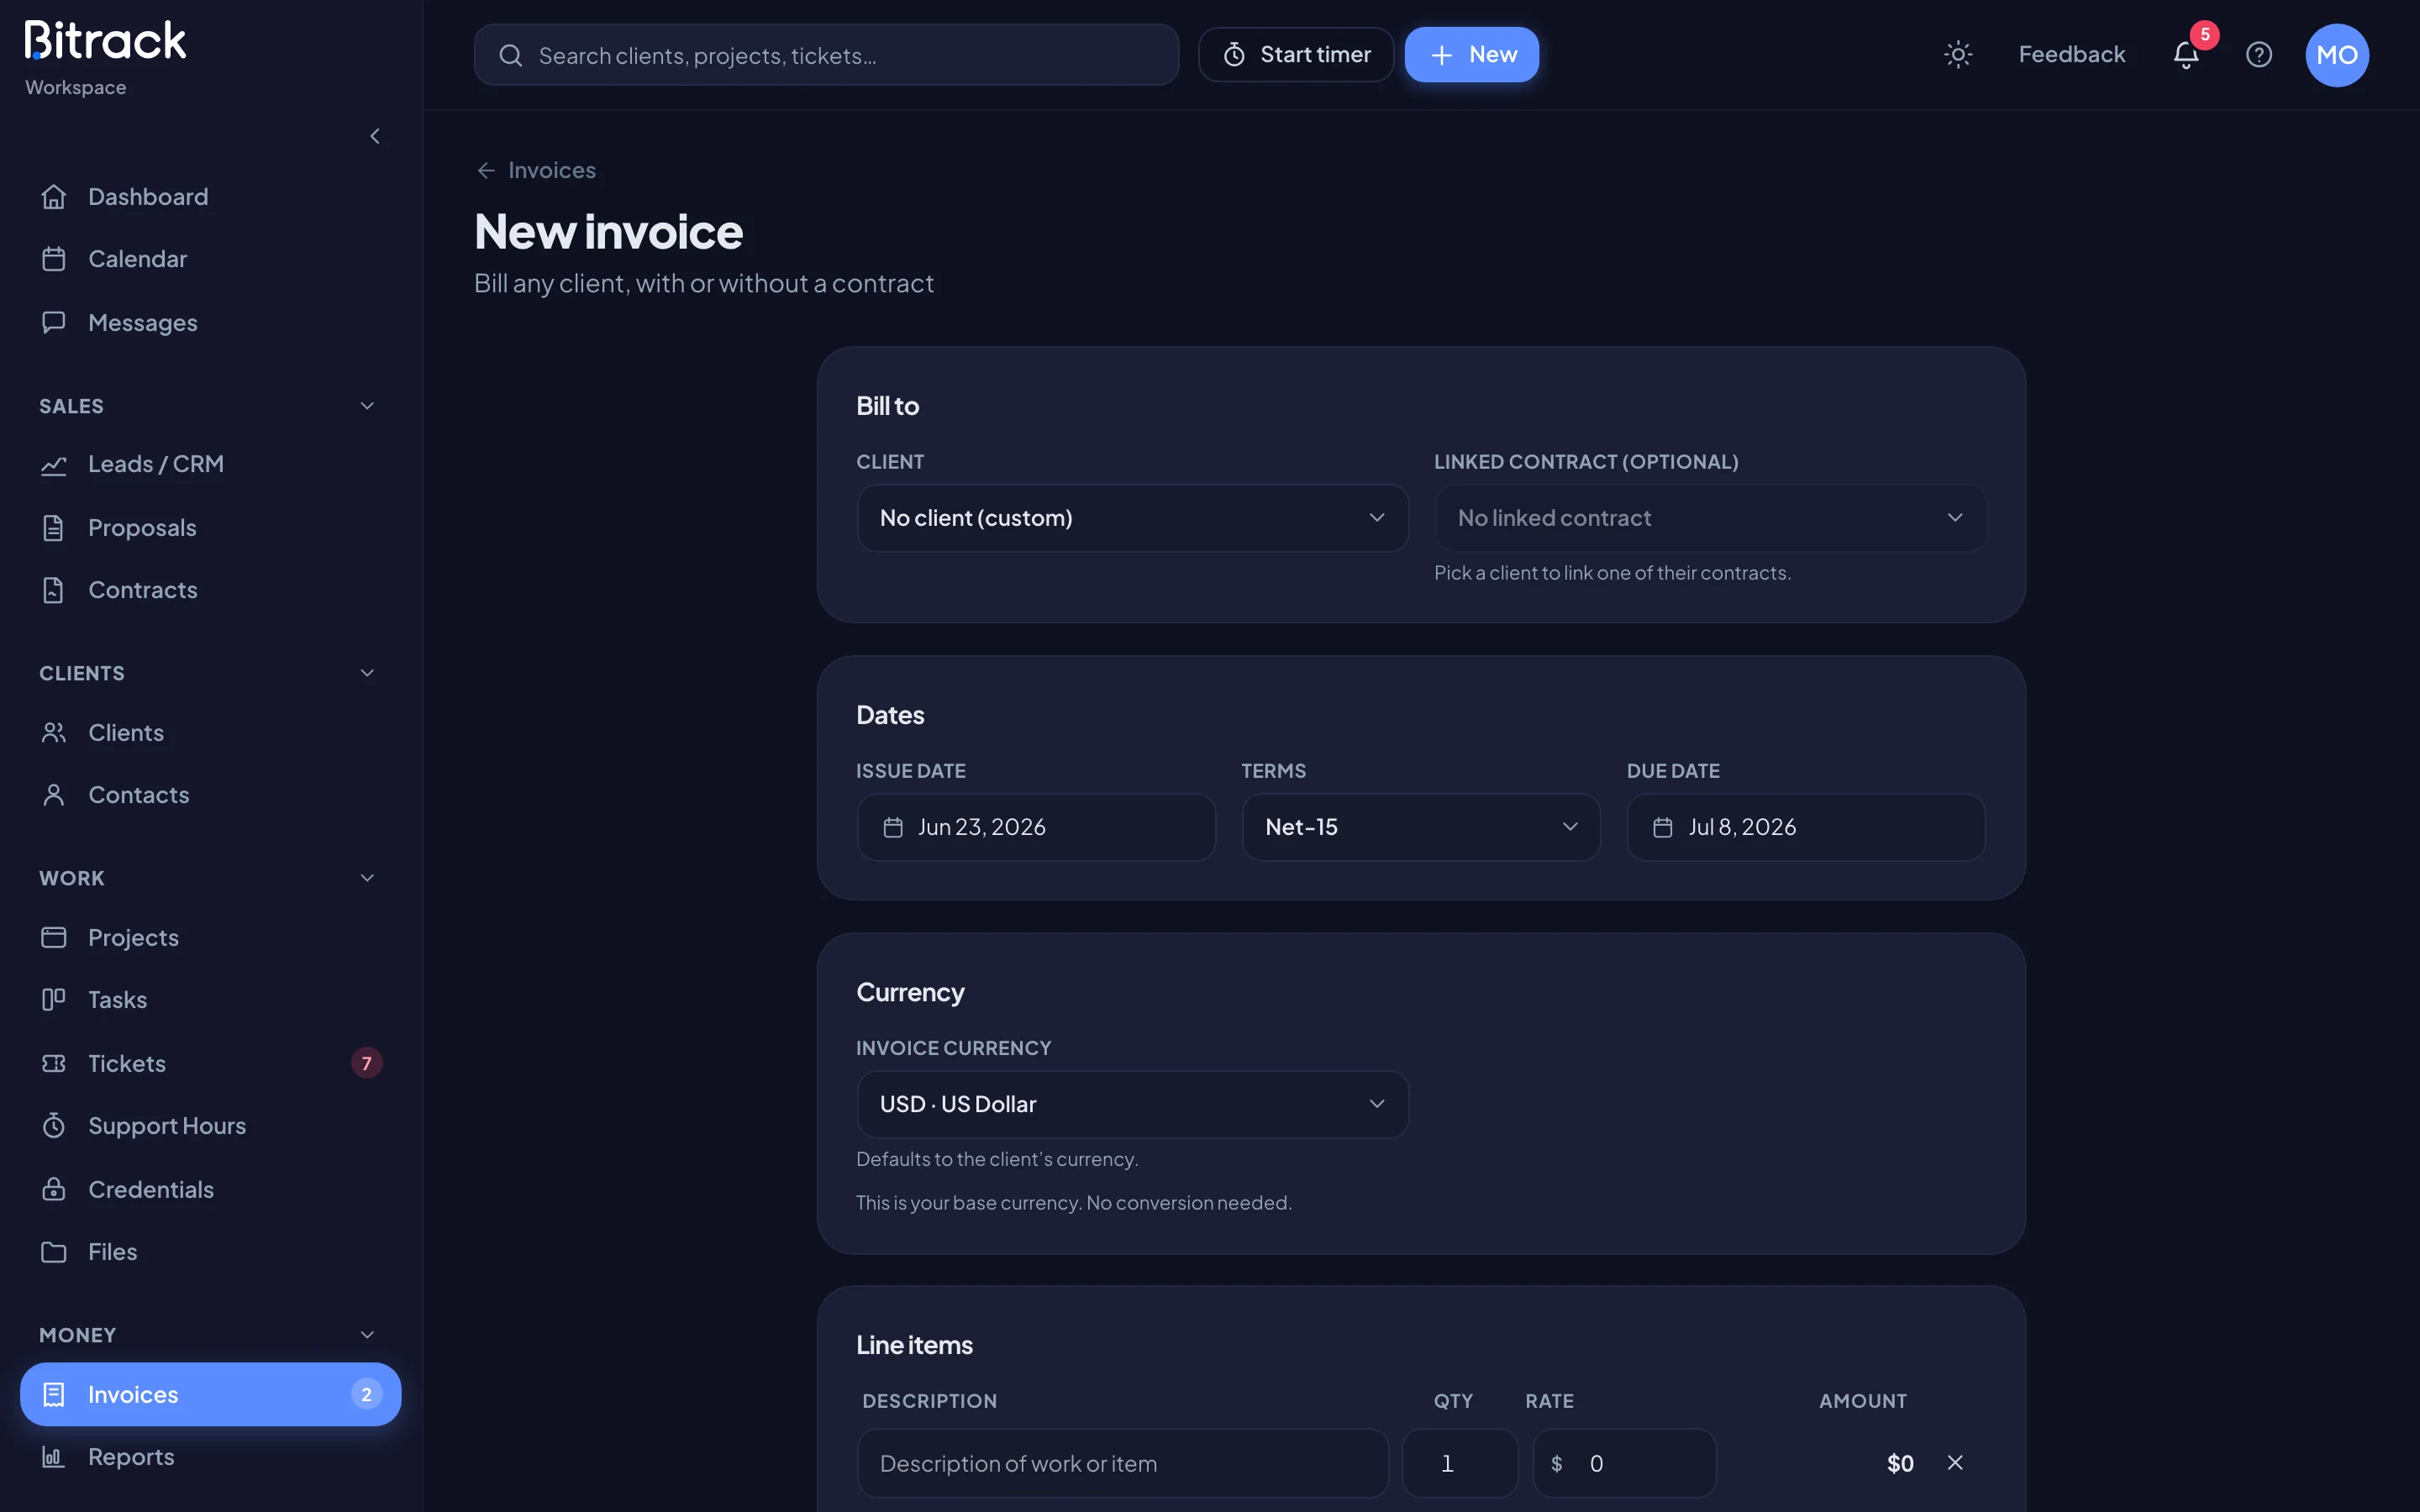
Bill to
- Client: pick a client, or No client (custom).
- Linked contract (optional): link one of the client’s contracts so the invoice shows against it.
Dates
- Issue date: today, unless you change it.
- Terms: Net-7, Net-15, Net-30 or Net-45. The Due date moves to match.
- Due date: change it by hand if you need a different date.
The default terms come from your invoice settings.
Currency
Invoice currency defaults to the client’s currency. If it isn’t your base currency, enter the Exchange rate. The rate is locked on the invoice, so your reports stay accurate later. The page shows the reporting value in your base currency as you go.
Line items
Each line has a Description, a quantity (Qty), a Rate and an Amount, worked out for you.
- Choose Add line for another line. Choose the x to remove one.
- Choose Add unbilled time to bill tracked hours. Pick a From and To date, tick the rows you want, then choose Add. You get one line per project and rate.
Unbilled time only includes billable, confirmed hours that aren’t on any invoice yet. Each hour can only be billed once, and lines made from time show a clock icon.
Tax and total
Under the lines you’ll see the Subtotal, Tax and Total. Change the tax percentage in the box next to Tax. It starts at your workspace’s default rate.
Notes and custom sections
- Notes prints a short message on the invoice, such as a PO number or a thank-you.
- Custom sections add titled blocks with formatted text, such as payment options, bank details or terms. Choose Add section, give it a title, and write the content.
Finish the invoice
| Button | What it does |
|---|---|
| Save as draft | Saves it without a number. Nothing is sent |
| Submit for approval | For people who can’t approve. The approvers are notified |
| Create & send | Approves it, gives it its number and emails it to the client |
An invoice gets its number when it’s approved. Numbers are never reused or skipped.
Create an invoice from a contract
When a contract has a payment schedule, each milestone or recurring period can become an invoice.
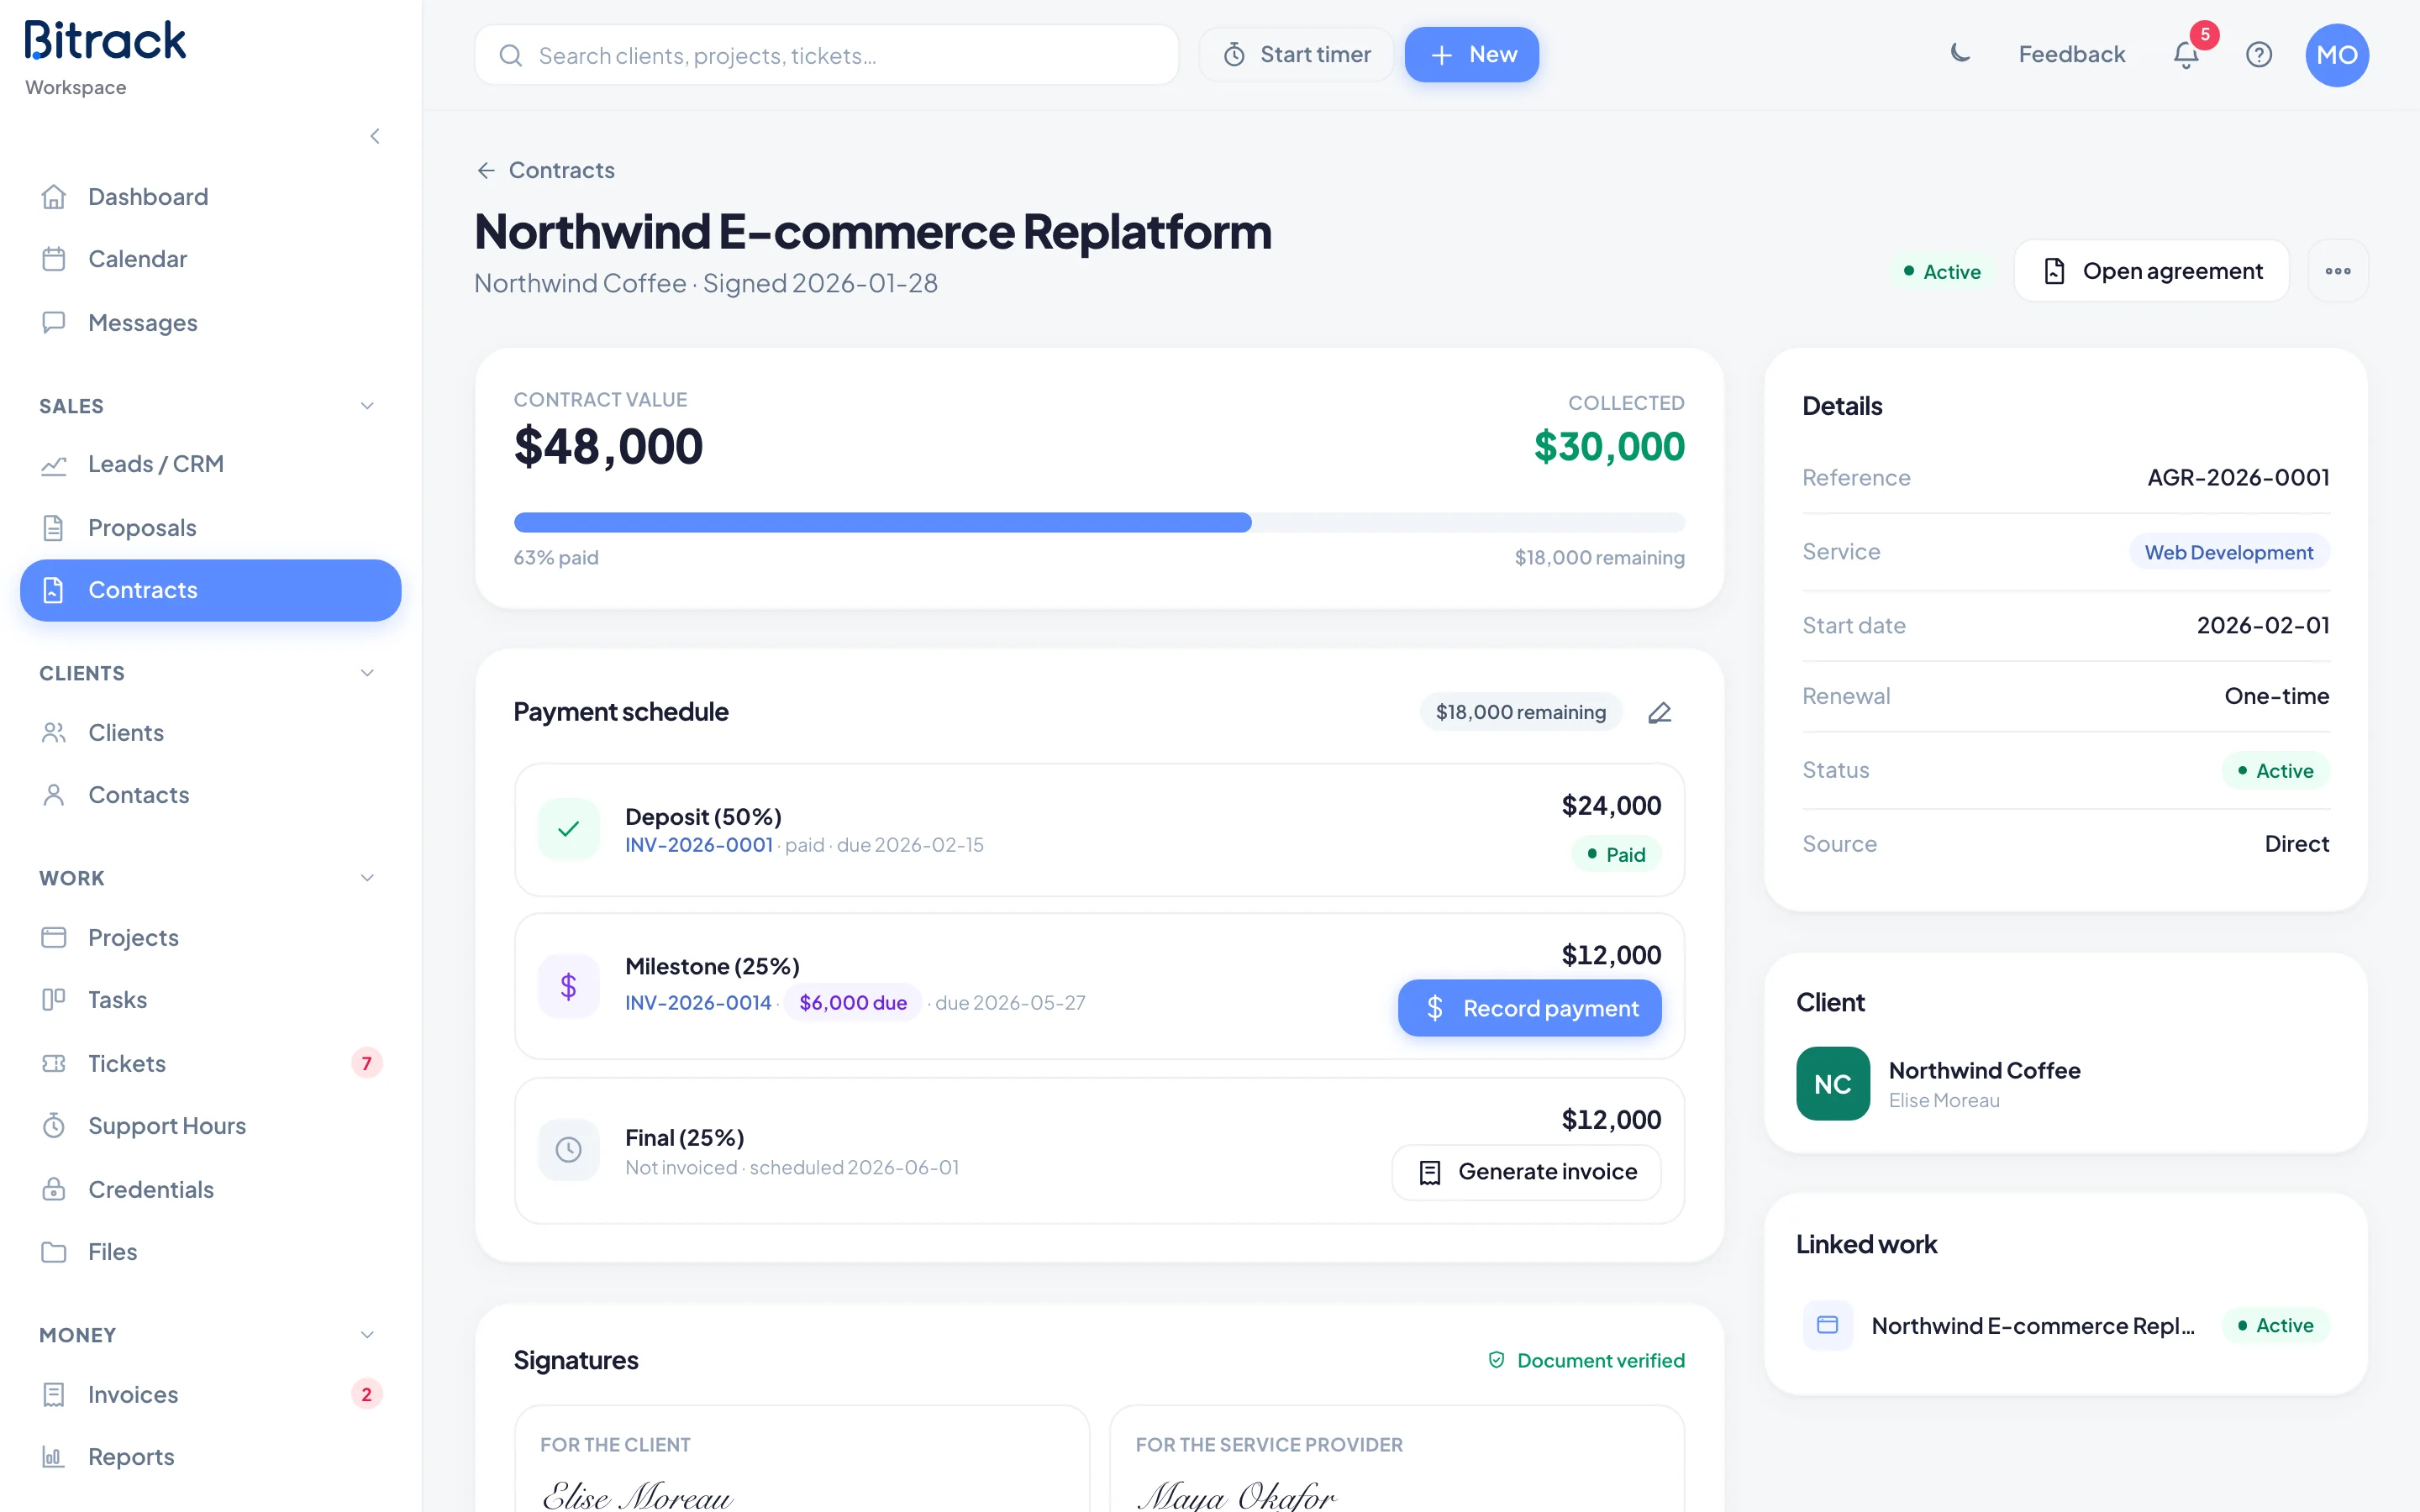
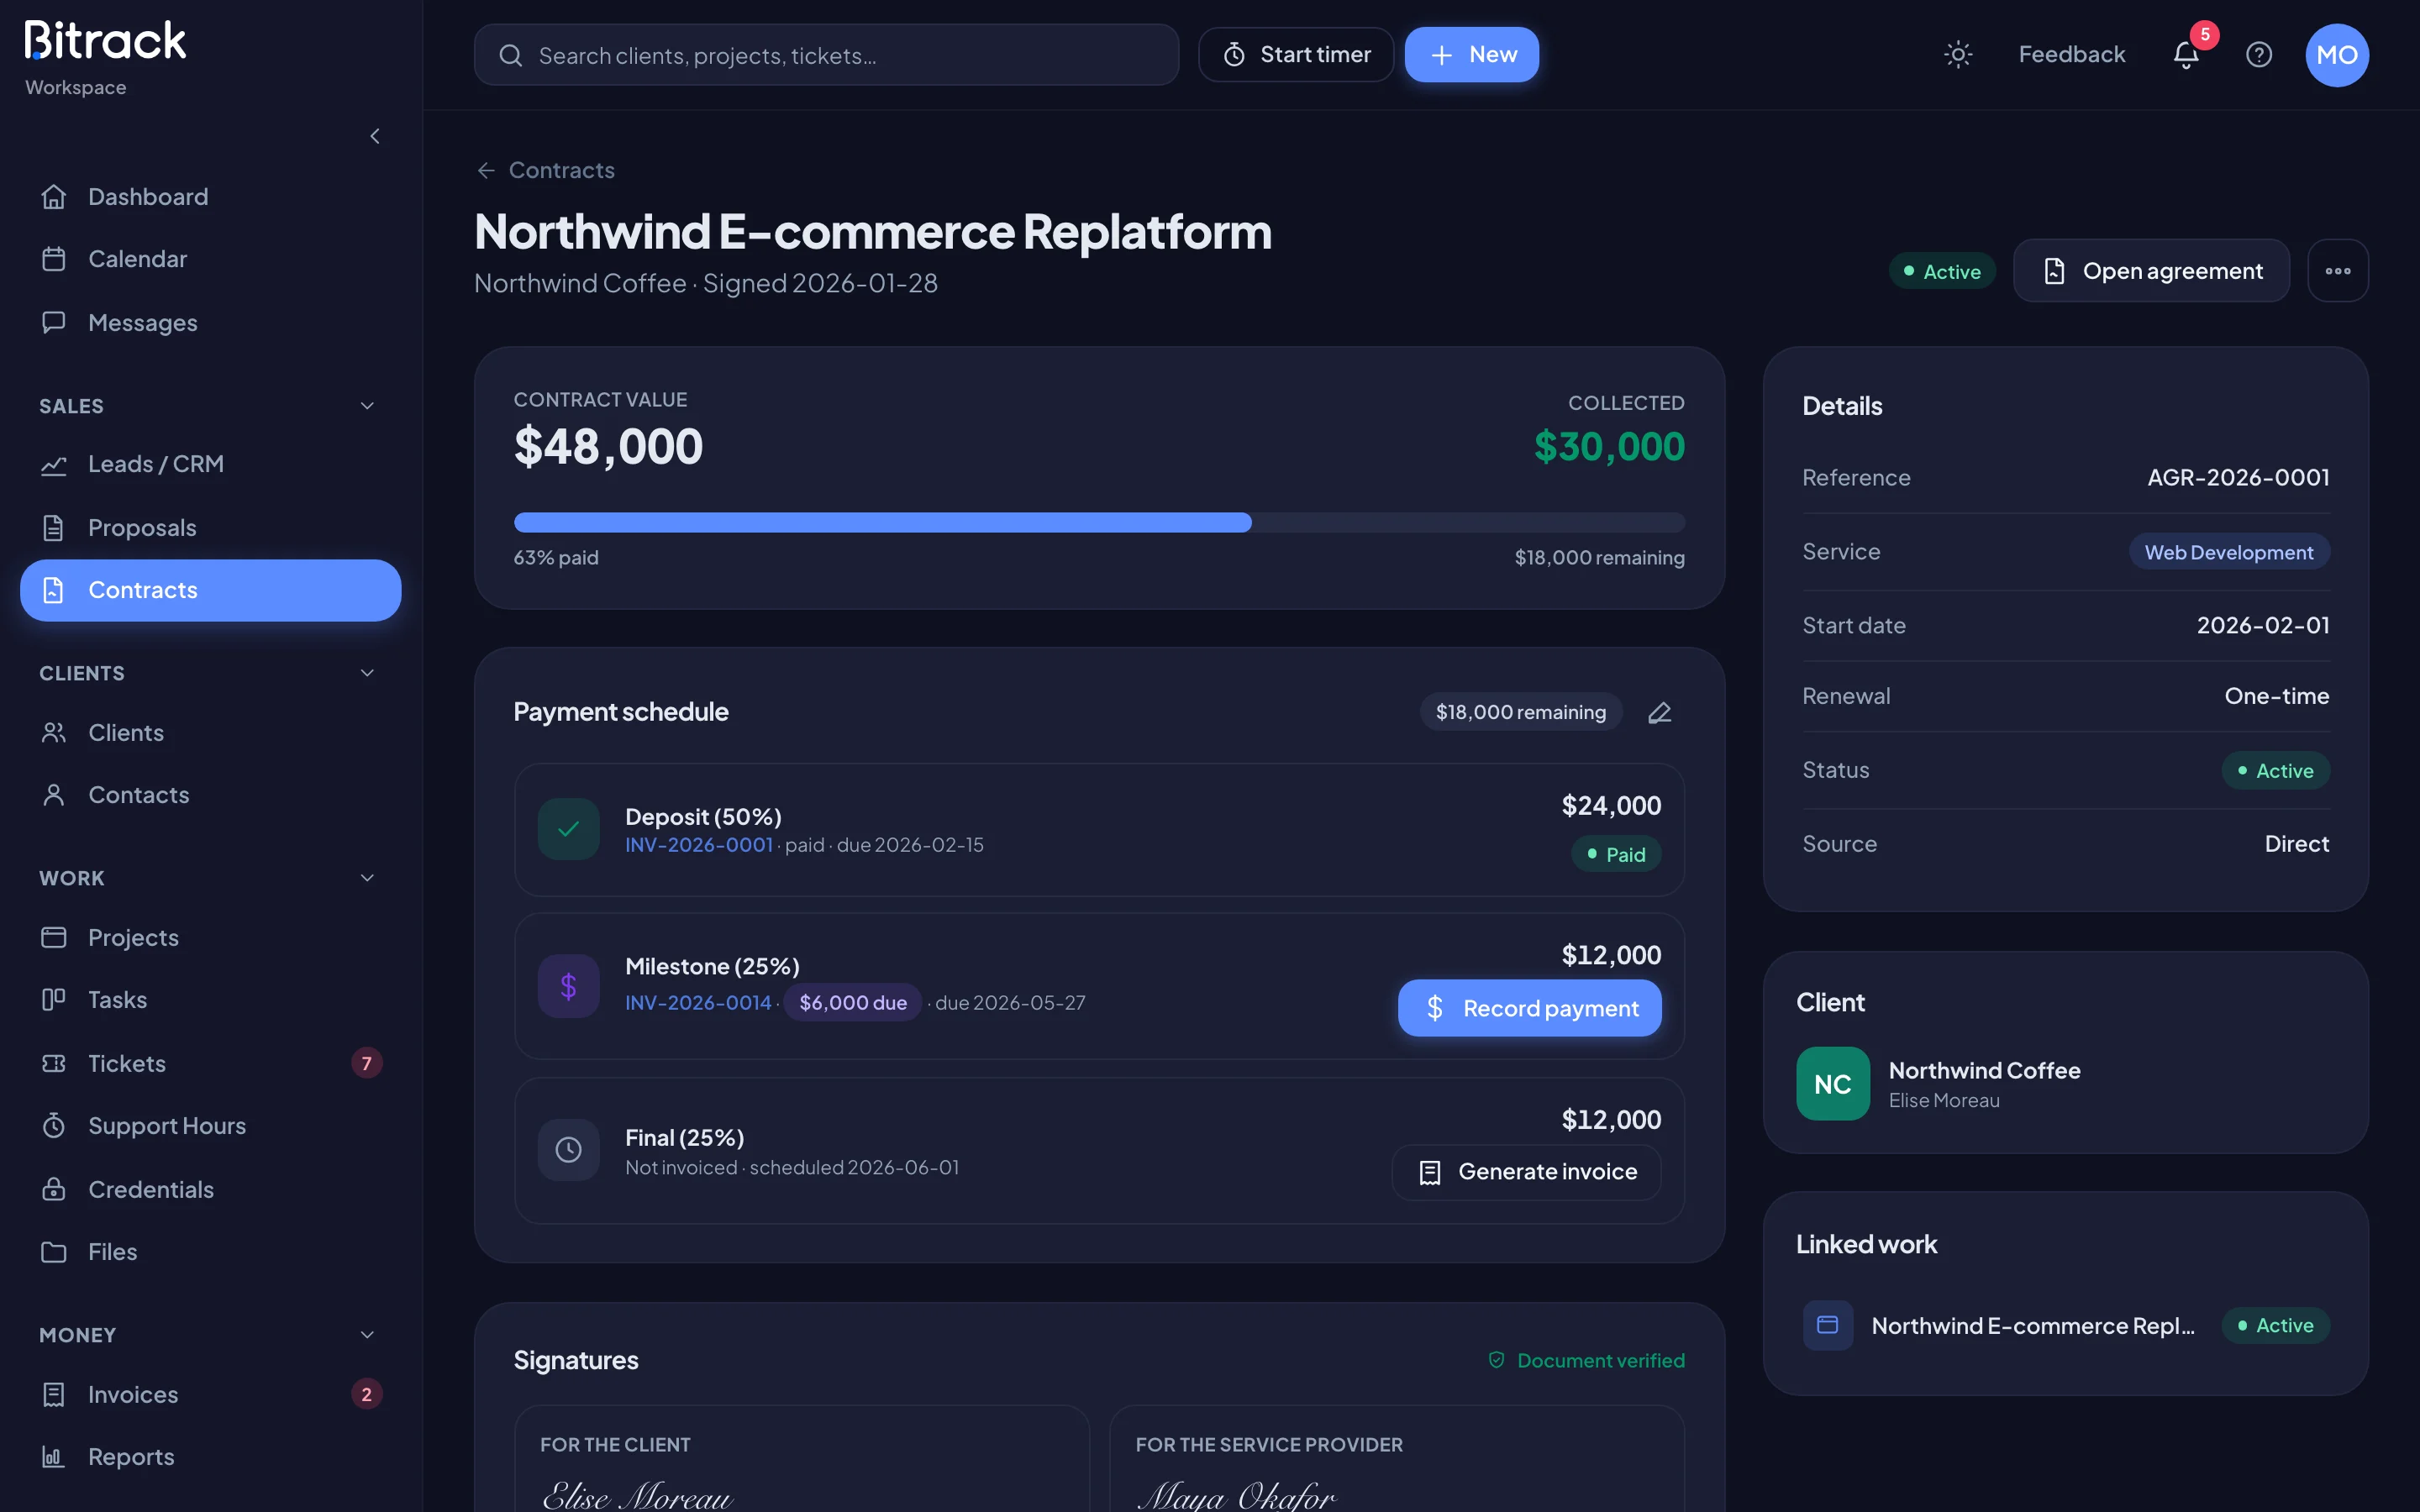
From the contract:
- Open the contract and find Payment schedule.
- On a row that’s due, choose Generate invoice.
From the Invoices page:
- Choose Generate from contracts. This button shows when something is due.
- Choose Generate on a row, or Generate all for everything due.
Generated invoices start as a draft, with the amount and description from the contract. Open it, check it, and approve it when it’s right.
Edit, approve or delete
Open any draft to see the Actions card. Depending on your role, you can:
- Approve only to issue it without sending.
- Approve & send to issue it and email it in one step.
- Edit invoice to change it.
- Reject… an invoice awaiting approval, with a reason. It goes back to draft.
- Delete draft to remove a draft that never had a number.
Approved invoices can still be edited until they’re sent. After that, void the invoice and create a new one. A voided invoice keeps its number so your series has no gaps.