Create an event
Add meetings and other events, invite your team and clients, and answer invitations.
Events are meetings, calls and anything else you want on the calendar. You choose who can see each one, who’s invited and when everyone is reminded.
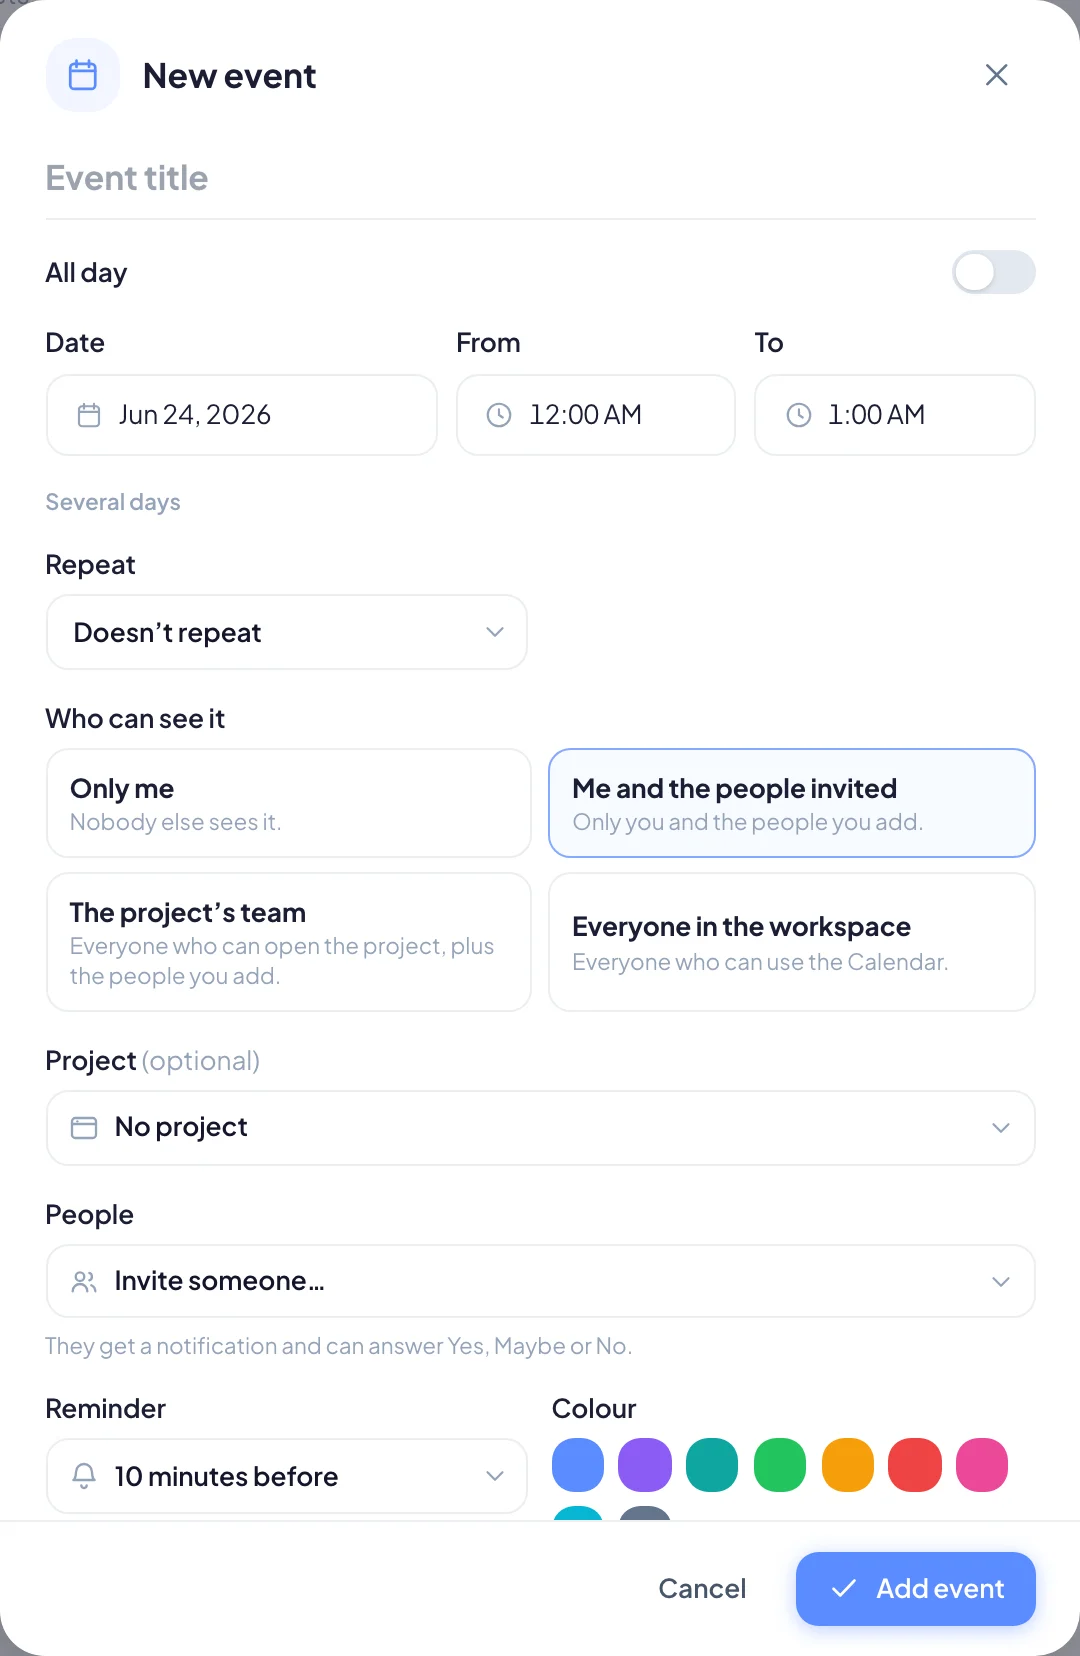
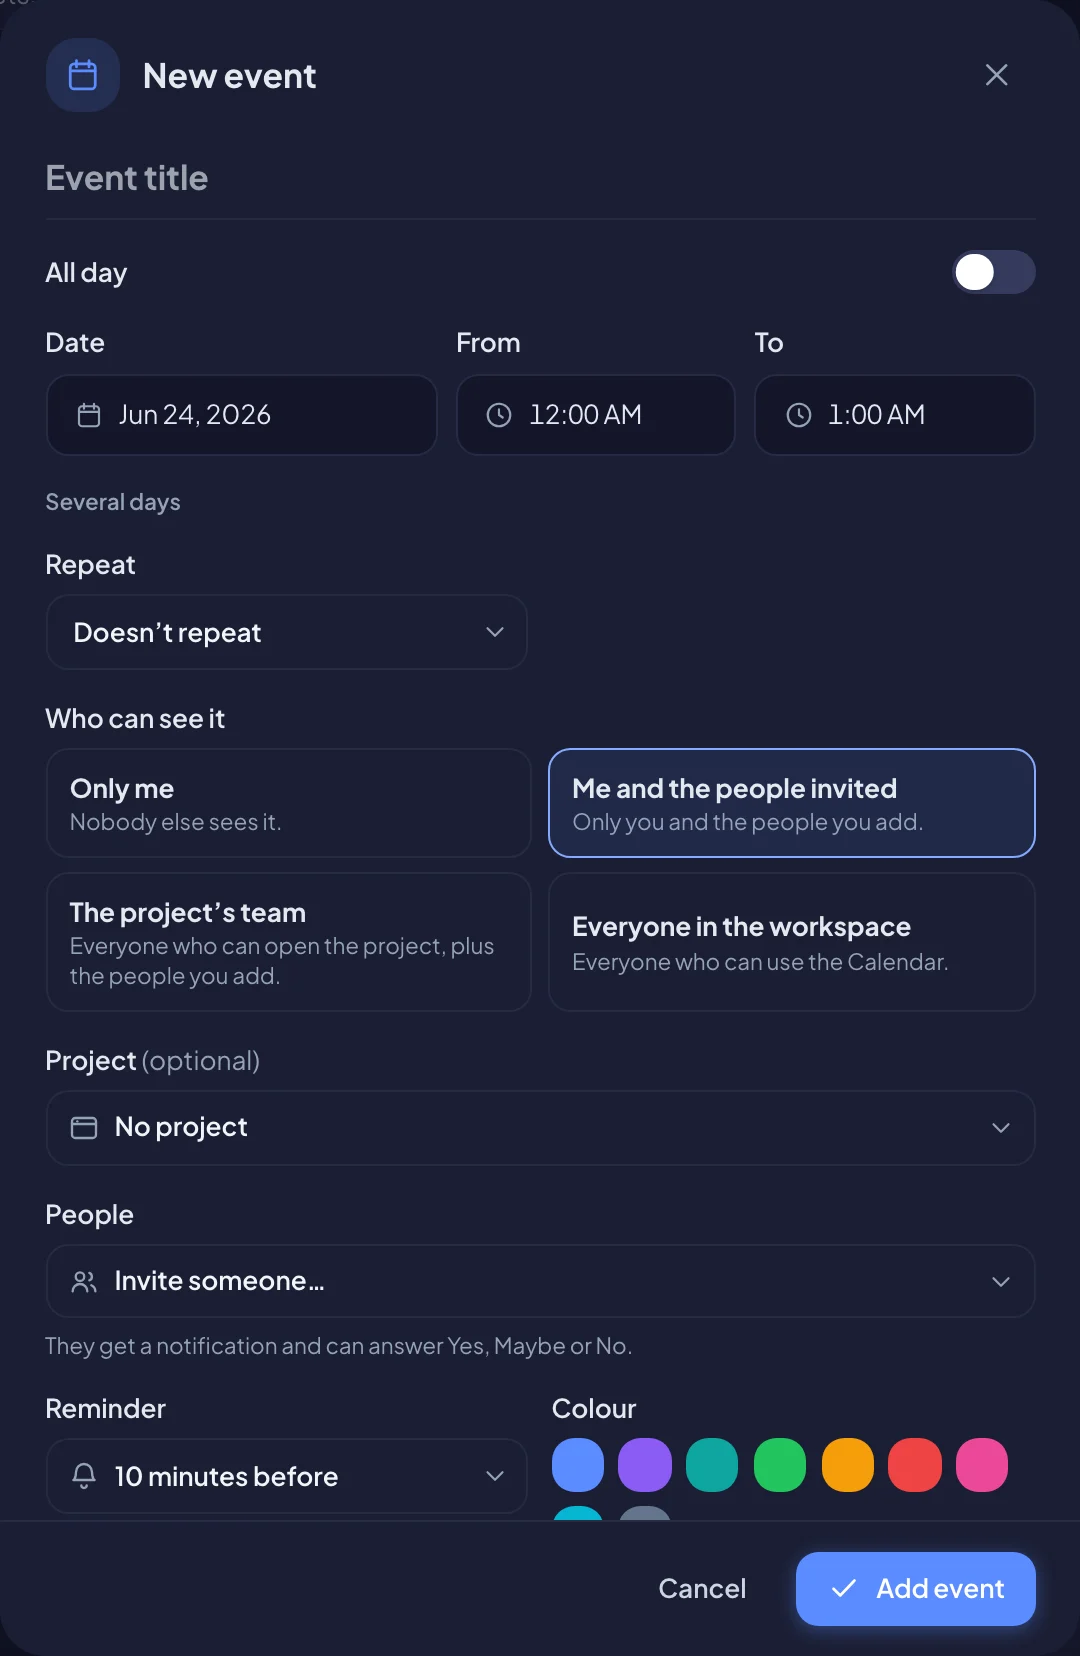
Add an event
- Go to Calendar and choose New event. You can also choose a day or time on the calendar, or the + on a day in the dashboard’s This week widget.
- Enter an Event title.
- Set the date and time (see below).
- Choose Who can see it, and add People if you want to invite anyone.
- Fill in any other details you need.
- Choose Add event.
You see Event added, or Event added. Invitations sent when you invited people.
Date and time
A timed event has one Date, a From time and a To time. When you change the start time, the end time moves with it, so a one-hour meeting stays one hour. If the end time is earlier than the start, the event runs overnight and the form says Ends the next day.
An all-day event: turn on All day, then pick the Starts and Ends dates.
Several days: for a timed event that covers more than one day, choose Several days and set the Last day. Then choose how it runs:
- Every day, with the same hours on each day. This makes separate events, one per day. Use it for a three-day workshop that runs 9 to 5.
- Non-stop: one block from the first day’s start time to the last day’s end time. Use it for a trip or an on-site visit.
Choose Just one day to go back to a single date.
Repeat
Use Repeat to choose Doesn’t repeat, Every day, Every week or Every month. For a repeating event you can also set an end date in Until, or leave it empty to repeat with no end.
Who can see it
| Option | Who sees the event |
|---|---|
| Only me | Nobody else. |
| Me and the people invited | Only you and the people you add. |
| The project’s team | Everyone who can open the project, plus the people you add. You need to pick a Project. |
| Everyone in the workspace | Everyone who can use the Calendar. |
You can link any event to a Project. Linked events show the project name on the calendar and in the event’s details.
Invite people
Under People, choose Invite someone… and pick a teammate. Add as many as you need, or choose the x next to a name to remove them. Invited people get a notification and can answer Yes, Maybe or No.
If someone already has something else at that time, Busy appears next to their name. Bitrack never shows what they’re busy with.
People isn’t available for an event set to Only me.
Invite people from the client
When your workspace uses the client portal and the event is linked to a project, a From section appears with the client’s name. Choose Invite someone from the client and pick a person from their portal.
They get an email invite with a calendar file and answer in their client portal. They see only this event, never your calendar. A private event (Only me) can’t include people from the client.
Other details
- Reminder: when everyone in the event is reminded. For timed events, choose from When it starts up to 1 day before. For all-day events, choose On the day (9:00) or The day before (9:00). People who answered No aren’t reminded.
- Colour: how the event looks on the calendar.
- Location: a place, such as an office or client site.
- Video link: a full link that starts with https://, for example a Google Meet link. People viewing the event see Join the call.
- Notes: an agenda or anything else people should know.
Change or delete an event
Choose the event on the calendar. If you can change it, the form opens as Edit event. Make your changes and choose Save.
To delete it, choose Delete, then Delete event. A repeating event is deleted every time it repeats, and everyone invited is told it’s cancelled.
Answer an invitation
When someone invites you, choose the event on the calendar to see its details and who’s going. At the bottom, next to Going?, choose Yes, Maybe or No. You can change your answer at any time.