The client page
Find everything about a client in one place, from health and contacts to projects, files, notes and portal access.
Each client has their own page with everything you know about them. Open it from Clients by choosing the client’s card or row.
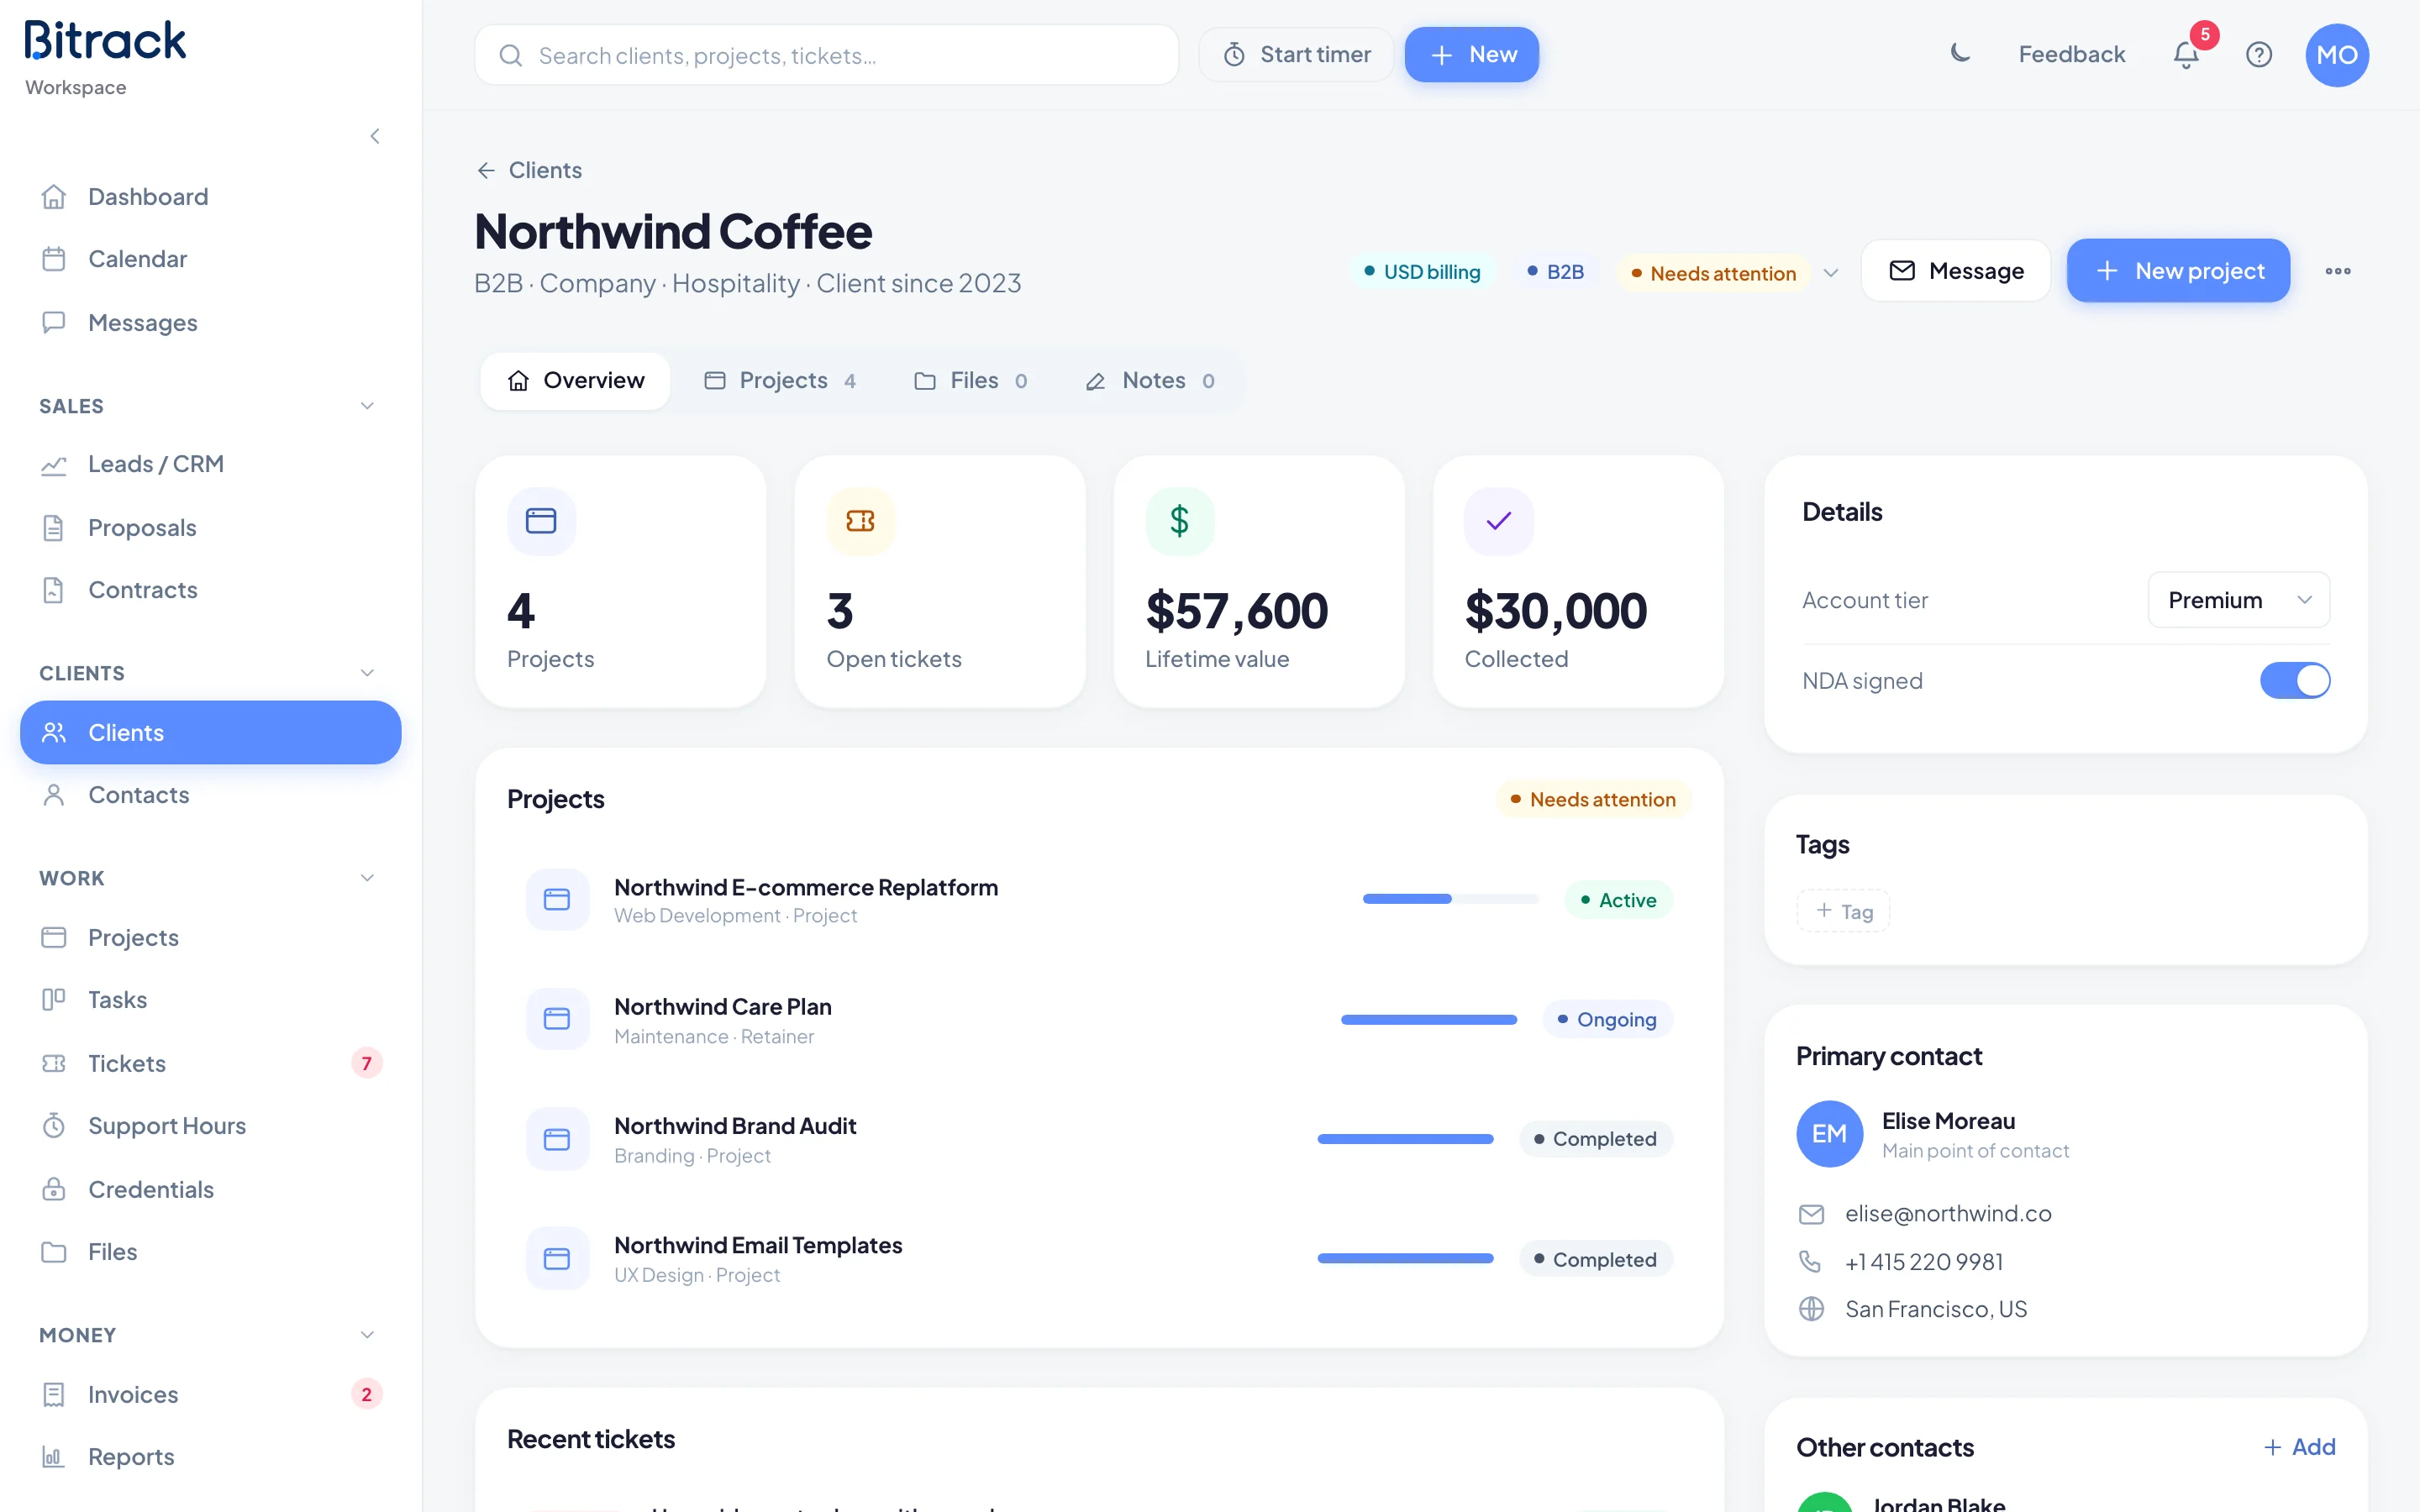
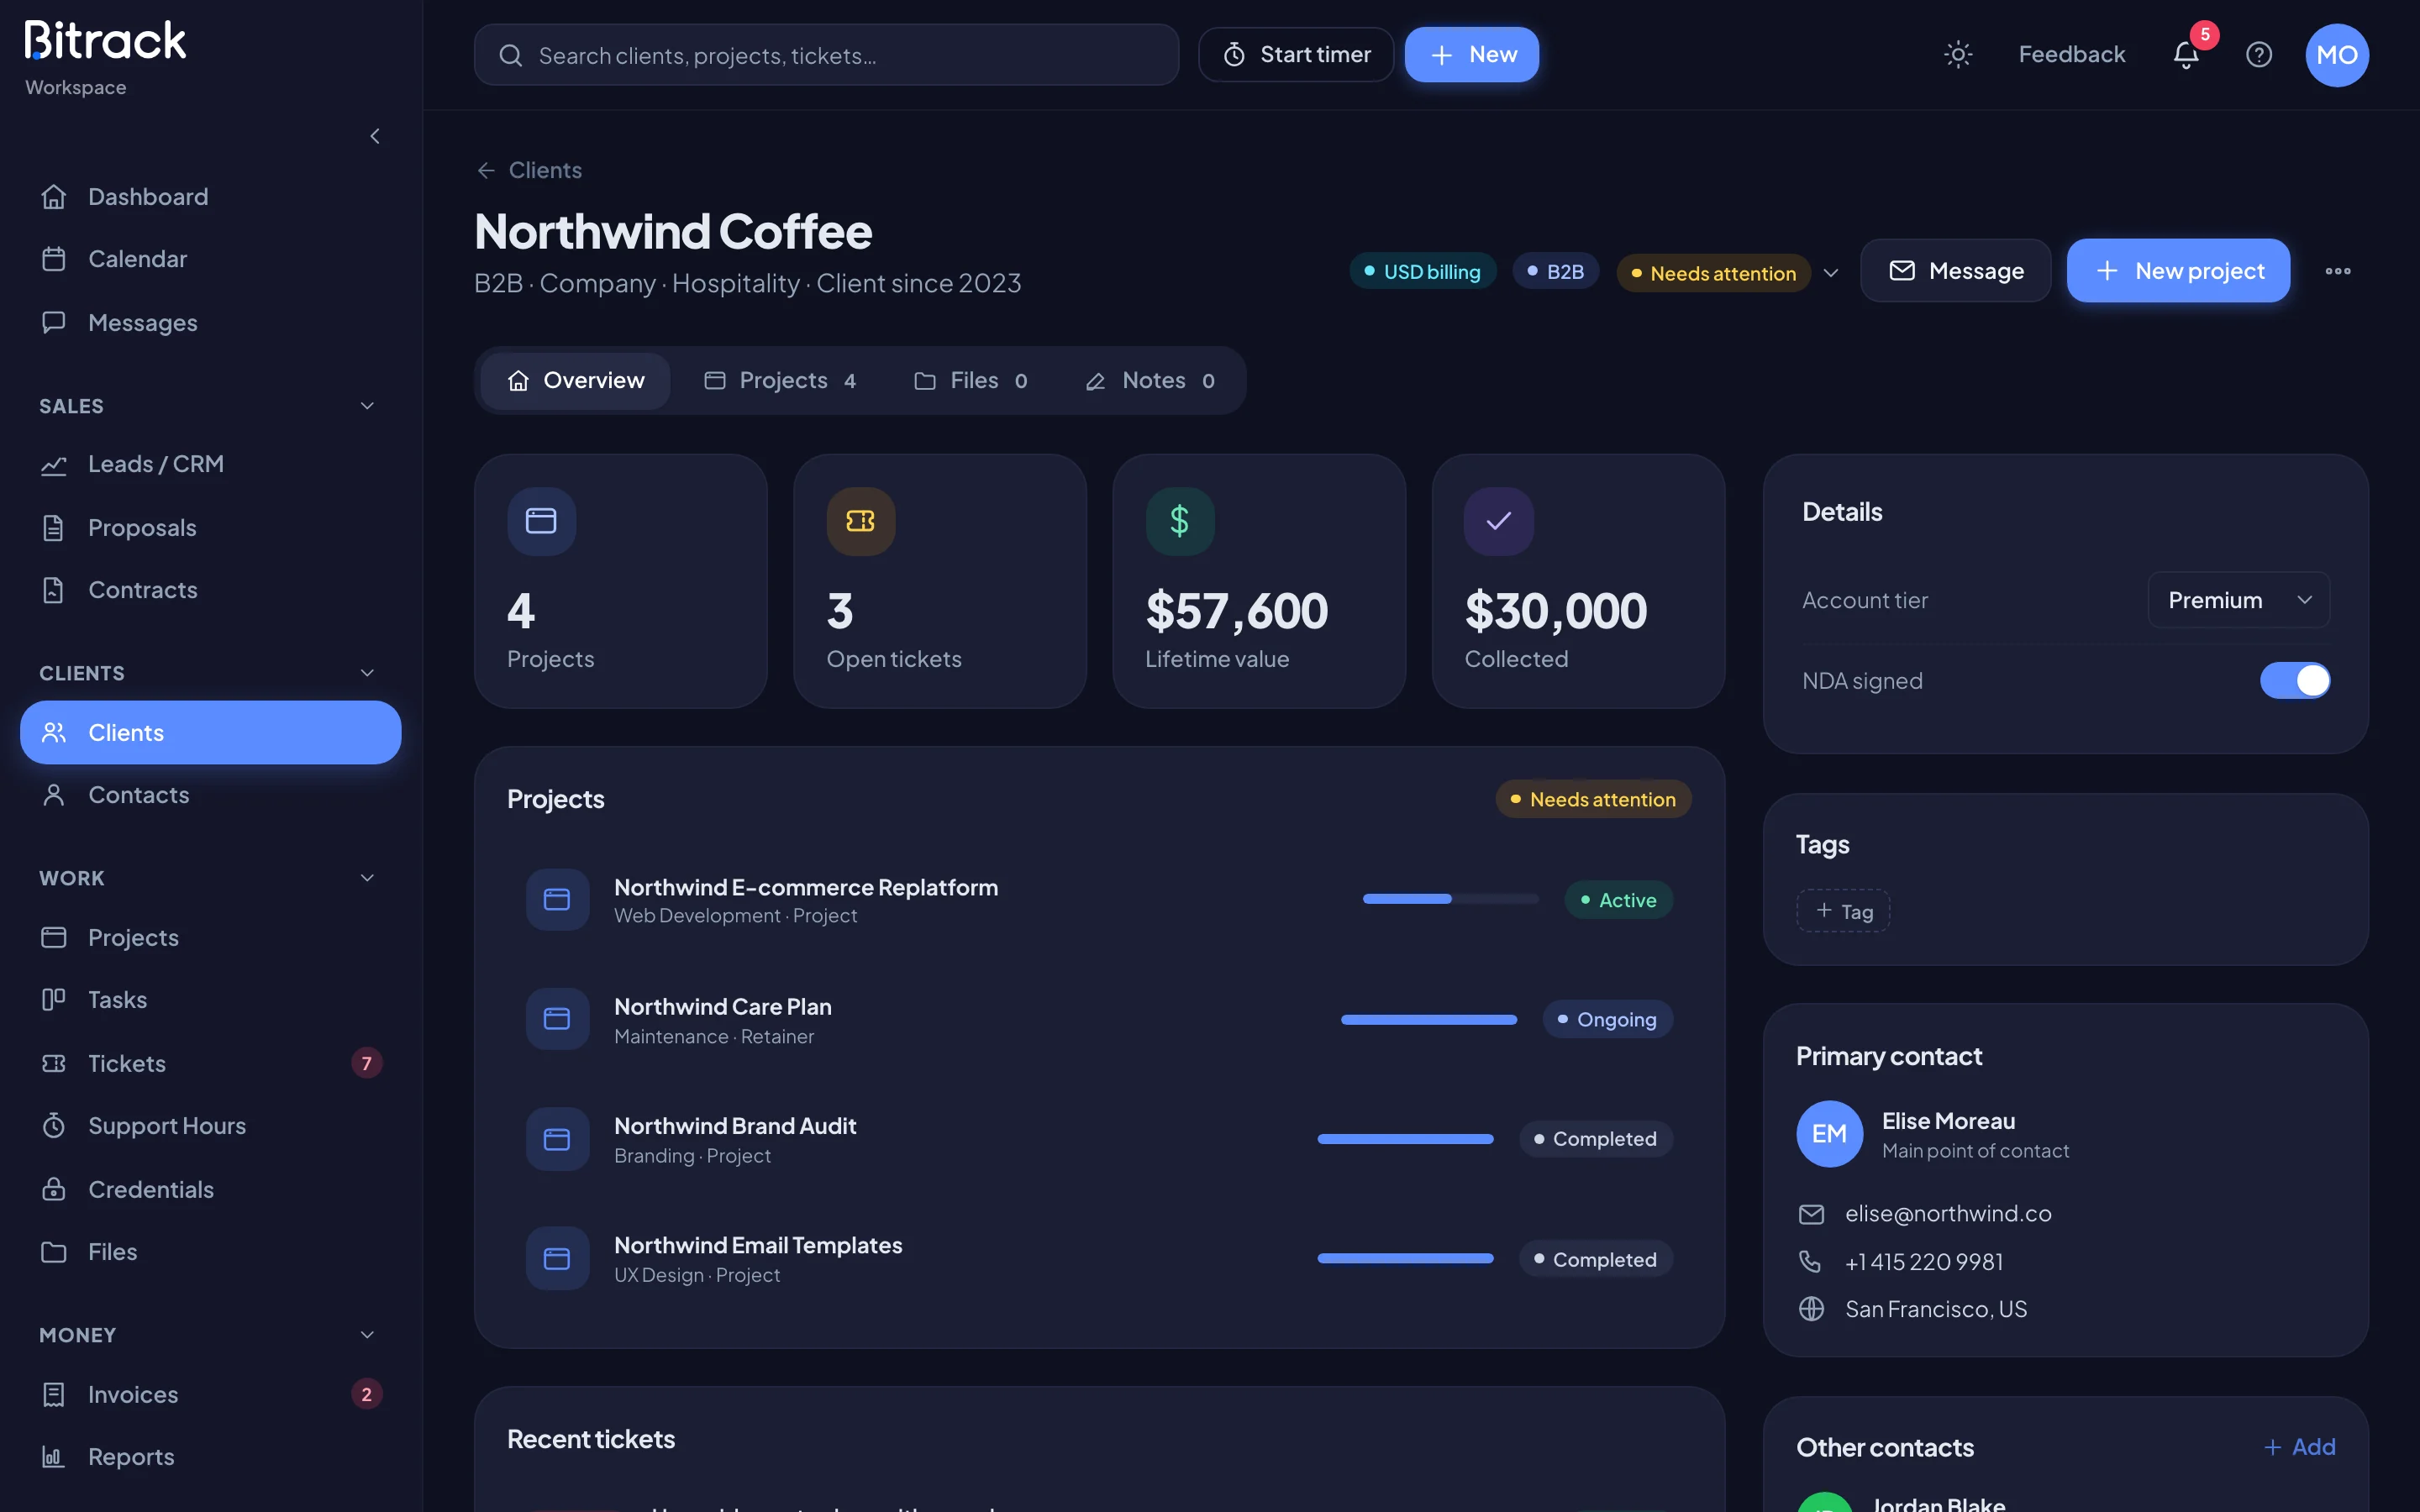
The top of the page
Under the client’s name you see whether they’re a company (B2B · Company) or a person (B2C · Individual), their industry and the year they became a client. On the right:
- The client’s billing currency and type.
- Health: shows Healthy, Needs attention or At risk. If you can edit clients, choose it to change it.
- Message: sends an email to the client’s email address. Add a Subject and a Message, then choose Send message.
- New project: starts a project for this client, if you can create projects.
- More (the three dots): Edit client, Archive client (or Restore client) and Delete client, depending on your role.
Tabs
| Tab | What’s in it |
|---|---|
| Overview | Key numbers, projects, contacts and other details. |
| Projects | Every project for this client, with progress and status. |
| Files | Files shared on this client and its projects. |
| Notes | Notes your team keeps about this client. |
Overview
The Overview starts with a row of key numbers. Depending on your workspace and access, these include Projects, Active, Hours this month, Open tickets, Lifetime value and Collected. Money figures only appear for people who can see financials.
Below them you’ll find:
- Projects: up to six projects with their service, progress and status. Choose See all to go to the Projects tab.
- Recent tickets: the client’s latest tickets, if your workspace uses Tickets. Choose one to open it.
On the right side:
- Custom fields your workspace has set up for clients.
- Tags: choose Tag to add one, or the x on a tag to remove it.
- Primary contact (or Contact for an individual), with their email, phone and location. Choose any of them to copy it.
- Other contacts: more people at a company client. See Contacts.
- Account lead: the person on your team who looks after this client.
- Portal access: who from the client can sign in to their client portal (see below).
- Contracts: the client’s contracts and their value, for people who can see financials.
You only see the cards for parts of Bitrack your workspace uses.
Projects
The Projects tab lists every project for the client, with its service, whether it’s a project or a retainer, its progress and its status. Choose a project to open it. If there are none yet, choose New project to start one.
Files
Drop files on the upload area, or choose it to pick files. Each file shows its size, the date it was added, who added it and the project it belongs to, if any.
- Turn on Client can see to share a file with the client in their portal.
- Choose Download or Delete next to a file.
Notes
Use notes for decisions, context and anything the team should know. Write a note and choose Add note. Choose Pin to top to keep an important note first, or Edit and Delete to change it.
Portal access
If your workspace uses the client portal, the Portal access card lists the client’s people who can sign in, with their status: Active, Invited or Suspended.
To invite someone:
- Choose Add on the Portal access card.
- Enter their Full name, Title and Email.
- Choose a Role: Admin sees all of the client’s projects; Member sees only the projects you pick under Project access.
- Under They can also, choose whether they can Approve & return work and see Billing & payments.
- Choose Send invite.
Choose a person on the card to change their access, choose Resend invite, or Remove them. Choose Copy at the bottom of the card to copy the portal’s sign-in address.
Archived clients
An archived client’s page shows Archived at the top. Everything is still there. Choose Restore to bring the client back into active views.